How To Save Dying Plants For Beginners: 2026 Rescue Guide
Check roots, fix watering, adjust light, and repot if needed—revive fast.
If you want a simple, proven plan for how to save dying plants for beginners, you are in the right place. I have helped hundreds of new plant parents turn around sad leaves and mushy roots. This guide gives clear steps, smart tips, and real fixes you can use today. Stay with me, and you will learn how to save dying plants for beginners with calm, confidence, and care.

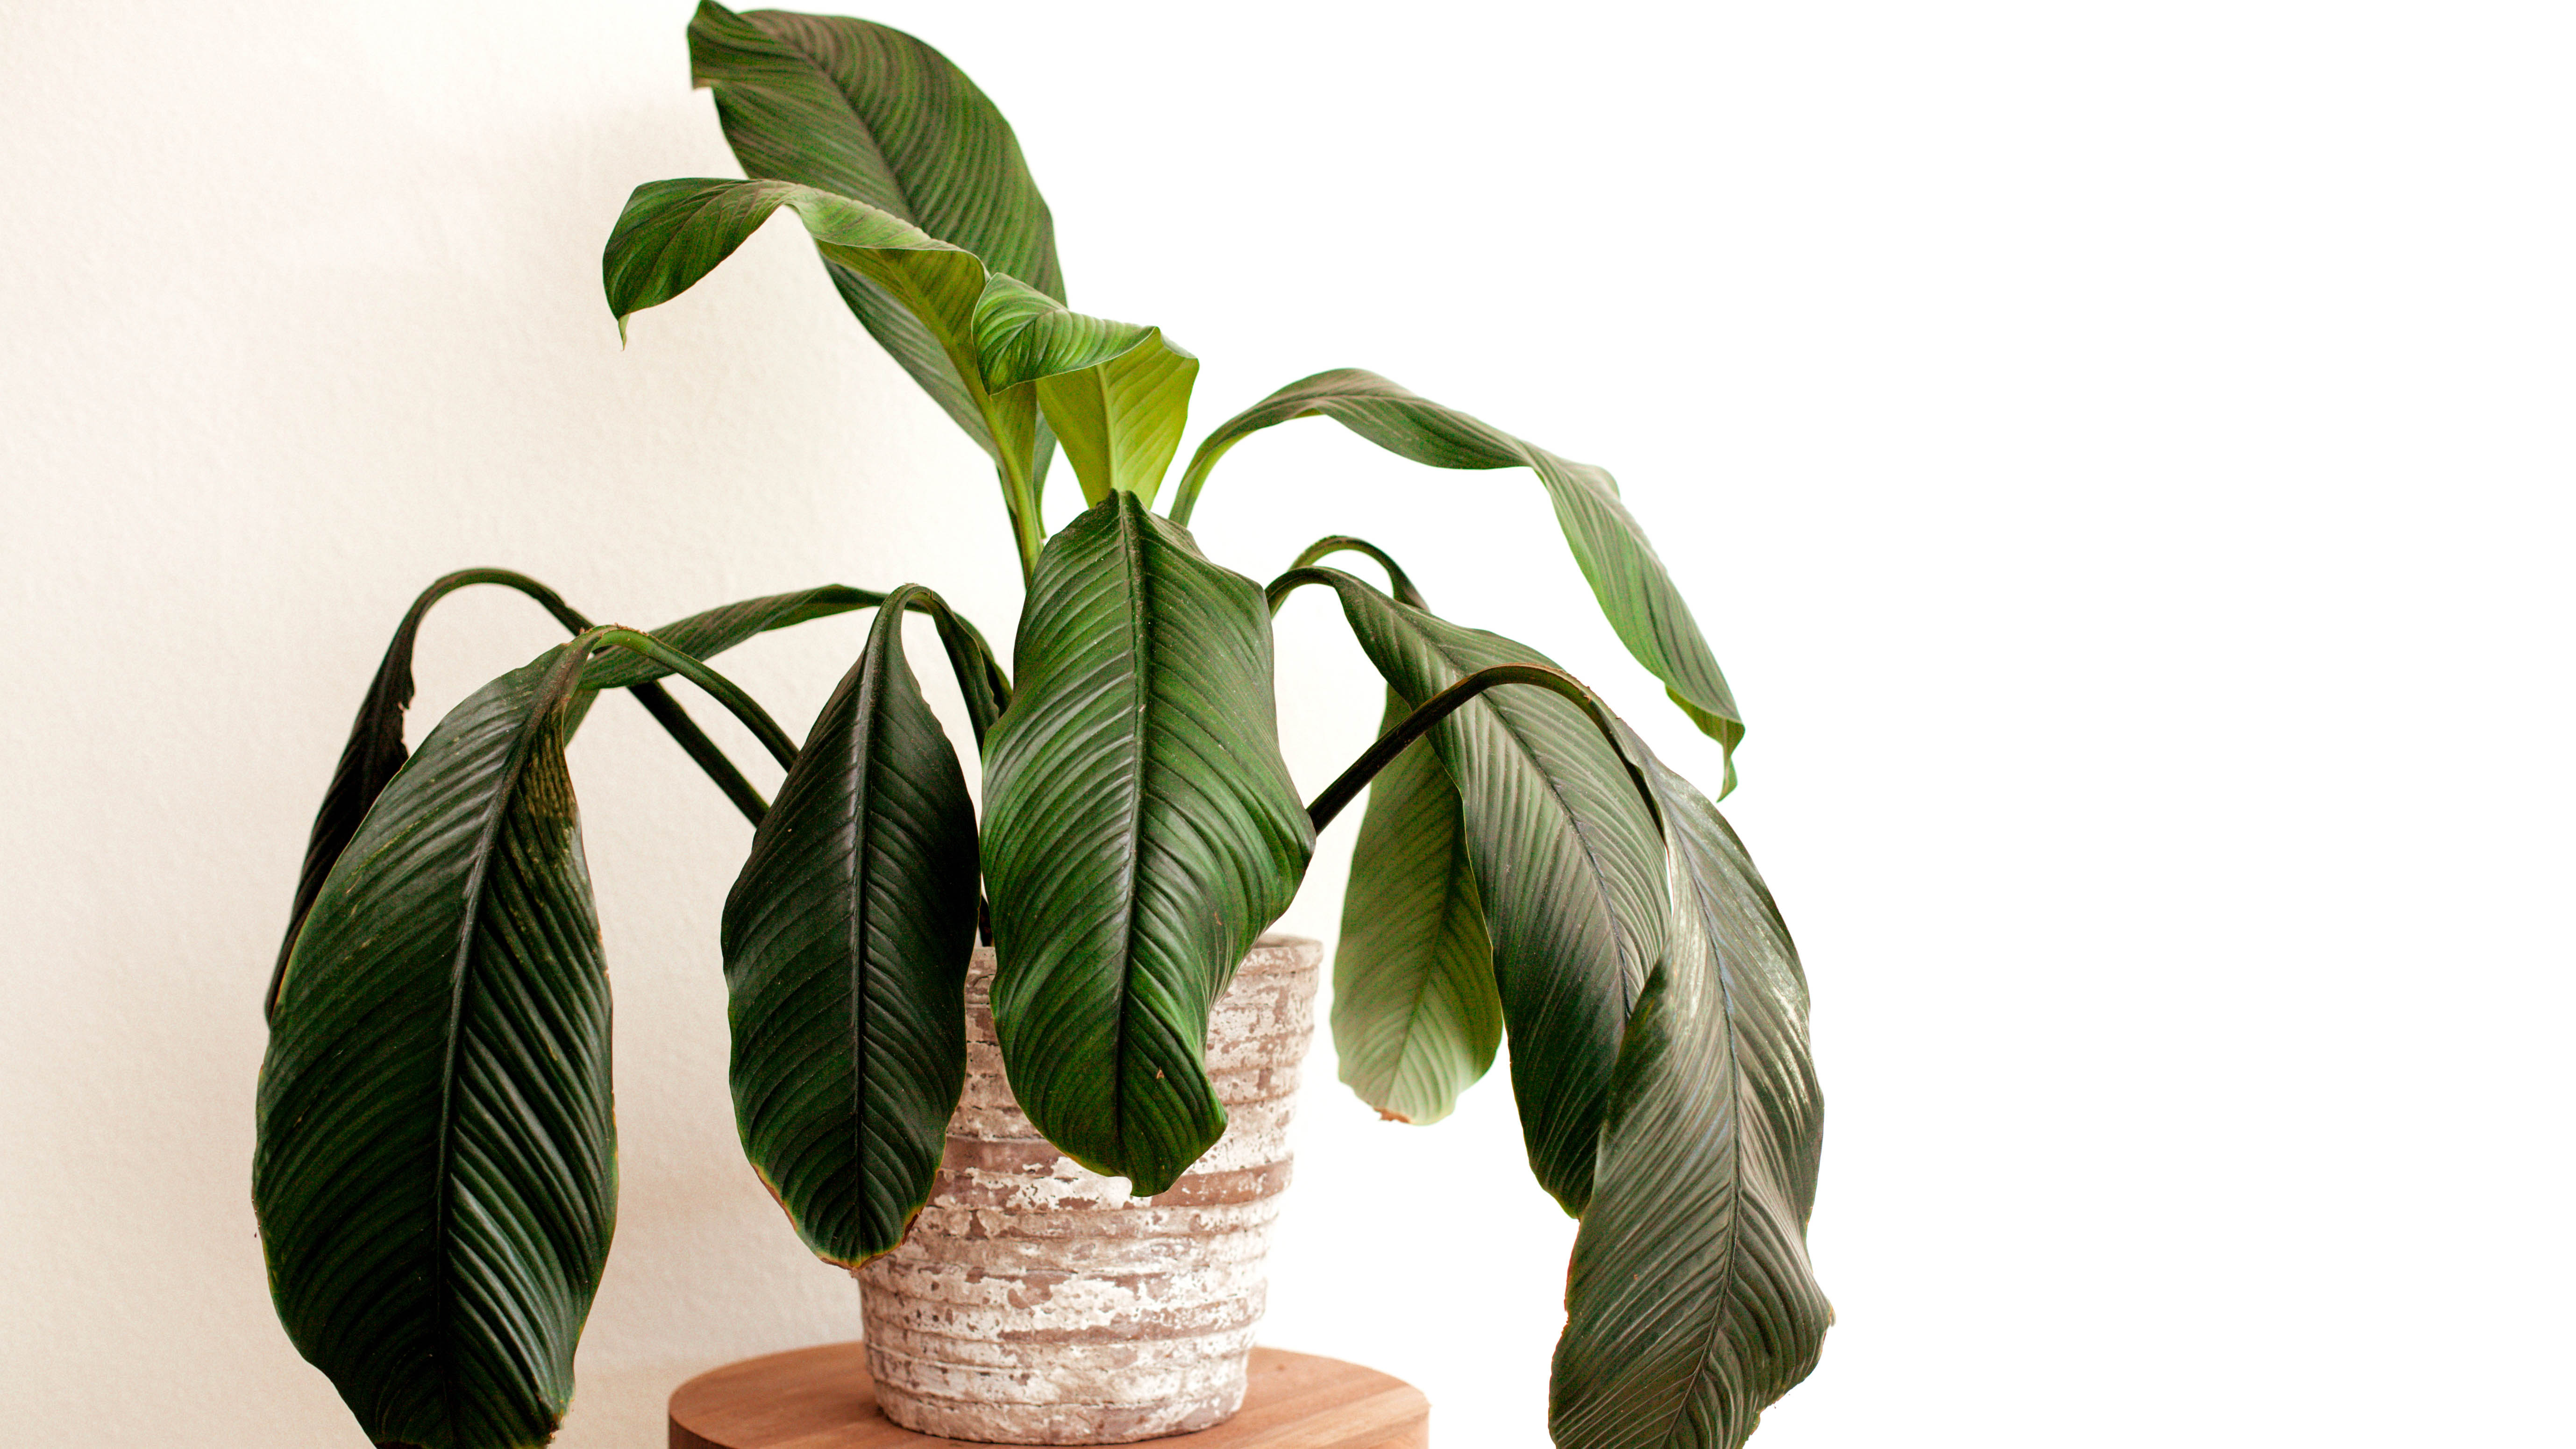
Spot the SOS signs early
Think of your plant like a friend who whispers before it shouts. Catch small signs early, and you avoid big problems. This section gives a simple way to read those signs. It is the base of how to save dying plants for beginners.
Look for these common warnings:
- Yellow leaves Older bottom leaves yellowing often means low light or overwatering. New growth yellowing may be lack of nutrients.
- Brown tips Dry air, underwatering, or salt build-up from fertilizer.
- Wilting Limp leaves can mean too dry, too wet, or heat stress.
- Leaf drop Sudden changes in light, drafts, or shock after moving.
- Spots or webbing Pests like spider mites, thrips, or scale.
- Mushy stems or roots Root rot from poor drainage or heavy soil.
Quick diagnosis checklist:
- Touch the soil Is it soggy or bone dry?
- Check roots Gently slide the plant out of the pot. Roots should be white to tan, firm, and springy. Black, mushy, or smelly roots mean rot.
- Look at light Where does the plant sit? Direct sun or low light?
- Inspect leaves Front and back. Any bugs, sticky residue, or webbing?
- Smell the soil Sour smell hints at rot or fungus.
If two or more signs line up, you have your cause. That is the heart of how to save dying plants for beginners: observe, then act.

The root of the problem: water, light, soil
Most plant issues trace back to these three: water, light, and soil. Fix them, and most plants bounce back. This is the core skill in how to save dying plants for beginners.
Watering made simple
- Use the finger test Stick a finger 1 to 2 inches into soil. If it is dry at that depth, water. If it is moist, wait.
- Lift the pot Learn the weight when dry and when just watered. Weight is the most honest gauge.
- Water deep, not often Water until water runs from the drainage holes, then let the plant drain.
- Match the plant Cacti and succulents need to dry out fully. Tropical plants like slight, even moisture. Peace lily wants more frequent water.
What if you overwatered?
- Let it dry, improve airflow, and consider a lighter soil mix with perlite.
What if you underwatered?
- Soak the soil. Set the pot in a basin for 15 to 30 minutes, then drain.
Light that plants actually want
- Direct sun is strong light. East and south windows give the most. West can be hot.
- Bright, indirect light is near a window but out of harsh rays. Many houseplants love this.
- Low light is several feet from windows. Plants survive, but growth is slow.
Move plants in small steps. A sudden jump from low light to full sun can burn leaves. Use a sheer curtain to soften midday rays.
Soil and drainage that breathe
- Always use pots with drainage holes.
- Pick the right mix:
- Succulents and cacti Fast draining mix with sand or perlite.
- Tropical foliage Light, airy mix with peat or coco coir, perlite, and bark.
- Herbs Well draining with a little compost.
If the soil stays wet for days, it is too dense. Add perlite or bark to increase airflow. This simple tweak solves many cases in how to save dying plants for beginners.

Step-by-step rescue plan
Here is a clear, calm plan you can follow today. It is the backbone of how to save dying plants for beginners.
-
Isolate the plant Keep it away from others in case of pests or disease.
-
Inspect from top to bottom Check leaves, stems, soil, and roots.
-
Trim wisely
- Remove dead, crispy leaves.
- Cut mushy stems back to firm, green growth.
- Sterilize scissors with 70 percent rubbing alcohol.
- Root check and prune
- Slide the plant out of the pot.
- Cut off black, mushy roots.
- Keep healthy, pale roots intact.
- Repot if needed
- Choose a pot only 1 to 2 inches wider than the old one.
- Use fresh, well draining mix.
- Gently settle roots and fill gaps without packing soil tight.
- Water with care
- After repotting, water once, then let excess drain.
- Do not water again until the top inch is dry for most houseplants.
- Light and humidity
- Place in bright, indirect light while it recovers.
- Boost humidity for tropical plants with a pebble tray or by grouping plants.
- Pause fertilizer
- Wait 3 to 4 weeks before feeding again.
- When you do, use a half-strength balanced fertilizer.
- Monitor
- Check soil moisture twice weekly.
- Look for new growth. Celebrate small wins.
Note Not every plant can be saved. If more than 70 percent of the roots are mush, take cuttings from healthy stems and propagate. That still fits the spirit of how to save dying plants for beginners.

Special cases beginners face
Here are fixes for the most common scenarios. These tie directly into how to save dying plants for beginners.
Overwatered plants and root rot
- Signs Yellowing leaves, wilting with wet soil, fungus gnats.
- Fix Remove from pot, trim rotten roots, repot in airy mix, and reduce watering. Add airflow. Let the soil dry between waterings.
Underwatered, crispy plants
- Signs Dry soil pulling from pot edges, crispy leaves, droop.
- Fix Bottom-water 15 to 30 minutes. Then switch to deep, less frequent watering. Consider a water reminder.
Sunburned or light-starved
- Sunburn Brown, bleached spots on the sun side. Move plant back, use a sheer curtain.
- Light-starved Long, thin stems reach toward light. Move closer to a window or add a grow light.
Pests
- Look for dots, webbing, sticky residue.
- First aid Rinse leaves in the sink. Wipe with a damp cloth.
- Treat Spray leaves with insecticidal soap or neem, weekly for 3 weeks. Use yellow sticky traps to monitor.
Fungal issues
- Improve airflow and reduce moisture.
- Remove affected leaves. Water soil, not leaves.
Propagation as a rescue
- Take stem cuttings from healthy sections.
- Root in water or damp perlite.
- This gives a fresh start if the mother plant fails.
These focused steps are the safety net in how to save dying plants for beginners.

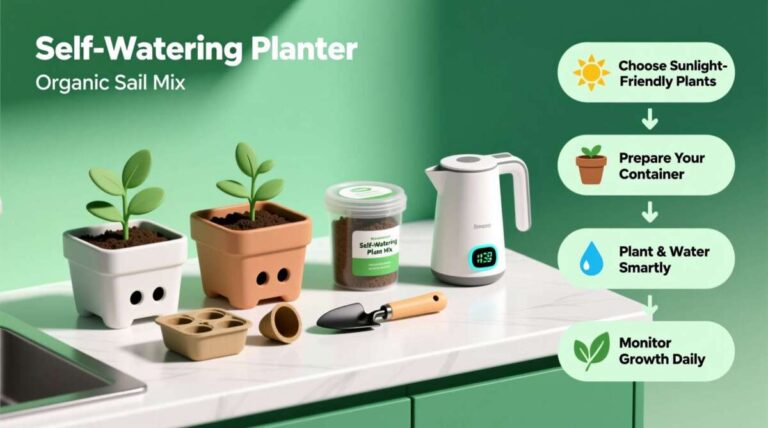
Tools and supplies every beginner should have
Think of this as your plant first-aid kit. It makes how to save dying plants for beginners far easier.
- Clean pruning shears For safe, neat cuts.
- 70 percent rubbing alcohol For tool sterilizing and pest wipe-downs.
- Moisture meter Optional, helpful while you learn.
- Squeeze bottle or watering can With a narrow spout for control.
- Neem oil or insecticidal soap For pests.
- Perlite, bark, and quality potting mix For drainage and airflow.
- Pots with drainage holes Non-negotiable.
- Sticky traps To track flying pests like fungus gnats.
- Sheer curtain To soften harsh sun.
- Pebble tray To raise humidity for tropical plants.

Common mistakes to avoid and my hard-learned lessons
I have made every beginner mistake you can imagine. Here is what I wish I knew when I started with how to save dying plants for beginners.
- Watering on a schedule instead of by need Plants drink based on light, season, and pot size. Check soil first.
- Using soil that is too heavy Roots need air as much as water. Add perlite or bark.
- Potting up too big Large pots stay wet and cause rot. Go up one size only.
- Skipping quarantine New plants can bring pests. Keep new plants apart for two weeks.
- Panicking and over-fixing Move one variable at a time. Change light or water, not both at once, when you can.
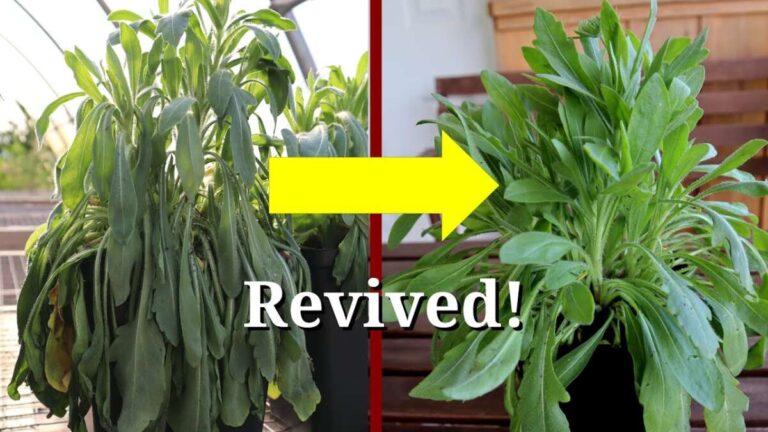
Personal note I once lost a mint plant by keeping it in a dark kitchen corner. It wilted no matter how I watered. A move to a bright window, a lighter soil mix, and a trim brought it back in two weeks. The lesson Light trumps almost everything.

A simple 14-day recovery schedule
This plan keeps you on track and reduces guesswork. It is a practical map for how to save dying plants for beginners.
- Day 1 Isolate, inspect, prune, and repot if needed. Water once.
- Day 2 Wipe leaves. Place in bright, indirect light. No fertilizer.
- Day 3 Check top inch of soil. If moist, wait. If dry, water lightly.
- Day 4 Inspect for pests. Adjust light if leaves curl or droop.
- Day 5 Rotate the pot a quarter turn for even light.
- Day 6 Bottom-water if soil is dry. Drain well.
- Day 7 Look for new growth. Take notes on changes.
- Day 8 Dust leaves. Clean tray and pot saucer.
- Day 9 Check roots if droop persists. If mushy, trim and repot again.
- Day 10 Light feed only if you see clear new growth and the plant looks stable.
- Day 11 Water by need. Keep airflow steady.
- Day 12 Remove any new yellow or dead leaves.
- Day 13 Rotate the pot again. Check for pests.
- Day 14 Review your notes. What worked? Keep doing it.

Prevention blueprint: keep plants thriving
Saving a plant is great. Keeping it happy is better. Prevention is the long game in how to save dying plants for beginners.
- Match plant to your light Choose plants for your space, not the other way around.
- Water by test, not by date Use the finger test. Lift the pot.
- Refresh soil yearly Repot with fresh mix to prevent compaction and salt build-up.
- Feed during active growth Use a balanced, diluted fertilizer every 4 to 6 weeks in spring and summer.
- Clean leaves Monthly leaf wipes improve light capture and reduce pests.
- Rotate plants Quarter turn weekly for even growth.
- Quarantine new plants Two weeks apart from others helps avoid pest spread.
- Adjust with seasons Less water in winter, more in brighter months.
Stick with these habits, and you will master how to save dying plants for beginners and avoid repeat emergencies.
Frequently Asked Questions of how to save dying plants for beginners
How do I know if my plant is overwatered or underwatered?
Overwatered plants have yellowing leaves and wet soil. Underwatered plants have dry soil, crispy leaves, and droop that improves after watering.
Should I remove brown leaves?
Yes. Trim dead or brown leaves to redirect energy to healthy growth. Cut at the base or to green tissue.
When should I repot a sick plant?
Repot if roots are mushy or circling the pot tightly. If roots look healthy, adjust care first and delay repotting.
Can fertilizer save a dying plant?
Not right away. Fertilizer helps healthy plants grow, but it can stress weak roots. Wait 3 to 4 weeks after rescue work.
How long does recovery take?
Most plants show progress in 2 to 4 weeks. Full recovery can take a few months, depending on the damage.
Is bottom watering better?
It is great for dry, compacted soil. Use it as a tool, not a rule, and let the pot drain well.
What if only the top leaves look good?
Cut and propagate the healthy tops. This is a valid step in how to save dying plants for beginners.
Conclusion
You now have a clear plan to diagnose problems, fix the root cause, and guide your plant back to health. Start with simple checks, adjust water, light, and soil, and make calm, steady changes. You can do this.
Pick one struggling plant today and follow the 14-day schedule. If this guide helped, subscribe for more easy wins, share your progress, or leave a question so I can help you take the next step.

Laura Bennett is a gardening writer at MyGardenLabs who creates beginner-friendly guides focused on solving common plant care and gardening problems.