How To Thin Seedlings Properly: Step-By-Step Guide 2026
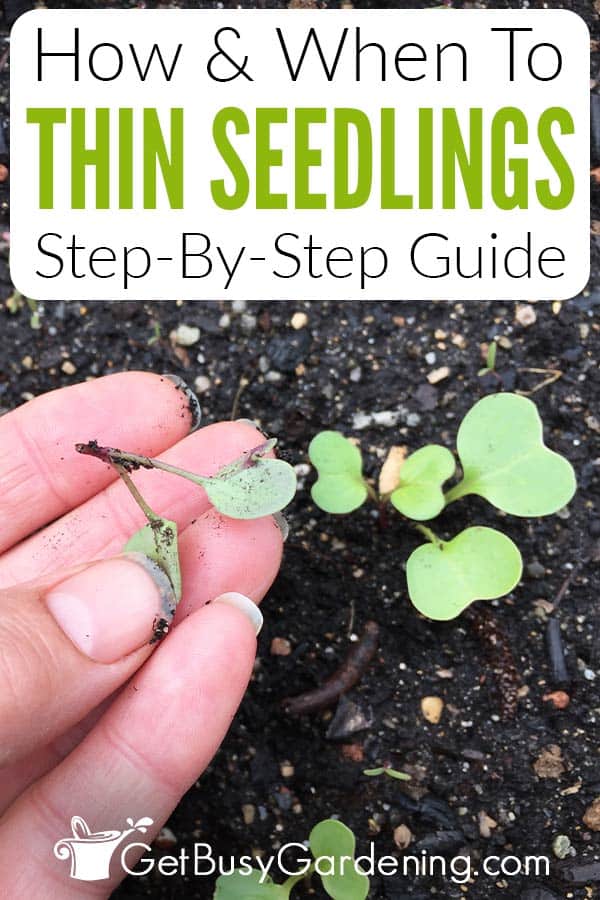
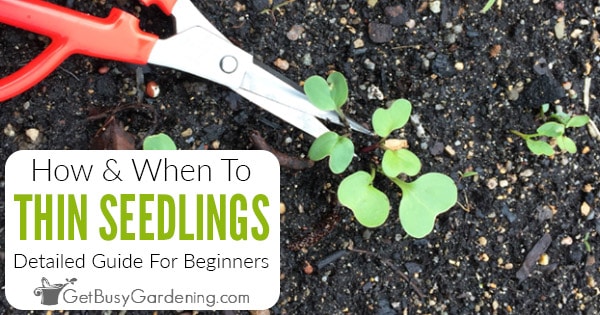
Thin seedlings by snipping extras at soil level for proper spacing and vigor.
If you want strong plants, higher yields, and fewer problems, you must learn how to thin seedlings properly. I’ve thinned tens of thousands of starts in trays and garden beds, and I’ll show you a clear, gentle method that protects roots, speeds growth, and avoids disease. Follow along, and you’ll feel confident thinning any crop, from carrots to kale.

Why thinning matters for healthy plants
Seedlings compete for light, water, and nutrients. When too close, they grow tall and weak, and roots tangle. Crowding also traps moisture and invites disease. Thinning gives each plant space to breathe, which sets the stage for a healthy harvest.
Good spacing boosts airflow and light. It also reduces stress, so plants put energy into roots and fruit. If you want fewer pests, steadier growth, and better flavor, learn how to thin seedlings properly.
When to thin seedlings
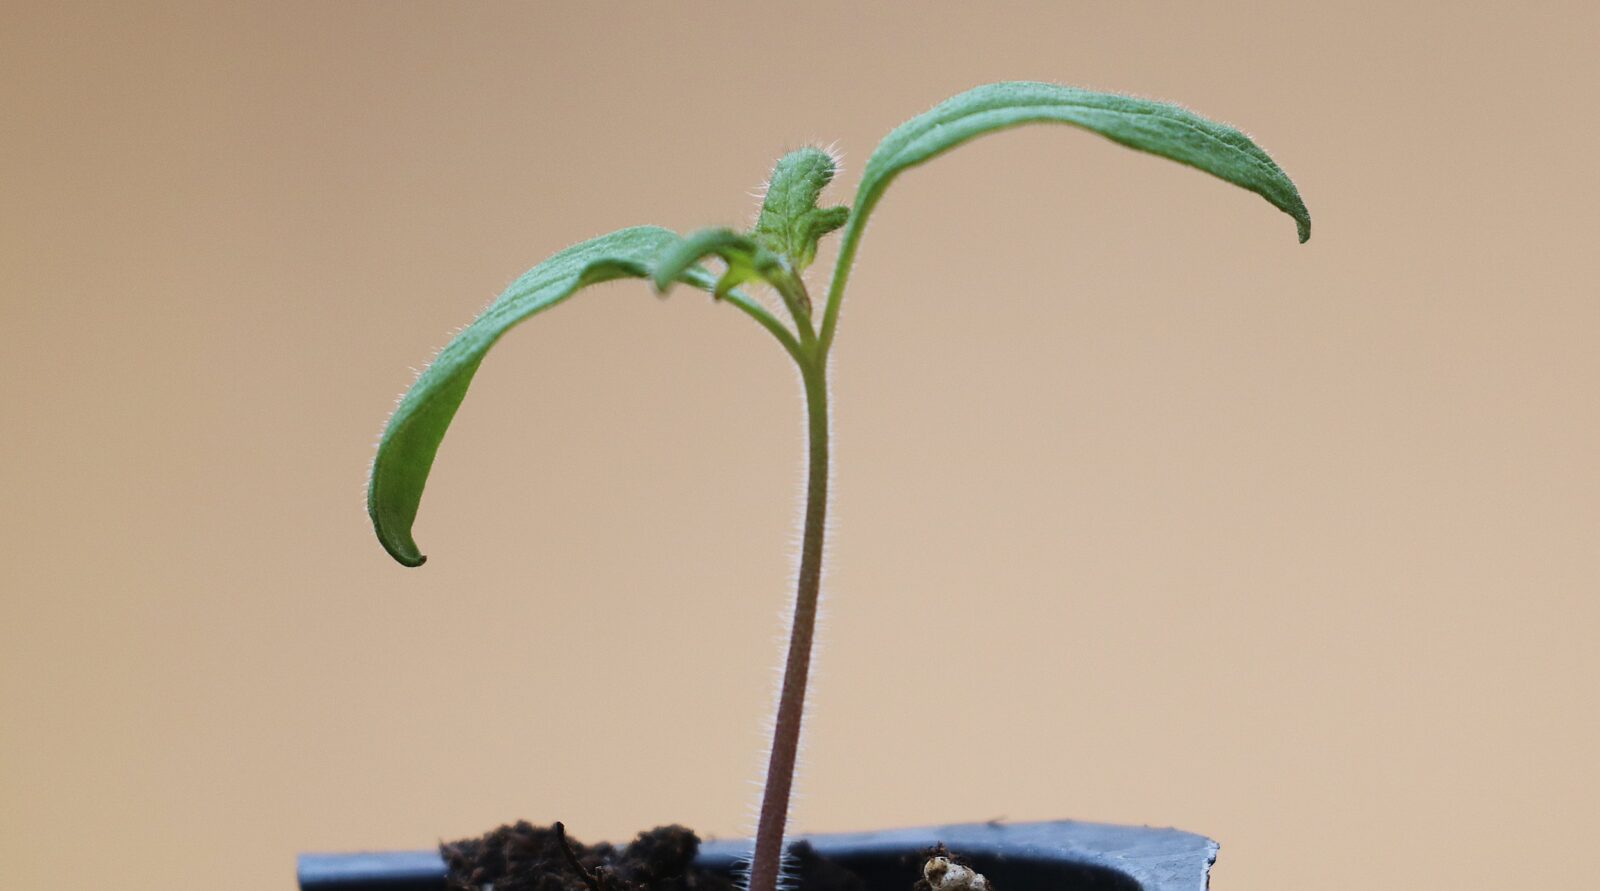
Wait until seedlings have 1 to 2 sets of true leaves. True leaves look like the adult leaves of the plant, not the first smooth seed leaves. At this stage, roots are still small and easy to work around.
Time your thinning for the cool part of the day. Early evening works well. Water a few hours before you thin to ease stress. For slow growers like carrots, be patient. For fast growers like radishes, thin earlier.
What you need: tools and prep
Have clean, sharp scissors. A small pair of snips or nail scissors is ideal. Keep alcohol wipes or a 1:10 bleach solution to clean blades between trays.
Gather labels and a simple ruler. Use a watering can with a fine rose or a spray bottle. Good hygiene matters. Clean tools help prevent damping-off and rot while you learn how to thin seedlings properly.

Methods: how to thin seedlings properly step-by-step
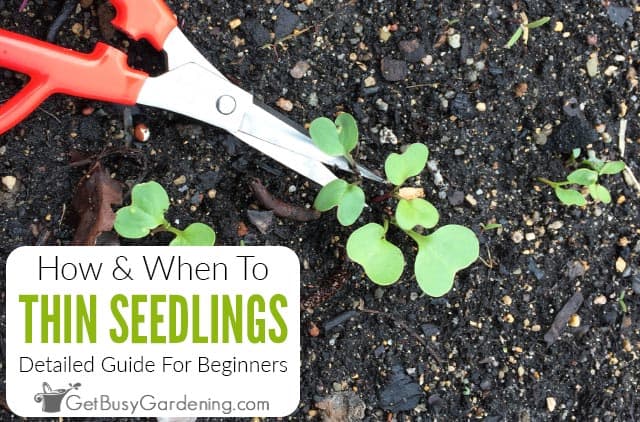
The safest method is to cut, not pull. Snipping avoids root shock. Use these steps.
- Water lightly 1 to 3 hours before you start. Moist soil reduces stress.
- Choose the best seedling in each cluster. Look for thick stems, good color, and even growth.
- Hold the keeper steady by a leaf. Never pinch the stem.
- Cut the extra seedlings at soil level with clean scissors. Do not yank.
- Space to the final target distance for that crop.
- Water again to settle soil and reduce shock.
- Increase light and airflow for a day or two.
Alternate method: gentle lifting and transplanting
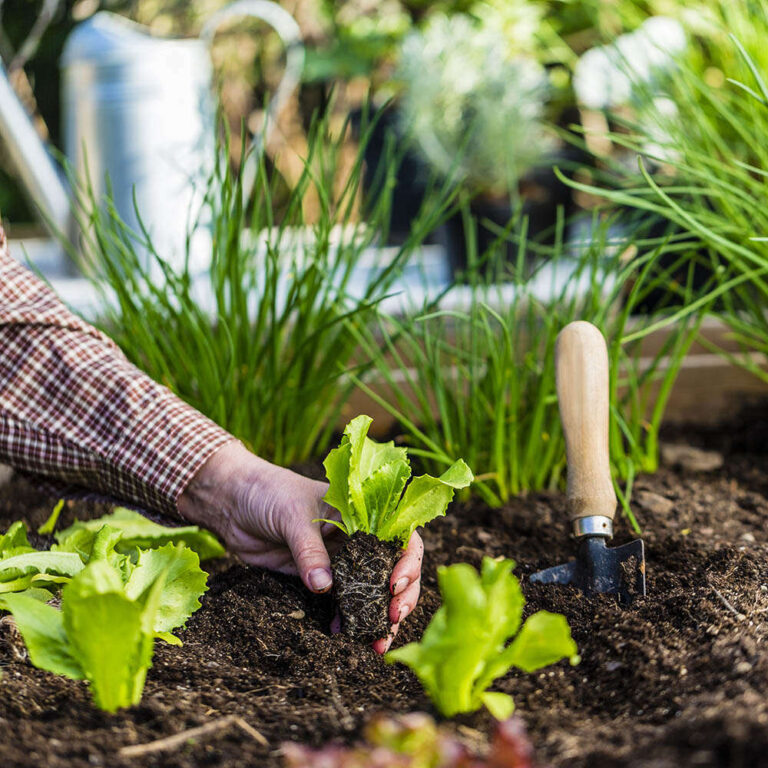
Some crops handle moving well. Brassicas, lettuce, beets, and onions can be lifted and set elsewhere. Use a dibber, pencil, or spoon. Lift by a leaf, not the stem, and replant at the same depth. Water in well. Avoid moving carrots, parsnips, and radishes. Their taproots dislike disturbance.
Crop examples using how to thin seedlings properly
- Carrots: When plants are 2 to 3 inches tall, thin to 2 inches apart. Cut extras only.
- Beets: Thin to 3 to 4 inches apart. You can replant small extras if handled early.
- Lettuce: Thin leaf types to 6 to 10 inches. Transplant extras for a second row.
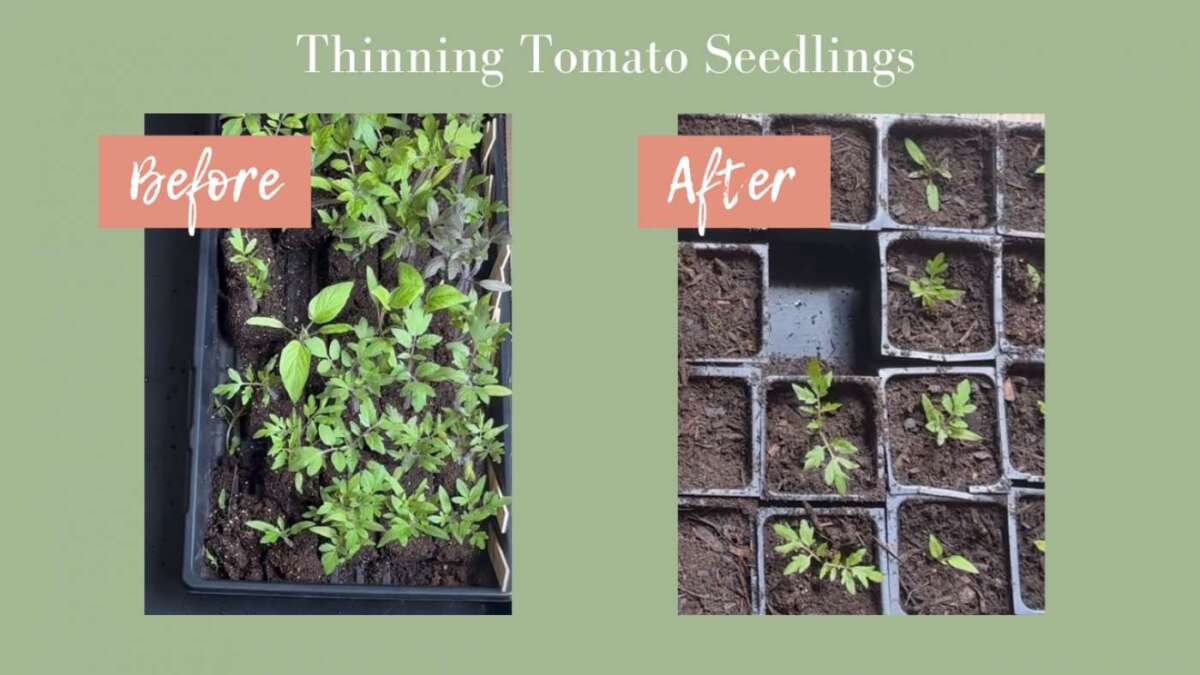
- Tomatoes in trays: One seedling per cell. Snip extras early at the first true leaf.

Spacing guide for common crops
Use these simple targets for strong growth.
- Carrots: 2 inches apart
- Radishes: 2 inches apart
- Beets: 3 to 4 inches apart
- Onions: 3 to 4 inches apart
- Lettuce leaf types: 6 to 10 inches apart
- Kale and collards: 12 to 18 inches apart
- Spinach: 3 to 4 inches apart
- Peas: 2 inches apart
- Bush beans: 6 inches apart
- Cucumbers: 12 to 18 inches apart in-row
- Tomatoes in ground: 24 to 36 inches apart
Set spacing based on mature size and airflow. Use the high end where summers are hot or humid. Good spacing is key to how to thin seedlings properly.
Aftercare: help seedlings recover
Water at the base so leaves dry fast. Bottom watering for trays works well. Keep soil moist, not soggy, for a few days.
Give strong light and steady airflow. A small fan on low helps indoor starts. Add a light mulch outdoors to hold water. If sun is harsh, provide light shade for a day.

Mistakes to avoid and pro tips
Common mistakes
- Pulling extras and tearing roots
- Thinning too late, after roots tangle
- Thinning when soil is dry and hot
- Touching stems instead of leaves
- Ignoring labels and losing track of spacing
Pro tips
- Thin in the evening to cut stress.
- Clean blades between trays to limit disease.
- Snip crowded trays early at the first true leaf.
- Eat tender thinnings as microgreens.
- Succession sow small amounts weekly to reduce heavy thinning later.
These habits make how to thin seedlings properly feel simple and calm.

Special cases: trays, plugs, and direct-sown beds
Trays and plug cells
Start with two seeds per cell. Keep the best one. Snip the weaker seedling at the soil line when true leaves appear. For crops that handle transplanting, lift with a dibber and keep root balls intact.
Direct-sown beds
Thinning in beds needs care. Cut extras at soil level to avoid root damage. For beets, you can lift small clusters and split them gently. For carrots and radishes, do not transplant. Cut and compost the rest. These small shifts are core to how to thin seedlings properly.
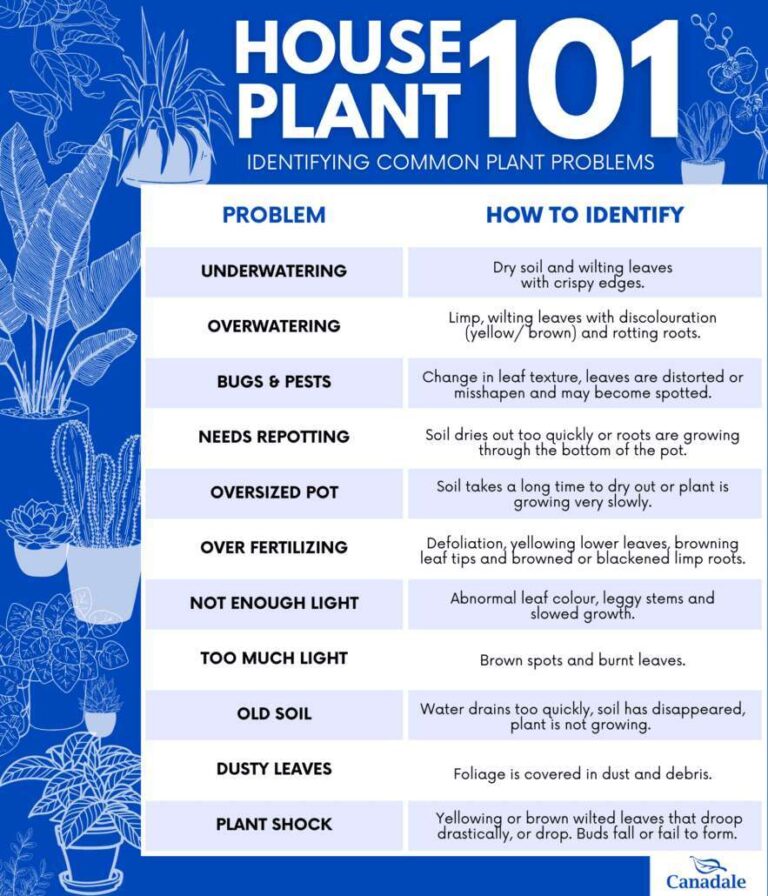
Troubleshooting: leggy, crowded, or weak seedlings
Leggy seedlings mean low light or crowding. Lower the lights to 2 to 3 inches above the canopy and thin more. A small fan helps stems grow sturdy.
If seedlings wilt after thinning, you may have cut too late or in heat. Shade and water at the base. If damping-off appears, increase airflow, thin more, and avoid overwatering. Learning how to thin seedlings properly will reduce these issues over time.
Sustainable use of thinnings: eat or replant
Many thinnings are edible. Use lettuce, beet greens, radish tops, bok choy, and kale in salads or sautés. Rinse well and enjoy that fresh taste.
Some extras can be replanted. Lettuce, brassicas, onions, and beets move well when tiny. Carrots, parsnips, and radishes do not. Compost what you cannot eat. This closes the loop while you practice how to thin seedlings properly.
Quick checklist: how to thin seedlings properly at a glance
- Water ahead of time so soil is moist.
- Pick the strongest seedling in each spot.
- Hold by a leaf and snip extras at soil level.
- Space to the crop’s target distance.
- Water, add airflow, and give bright light.
- Keep notes and adjust next sowing rates.
Use this checklist each time you thin. It keeps you calm and precise.
Frequently Asked Questions of how to thin seedlings properly
How do I know which seedling to keep?
Choose the seedling with a thicker stem, even growth, and rich color. Avoid pale, floppy, or damaged plants.
Can I transplant the seedlings I remove?
You can transplant lettuce, brassicas, onions, and beets when very small. Avoid moving carrots, radishes, and parsnips due to taproot damage.
How close is too close for seedlings?
If leaves overlap and stems lean, they are too close. Follow the spacing guide for each crop, and thin earlier if growth looks cramped.
Is it okay to thin by pulling instead of cutting?
Cutting is safer because it protects nearby roots. Pull only when seedlings are tiny and soil is very loose.
How often should I practice how to thin seedlings properly in trays?
Check trays every 2 to 3 days once seeds sprout. Thin at the first true leaf stage to keep one strong seedling per cell.
What if I over-thinned and have gaps?
You can tuck in spare transplants for crops that move well. For direct-sown root crops, resow the gaps and keep soil moist.
Do I still need to thin if I used seed tape?
Often yes, but less. Check spacing and remove extras if two seeds sprouted close together.
Conclusion
Thinning is a small act that delivers big results. Give each plant the space it needs, and you’ll see stronger growth, cleaner leaves, and better harvests. Start with clean tools, snip extras at soil level, and follow crop spacing. Practice how to thin seedlings properly a few times, and it will feel second nature.
Ready to try it today? Head to your beds or trays, pick one row, and thin with care. Want more guides like this? Subscribe for weekly tips, or drop a question in the comments so I can help with your specific setup.

Laura Bennett is a gardening writer at MyGardenLabs who creates beginner-friendly guides focused on solving common plant care and gardening problems.