How To Improve Drainage In Plant Pots: Easy 2026 Guide
Add drainage holes, use a gritty mix, elevate the pot, and water wisely.
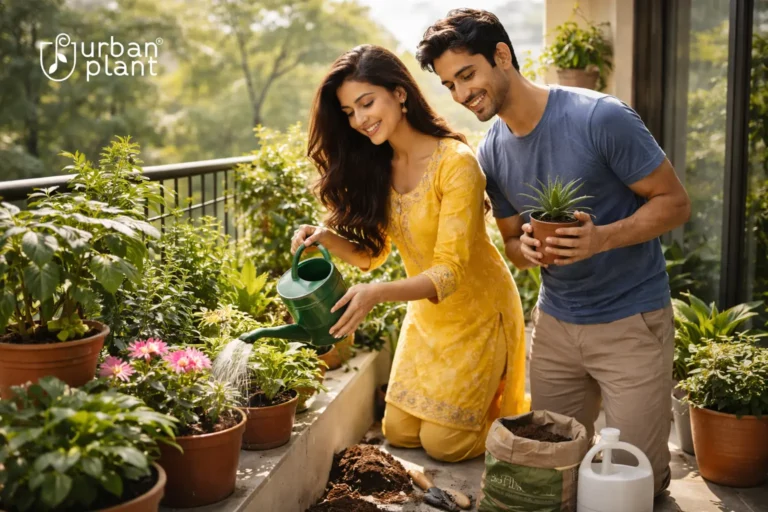
If you want strong roots and fewer plant problems, you need great drainage. I’ve spent years testing soil blends, pots, and watering tricks. This guide shows how to improve drainage in plant pots with simple steps you can use today. You’ll learn what works, what to skip, and how to fix soggy soil fast.

Why drainage matters for healthy roots
Good drainage keeps roots supplied with air. Roots need oxygen to breathe. When soil stays wet, pores fill with water and push out air. That leads to weak roots and slow growth.
Wet soil also invites rot. Fungi and bacteria thrive in low oxygen. Salt can build up in stagnant water and burn roots. This is why how to improve drainage in plant pots is a core skill for plant care.
Think of soil like a sponge with tiny tunnels. You want those tunnels to hold some water but still let air pass. With the right setup, water moves through, and roots stay happy.
How to diagnose poor drainage
You can spot bad drainage with a few signs.
- Leaves turn yellow from the bottom up.
- Soil looks wet days after watering.
- A musty smell or fungus gnats appear.
- Water pools on the surface and drains slowly.
Do a simple drain test. Water the pot until it flows from the holes. Time the drain. If the surface stays glossy for more than a minute, the mix may be too dense. If a wooden skewer stays wet after 24 hours, it is holding water too long. Use these clues to guide how to improve drainage in plant pots for your setup.
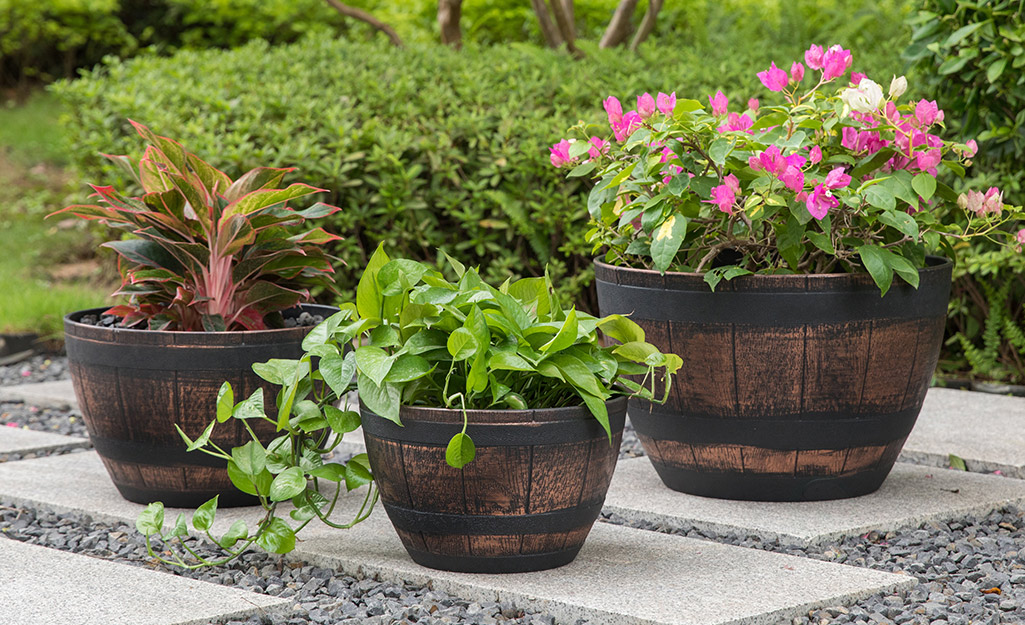
Choose the right pot and drainage holes
Start with the pot. It makes the biggest difference.
- Always use a pot with drainage holes. One large hole or three to five smaller holes work best.
- Terra-cotta breathes and helps moisture escape. Plastic holds water longer. Glazed ceramic sits in the middle.
- Elevate your pot on feet or a stand so water can exit fast.
- If your favorite cachepot has no hole, keep a plastic grow pot inside. Lift it to drain fully.
- Add a mesh screen over holes to keep mix in. Do not block holes with compact material.
If needed, drill holes. For plastic, use a standard bit. For ceramic, use a masonry bit and go slow. This is a key step in how to improve drainage in plant pots.

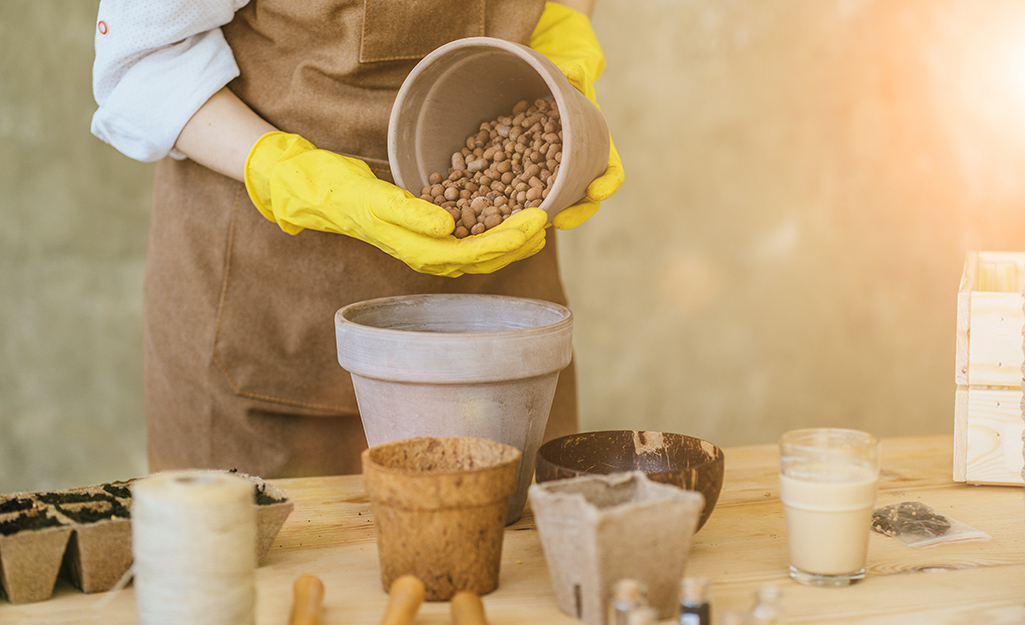
Build a fast-draining potting mix
Soil texture is your throttle. A chunky mix lets water pass and air stay in the root zone.
Basic rules:
- Use quality potting soil as your base.
- Add coarse particles to increase air: perlite, pumice, orchid bark, or gritty sand.
- Avoid garden soil. It compacts and drains poorly in pots.
Easy recipes by volume:
- Most houseplants: 2 parts potting mix, 1 part perlite or pumice, 1 part fine bark.
- Succulents and cacti: 1 part potting mix, 1 part pumice or perlite, 1 part coarse sand or small gravel.
- Moisture lovers that still need flow (like ferns): 3 parts potting mix, 1 part perlite, 1 part bark.
Moisten the mix before potting. This binds dust and helps it settle. The right blend is central to how to improve drainage in plant pots without constant guesswork.

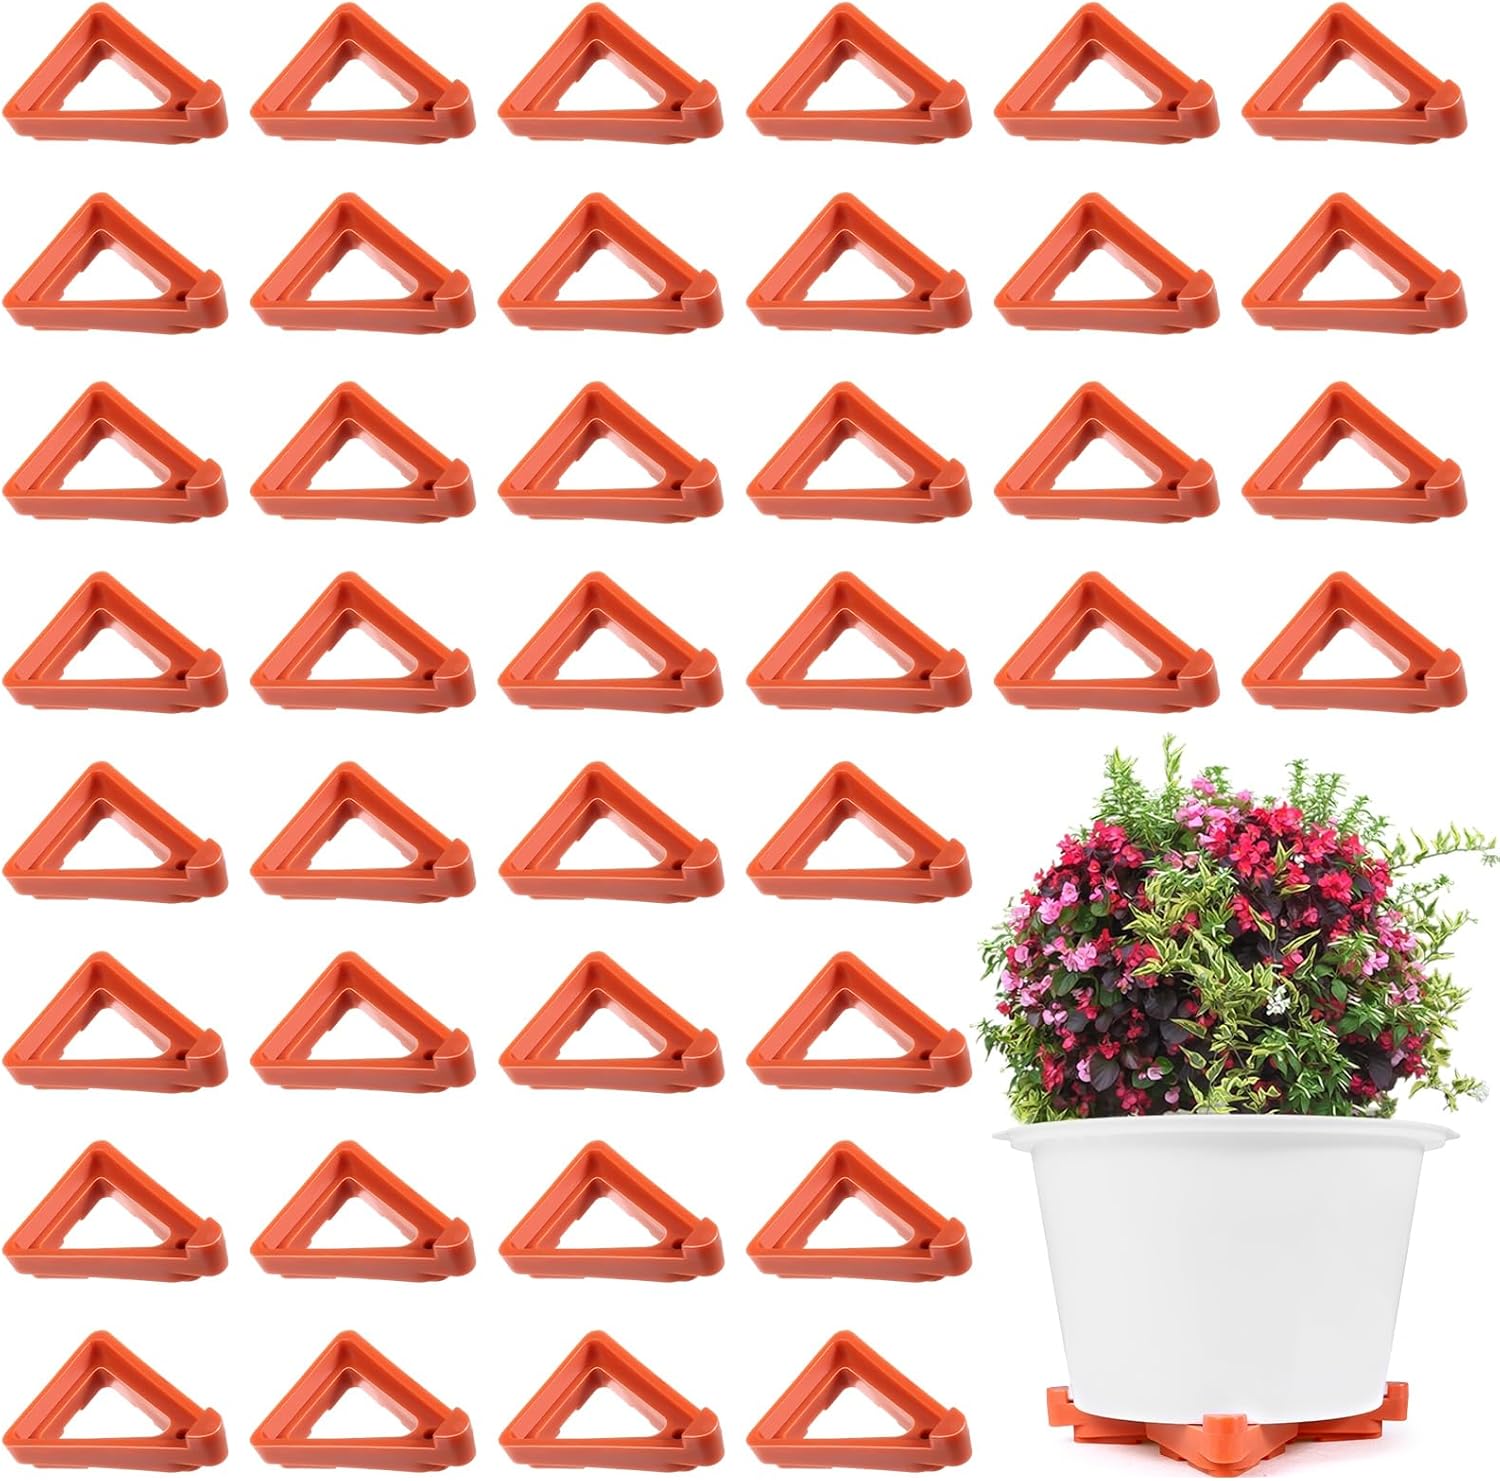
Elevate and improve airflow under pots
Height helps water escape. Think of it as giving your pot a small porch.
- Use pot feet, a trivet, or a plant stand.
- Keep saucers, but add pebbles to create a gap so the pot never sits in water.
- On decks or patios, use a wire grid or tiles to raise pots above flat surfaces.
Better airflow under the pot speeds drying and cuts rot risk. If you ask how to improve drainage in plant pots on a budget, pot feet are the cheapest quick win.
Watering techniques that protect drainage
Water the plant, not the calendar. Your method matters as much as your mix.
- Water deeply, then let excess drain out fully. Empty saucers after 10 minutes.
- Use the finger test or a skewer. If the top inch is dry but the core is wet, wait.
- Bottom watering can help, but do not leave pots soaking. Let them wick for 10–20 minutes, then drain.
- In winter, cut back. Less light means slower use of water.
Smart watering reduces compaction and algae. It also supports how to improve drainage in plant pots by keeping the soil structure intact.
Indoor vs. outdoor drainage tips
Indoors, air is still and light changes with seasons. Outdoors, rain, wind, and heat speed drying.
Indoors:
- Choose lighter, chunkier mixes.
- Use fans or open windows for airflow when possible.
- Watch for salt buildup from tap water. Flush monthly.
Outdoors:
- Use more bark or pumice in rainy seasons.
- Raise pots above soil or deck boards.
- Move pots under cover during heavy storms.
Adjusting for the environment is key in how to improve drainage in plant pots across seasons.
Smart add-ons and common myths
Some add-ons work. Some do not.
What helps:
- Geotextile mesh or a piece of window screen to cover holes.
- Pumice or coarse perlite for lasting air pockets.
- A wick pushed through a drainage hole to draw water out of deep pots.
What to skip:
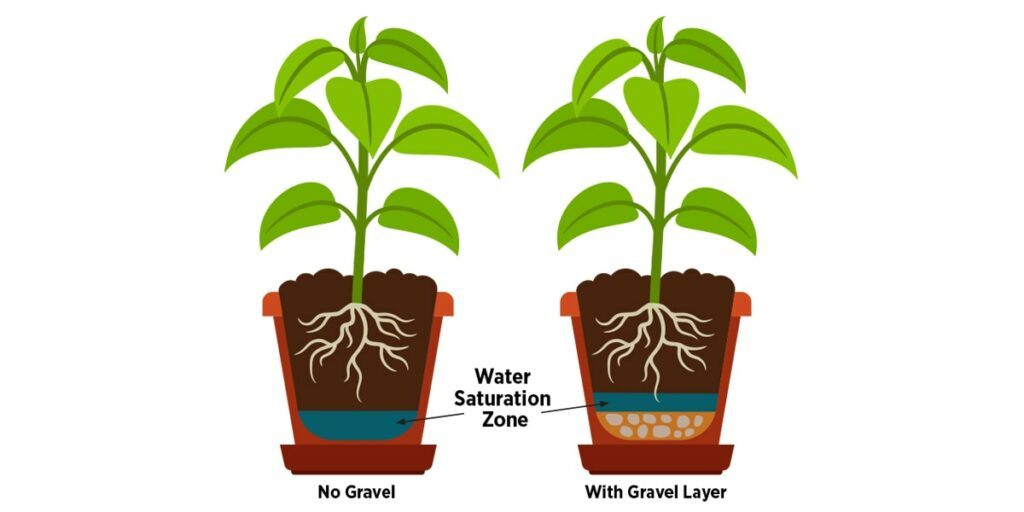
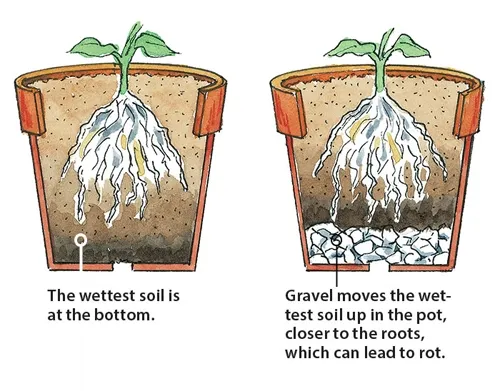
- Gravel at the bottom. It creates a perched water table and makes drainage worse.
- Coffee filters. They break down and can clog.
- Too much charcoal. It does not fix drainage on its own.
Stick with structure changes, not band-aids. This evidence-based approach is how to improve drainage in plant pots the right way.

Maintenance and troubleshooting
Drainage is not set-and-forget. Mix breaks down over time.
- Repot every 12–24 months, or when roots circle the pot.
- Gently poke holes with a chopstick to aerate dense spots.
- Flush pots with clean water every few months to wash salts.
- If rot starts, trim dead roots, use a fresher, chunkier mix, and reduce watering.
These habits keep soil open. They also answer how to improve drainage in plant pots without constant repotting.
Step-by-step quick fixes you can do today
Try these steps in order. Most take minutes and make a big impact.
- Empty the saucer and raise the pot on feet.
- Add a wick through the hole to pull out extra water.
- Mix in perlite or pumice at the top few inches to boost airflow.
- Drill extra holes if safe for the pot.
- Repot with a chunkier mix if soil stays wet after 4–5 days.
- Adjust your watering schedule to the plant’s light and season.
Follow this list when you need how to improve drainage in plant pots fast, even for beginners.
Frequently Asked Questions of how to improve drainage in plant pots
Do I need drainage holes in every pot?
Yes. Without holes, water has no exit and roots can suffocate. If a pot has no hole, use it as a cover pot with a drainable nursery pot inside.
Does gravel at the bottom help drainage?
No. Gravel makes a perched water layer form higher in the pot. Use a chunky soil mix instead to improve flow.
How often should I repot to maintain drainage?
Every 12–24 months for most plants is typical. If the soil compacts fast or drains slowly, repot sooner.
Can I improve drainage without repotting?
Yes. Add pot feet, drill more holes, and poke air channels with a chopstick. You can also wick water out and mix in some perlite at the top.
What is the best soil for succulents and cacti?
Use a very fast mix with large particles. A simple blend is equal parts potting mix, pumice or perlite, and coarse sand.
Are self-watering pots bad for drainage?
Not if used right. Keep the wick or reservoir small for plants that like to dry between drinks, and refresh the mix yearly.
Do moisture meters help with drainage issues?
They can, but use them with touch tests. Check at different depths to avoid false readings.
Conclusion
Healthy plants start with air at the roots and a clear path for water to exit. Choose pots with holes, build a chunky mix, elevate the base, and water with care. These simple habits are how to improve drainage in plant pots at any skill level.
Pick one tip and try it today. Then stack the next change next week. Share your results, subscribe for more plant care guides, and ask your questions in the comments.

Laura Bennett is a gardening writer at MyGardenLabs who creates beginner-friendly guides focused on solving common plant care and gardening problems.