How To Draw A Bonsai Tree: Easy Step-By-Step Guide
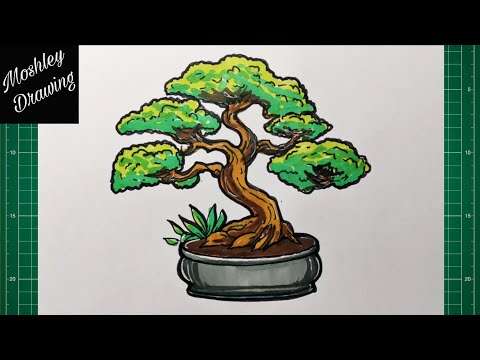
Use simple shapes, establish trunk flow, add branch clusters, then refine with texture.
I’ve taught drawing and practiced bonsai sketching for years, so I’ll guide you step by step on how to draw a bonsai tree with clarity and confidence. This guide breaks down form, proportion, texture, and style. Follow these methods and you’ll draw believable bonsai trees, from quick sketches to polished ink studies.

Why learn how to draw a bonsai tree?
Learning how to draw a bonsai tree trains your eye to see structure, rhythm, and scale. Bonsai pose rich visual puzzles: twisted trunks, dense foliage pads, and tiny pots.
Drawing bonsai improves patience and observation. These skills help whether you want to paint, design, or simply enjoy the plant.

Materials and tools you’ll need
- Pencil: Use HB for sketching and 2B for darker lines.
- Eraser: A soft eraser and a kneaded eraser for highlights.
- Paper: Medium-weight sketch paper or a smooth pad for ink.
- Pens and ink: Fine liners (0.1 to 0.8) for inking and detail.
- Reference: Photos or real bonsai to study form and texture.
- Optional: Blending stump for soft shading and a ruler for pot edges.

Understanding bonsai tree anatomy
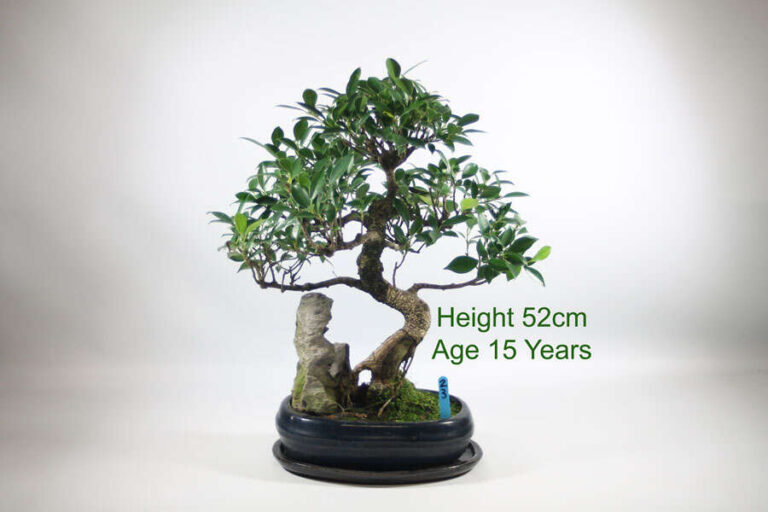
Bonsai have the same parts as full-size trees but in miniature form. Key parts to observe are trunk, primary branches, secondary branches, foliage pads, and the pot.
Study how trunk lines curve. Notice branch placement and negative space between foliage groups. These relationships define a convincing bonsai.
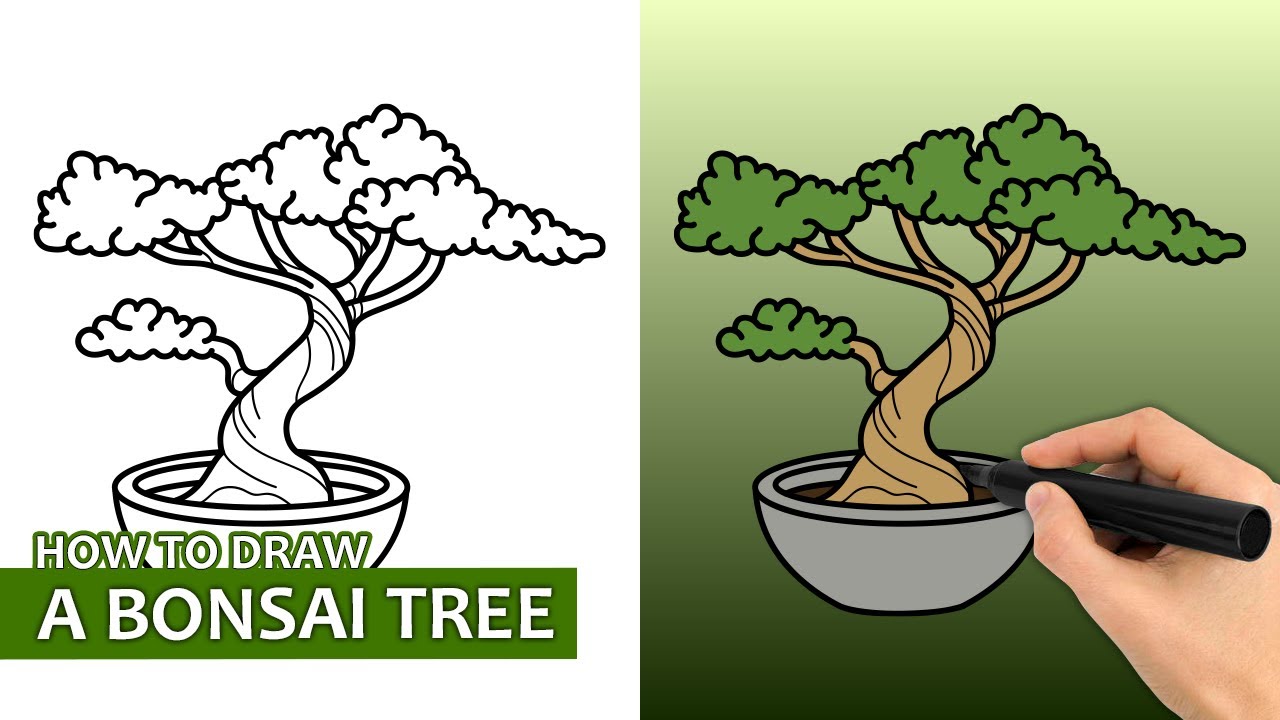
Step-by-step: How to draw a bonsai tree
- Block in the basic silhouette. Draw a simple shape for the canopy and a curved line for the trunk. Keep lines loose.
- Establish the trunk flow. Sketch a central trunk line. Add trunk flares and major twists. This gives character.
- Add primary branches. Place 3–5 large branches. Make sure they wrap around the trunk visually.
- Break branches into secondary limbs. Use thinner lines for smaller branches. Vary lengths and angles.
- Place foliage pads. Draw rounded clusters where leaves group. Keep gaps for depth.
- Draw the pot and root flare. Match pot size to the canopy scale. Show exposed roots when present.
- Refine contours. Clean trunk edges and branch ends. Remove construction lines gently.
- Add texture and light shading. Mark bark ridges and shadow under foliage. Keep strokes consistent with the form.
How to draw a bonsai tree well begins with simple shapes and builds to detail. Repeat these steps with different references to grow skill.

Adding texture, shading, and pot details
- Bark texture: Use short, curved strokes along trunk curves to show grain and age.
- Shading: Shade under foliage pads and on the trunk’s concave side to suggest light.
- Foliage technique: Use clustered scribbles or small leaf marks. Keep each pad distinct.
- Pot details: Draw pot rims, drainage holes, and soil surface. Add small pebbles or moss texture for realism.
- Ink approach: Ink major forms then add cross-hatching for deep shadow. Work from light to dark.

Common mistakes and how to fix them
- Making branches symmetrical: Avoid mirror-image branches. Vary placement and size for natural feel.
- Over-detailing early: Don’t add bark lines before the form is set. Work from big shapes to details.
- Flat foliage: Leave gaps and vary pad sizes to create depth.
- Wrong pot scale: If the pot is too large, the tree loses its bonsai feel. Keep pot proportional to canopy.

Practice exercises and variations
- Five-minute sketches: Capture trunk flow and a few branch gestures quickly. Repeat daily.
- Species study: Practice drawing maples, pines, and ficus to learn different leaf textures.
- Silhouette drills: Draw silhouettes to improve overall shape recognition.
- Inking challenge: Ink a graphite sketch without erasing to gain confidence in lines.
These exercises accelerate how to draw a bonsai tree by training specific skills in short bursts.

Quick questions (PAA-style)
How long does it take to learn to draw a bonsai tree?
A few weeks of regular practice will show clear improvement. Daily short sketches speed learning.
What’s the easiest bonsai style to draw?
Informal upright is the simplest because it follows natural trunk curves and balanced branch placement. It’s great for beginners.
Should I draw from photos or real bonsai?
Both help. Photos capture detail; real plants let you turn and study form in 3D. Use both when possible.

Frequently Asked Questions of how to draw a bonsai tree
How do I start a bonsai drawing if I’m a total beginner?
Begin with a simple outline for canopy and a center line for the trunk. Then add large branches and refine shapes slowly.
Which pencil is best for bonsai sketches?
An HB is fine for initial sketches and 2B for darker lines. Softer pencils help when shading details.
How do I show age in a bonsai trunk?
Add taper, flared base, surface ridges, and deadwood hints. Subtle texture and uneven lines suggest age and character.
How can I practice bonsai leaf texture quickly?
Use repeated short strokes or clustered dots inside each foliage pad. Vary pressure and direction for depth.
Can I paint a bonsai drawing after sketching?
Yes. Watercolor or ink washes work well. Keep the sketch light and build color in thin layers for control.
Conclusion
Drawing bonsai trees is a stepwise craft. Start with simple shapes, focus on trunk flow, and build branches and foliage in layers. Practice short studies, study real examples, and repeat the step-by-step method until it feels natural. Try a quick sketch today, share your progress, and keep exploring different species and styles. If this guide helped, subscribe for more drawing lessons or leave a comment with a photo of your next bonsai sketch.

Laura Bennett is a gardening writer at MyGardenLabs who creates beginner-friendly guides focused on solving common plant care and gardening problems.