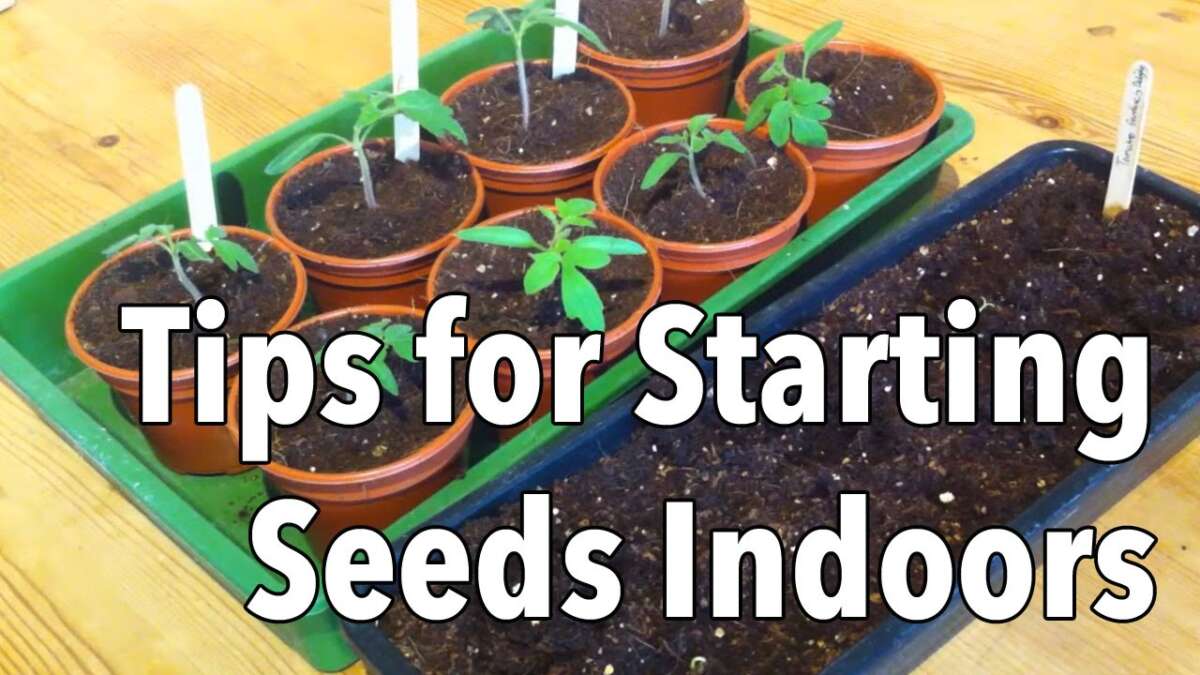
How To Start Seeds Indoors For Beginners: Easy Guide 2026
Use sterile mix, labeled trays, strong grow lights, gentle watering, and steady warmth.
If you want lush tomatoes, herbs, and flowers without guesswork, you are in the right place. I’ve started thousands of seedlings on kitchen counters, in garages, and under cheap shop lights. This guide shows how to start seeds indoors for beginners with clear steps, smart tools, and proven tips you can trust.
Why start seeds indoors
Starting seeds inside gives you control over light, temperature, and timing. You get a head start on the season and a wider choice of varieties. It also saves money and helps you grow stronger plants. If you want a simple plan on how to start seeds indoors for beginners, this section sets the stage.
I learned fast that indoor starts handle spring cold snaps better. My early basil and peppers used to stall outside. Under lights, they grew thick stems and deep roots that took off in the garden.
:max_bytes(150000):strip_icc()/growing-seeds-indoors-common-mistakes-847800-08-9bd673b10ecd4408bd2ace764480521d.jpg)
Tools and supplies checklist
Here is a simple kit that works well and costs less than you think.
- Seed-starting trays with cells or small cups with drainage holes
- Humidity dome or clear cover to hold moisture
- Seed-starting mix that is fine, light, and sterile
- Heat mat with thermostat for steady germination warmth
- LED grow lights with adjustable height or bright shop lights
- Spray bottle and a small watering can
- Fan for airflow and stronger stems
- Labels and a permanent marker
- Clean scissors and a spoon for transplanting
- Diluted liquid fertilizer (balanced or fish/seaweed)
As you learn how to start seeds indoors for beginners, focus on clean tools and simple gear. Clean tools prevent disease and help your seeds sprout strong.

Timing and choosing the right seeds
Most seed packets list when to start indoors. Count backward from your last spring frost. Cool crops like broccoli may need 4 to 6 weeks. Warm crops like tomatoes and peppers often need 6 to 8 weeks.
Check days to maturity and your light setup. Slow crops like peppers need more time inside. Fast growers like cucumbers do better with less time to avoid root stress. For how to start seeds indoors for beginners, match crop needs to your calendar and space.
If you are unsure of frost dates, ask a local nursery or search your zip code. Add a week if your windows are cloudy or your lights are weak.
:max_bytes(150000):strip_icc()/growing-seeds-indoors-common-mistakes-847800-05-db13b15adbbb4d3a9097230c5bb97cc4.jpg)
Setup: light, temperature, humidity, and airflow
Light is vital. Give seedlings 14 to 16 hours of bright light each day. Keep LEDs 2 to 4 inches above leaves. Raise the lights as plants grow.
Warm soil speeds germination. Use a heat mat set to 70 to 75°F for most seeds. After sprout, many seedlings like 65 to 70°F by day and a few degrees cooler at night. Remove humidity domes once most seeds sprout to reduce disease.
A small fan prevents weak, leggy growth. Aim for a gentle breeze across the tray. Proper airflow and steady light are core to how to start seeds indoors for beginners with success.
/growing-seeds-indoors-common-mistakes-847800-05-db13b15adbbb4d3a9097230c5bb97cc4.jpg)
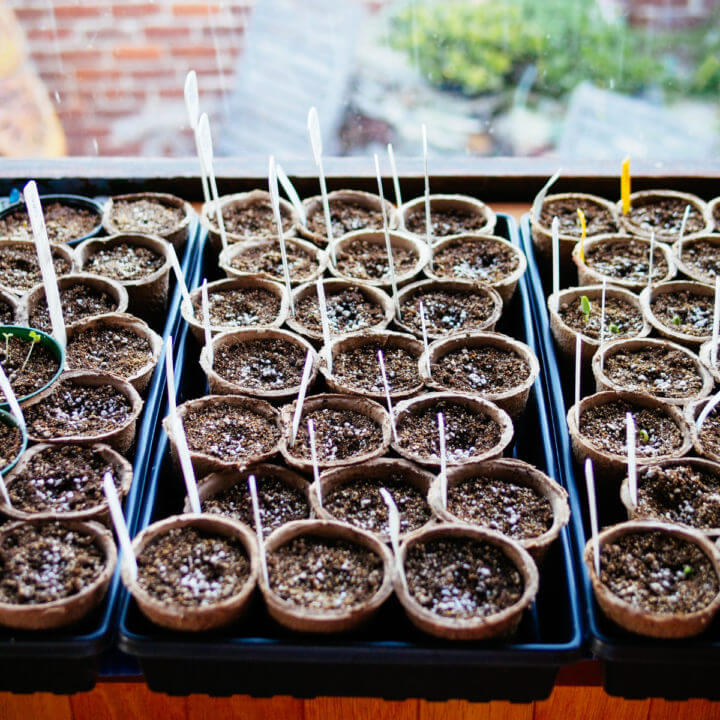
Step-by-step: sowing seeds the right way
- Clean trays and tools. Rinse and dry well.
- Fill cells with moistened seed-starting mix. It should feel like a wrung-out sponge.
- Tap trays to settle mix. Do not pack tight.
- Make a shallow hole. Follow the packet depth rule: plant seeds about two to three times their width.
- Drop one or two seeds per cell.
- Cover lightly with mix or vermiculite.
- Mist the surface until moist. Do not flood.
- Label each variety with name and date.
- Cover with a dome and set on a heat mat until germination.
- Move under lights as soon as you see green.
This simple routine anchors how to start seeds indoors for beginners. Keep notes so you can repeat what works.

Watering, feeding, and potting up
Water from the bottom when you can. Pour water into the tray and let cells wick it up. Dump extra water after 15 minutes so roots can breathe. If you must water from the top, use a gentle stream along the cell edge.
Start feeding at the first true leaves. Use a quarter-strength liquid fertilizer once a week. If leaves pale, bump to half strength. When roots fill cells, pot up into larger cups and add fresh mix. For tomatoes, bury the stem deeper to grow more roots.
These simple habits are a big part of how to start seeds indoors for beginners and avoid weak plants.
Common problems and quick fixes
Damping-off disease shows as stems that pinch and fall over. Fix with more airflow, less moisture on the surface, and clean trays. Sprinkle a thin layer of dry vermiculite on top after sowing.
Leggy seedlings stretch when light is too weak or too far. Lower lights, increase hours, and reduce room heat. A light breeze helps build thicker stems.
Yellow leaves can mean low nutrients or soggy roots. Feed at low strength and improve drainage. Slow germination often needs more warmth and fresh seed. Fungus gnats love wet mix; let the surface dry between waterings and use sticky traps.
Use these checks as a fast guide to how to start seeds indoors for beginners without stress.
Hardening off and transplanting
Start hardening off 7 to 10 days before planting outside. Set trays in shade for 1 to 2 hours on day one. Add time and light each day. Bring plants in if it is cold, windy, or very bright.
Transplant on a mild day with damp soil. Water plants well before you move them. Plant at the same depth, except tomatoes, which like deeper planting. Water in, mulch if you can, and provide shade cloth if the sun is harsh.
A gentle hardening plan is one of the key steps in how to start seeds indoors for beginners and finish strong.
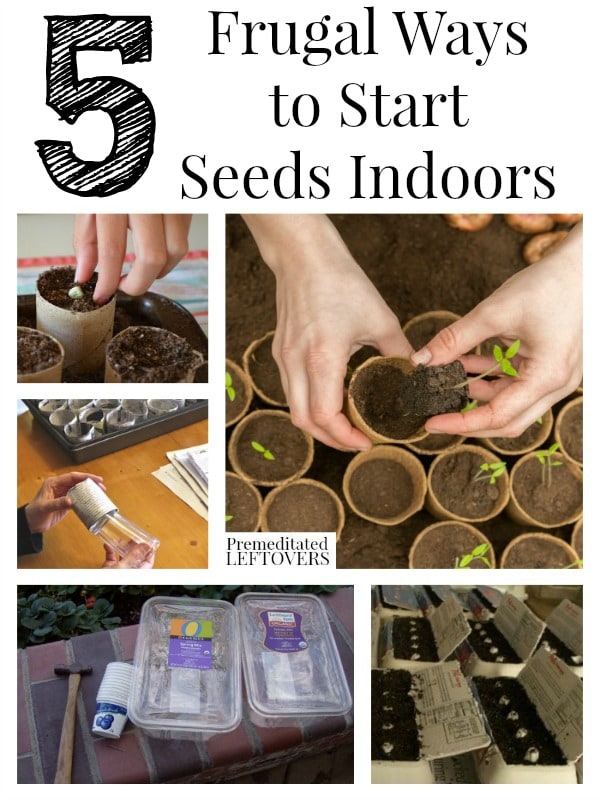
Budget-friendly and sustainable tips
You can grow great starts with simple tools. Shop lights with daylight bulbs can work well if placed close. Reuse yogurt cups with holes. Trays from produce clamshells make free germination domes.
Sterilize containers with a light bleach rinse and dry well. Use seed-starting mix rather than heavy garden soil. Save labels and keep a seeding log. These habits lower costs and improve your odds as you learn how to start seeds indoors for beginners.
Pro tips and mistakes to avoid
- Sow fewer seeds at once so you can give each tray good care.
- Label everything. You will not remember the green leaf that “looks like basil.”
- Do not overwater. Keep mix moist, not soggy.
- Place a calendar by your setup and record light hours, water days, and feed days.
- Thin extra seedlings with scissors so roots are not disturbed.
- Keep lights close to avoid leggy growth.
- Test a few varieties each season and note which thrive inside your setup.
These lessons came from wins and misses across many seasons of how to start seeds indoors for beginners.
Frequently Asked Questions of how to start seeds indoors for beginners
How many hours of light do seedlings need?
Most seedlings need 14 to 16 hours of bright light per day. Use a timer so it is consistent and easy.
Do I need a heat mat to germinate seeds?
A heat mat improves speed and uniformity for warm-season crops. Cool-season crops can sprout without one if the room is warm enough.
How often should I water seedlings?
Water when the top half-inch of mix feels dry. Bottom water when possible and dump any leftover water.
When should I start feeding seedlings?
Begin at the first true leaves with a quarter-strength liquid fertilizer. Increase to half strength if leaves fade.
How do I prevent damping-off disease?
Use sterile mix, avoid overwatering, remove domes after sprout, and run a fan. A thin layer of vermiculite helps keep the surface drier.
When are seedlings ready to transplant outside?
After hardening off for 7 to 10 days and once the weather suits the crop. Check your frost date and soil warmth.
Conclusion
Starting seeds inside is simple when you control light, warmth, water, and air. Set up clean trays, follow a clear sowing routine, and harden off with care. With practice, your seedlings will be sturdy, green, and ready to thrive.
Pick one crop this week and try the steps. Keep it small, take notes, and enjoy the process. If this guide helped, subscribe for more, ask a question in the comments, or share your own tips with the community.

Laura Bennett is a gardening writer at MyGardenLabs who creates beginner-friendly guides focused on solving common plant care and gardening problems.