How To Make Bonsai Pots: Easy DIY Guide
Making bonsai pots at home requires the right clay, strong drainage, careful shaping, and a proper firing process.
Learning how to make bonsai pots lets you match the pot to your tree, style, and growing needs. A good bonsai pot is more than a shallow container. It must support the roots, shed extra water, survive outdoor weather, and look balanced with the trunk and branches. This guide explains the full process, from choosing clay and planning the shape to drying, firing, and avoiding common mistakes.
Why Make Your Own Bonsai Pots?
Commercial bonsai pots can be costly, especially for large trees or unusual shapes. Handmade pots offer more freedom. You can choose the length, width, color, feet, rim, and drainage layout.
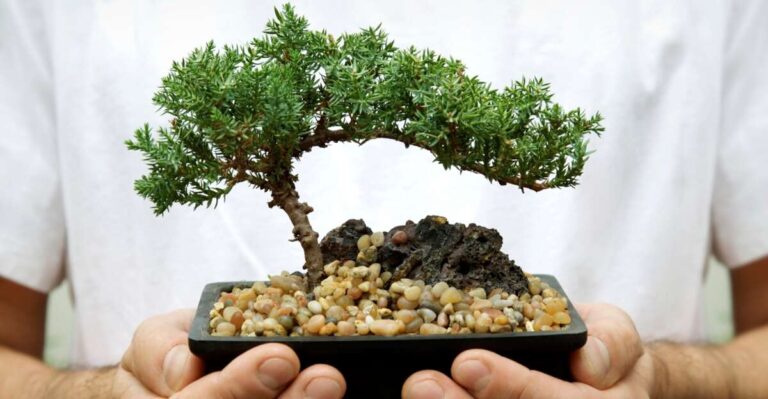
A custom pot also helps solve practical problems. A tall tree may need a deeper container for stability. A cascade bonsai may need a tall pot. A wide, spreading tree may look best in a low oval or rectangular pot.
When learning how to make bonsai pots, think of the container as part of the tree’s design. The pot should support the tree without stealing attention from it.
Common benefits include:
• Custom sizing for unusual root systems
• Better control over drainage holes and wire holes
• A personal look that mass-produced pots cannot provide
• Lower costs when making several pots
• A useful way to practice hand-building and pottery skills
Handmade pots also have limits. They may not look perfect at first, and clay can crack during drying or firing. The process takes patience, tools, and access to a safe kiln.

Choosing Clay for Bonsai Pots
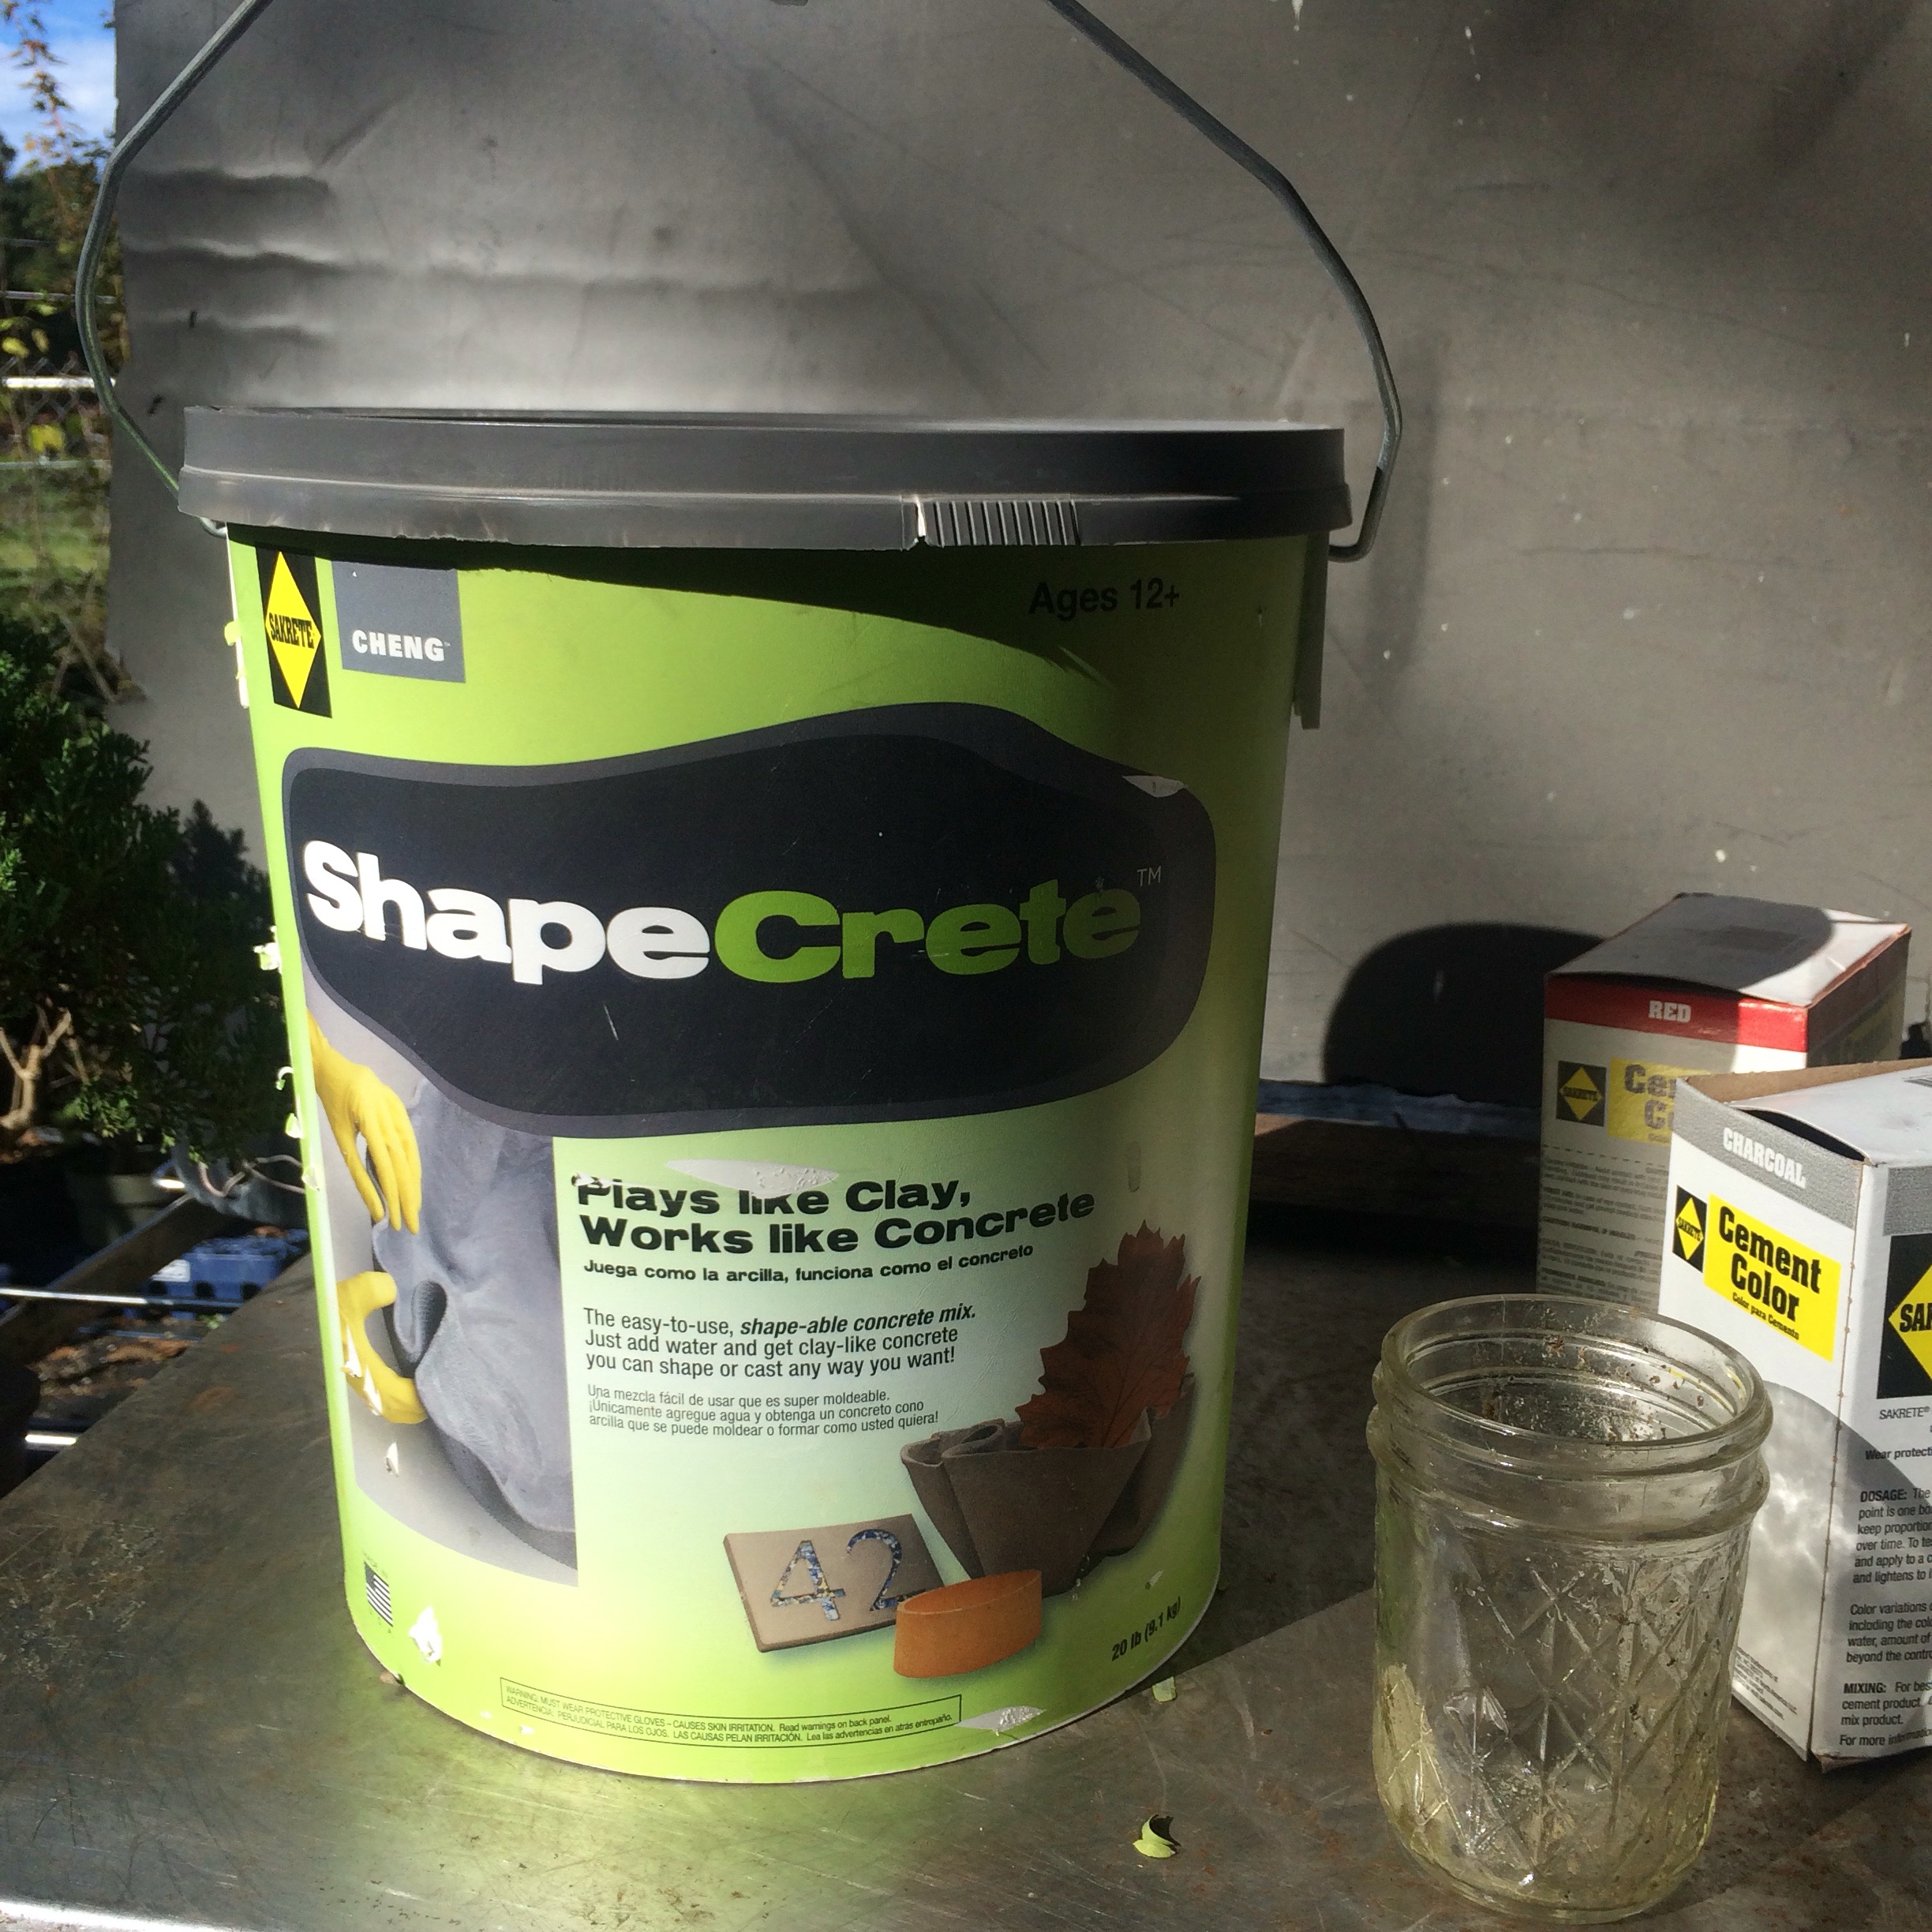
The clay body affects strength, texture, color, and weather resistance. For most bonsai pots, use a durable stoneware clay that can handle outdoor conditions.
Avoid soft earthenware clay unless you understand its limits. Low-fired clay may absorb more water and can crack in freezing weather. Stoneware is usually a better choice because it becomes harder and less porous at higher temperatures.
Look for clay labeled for:
• Stoneware firing
• Outdoor or frost-resistant use
• Hand-building
• The firing range supported by your kiln
Grog is another useful feature. Grog consists of fired clay particles added to a clay body. It can reduce shrinkage and improve strength, although coarse grog may make the surface harder to smooth.
Porcelain can make elegant bonsai pots, but it is less forgiving. It shrinks more and may warp during firing. Beginners often have better results with a forgiving stoneware body.
Always follow the firing range listed by the clay maker. Clay and glaze must be compatible with the kiln temperature. A mismatch can cause cracking, glaze problems, or a damaged kiln shelf.

Planning the Bonsai Pot Design
Before touching clay, measure the tree and sketch the pot. Good planning prevents a beautiful pot from becoming too small, too heavy, or visually unbalanced.
For many bonsai, the pot length is close to the tree’s height or canopy width, depending on the tree’s style. This is not a strict rule. A strong, wide tree may need a wider pot, while a slender tree may suit a narrower one.
Plan these features:
• Overall length, width, and depth
• Wall thickness
• Number and size of drainage holes
• Tie-down or wire holes
• Location of feet
• Rim shape
• Glaze or natural clay finish
A practical starting point is a wall thickness of about 3/8 inch to 1/2 inch. Very thin walls may warp or break. Very thick walls add weight and can dry unevenly.
Make a paper or cardboard template first. Place the template near the bonsai and view it from several angles. This simple step can reveal design problems before you spend time building the pot.
A formal upright tree often suits a rectangular pot. A rounded or informal tree may look better in an oval or soft-edged container. A cascade tree usually needs a deeper pot for visual and physical balance.
Tools and Materials You Need
You do not need a full pottery studio to begin. Basic hand-building tools can produce strong bonsai pots when used with care.
Gather:
• Stoneware clay
• A rolling pin or clay slab roller
• Two wooden thickness guides
• A sharp knife or clay cutter
• A ruler
• A rib tool or old gift card
• A needle tool
• A sponge
• Slip for joining clay
• A small brush
• A piece of cloth or canvas
• A work board
• A plastic sheet for slow drying
• A kiln or access to a pottery studio
For larger pots, add soft clay supports, foam, or sandbags. These supports help stop walls from bending while the clay firms up.
A drill is not the best tool for making drainage holes in leather-hard clay. Drilling can create rough edges and may cause cracks. A needle tool, hole cutter, or small clay punch gives better control.
Keep your work area clean. Dry clay dust can irritate the lungs. Clean with a damp sponge instead of sweeping or using compressed air.

How to Make Bonsai Pots Step by Step
The slab-building method is one of the easiest ways to learn how to make bonsai pots. It works well for rectangular, square, and oval designs.
1. Prepare and wedge the clay
Cut a workable amount of clay from the block. Knead or wedge it to remove air pockets and create an even texture.
Do not rush this step. Air pockets can expand during firing and damage the pot. If you are new to wedging, ask a pottery instructor to show you the safest method.
2. Roll the base slab
Place the clay on canvas or a smooth work surface. Roll it between two wooden guides so the slab has an even thickness.
Cut the base to your planned shape. Leave enough space for the walls and rim. Use a ruler to check each side.
3. Cut the side walls
Roll a second slab with the same thickness. Cut four wall panels for a rectangular pot. For an oval pot, you can build curved walls from strips or use a mold.
Score and apply slip to every joint. Press the parts together firmly. Add a thin coil of clay along the inside seam, then blend it into both surfaces.
Scoring alone is not enough. A strong joint needs roughened surfaces, wet slip, and firm pressure.
4. Shape the rim
The rim protects the top edge and adds visual weight. It also makes the pot easier to handle.
You can create a simple rolled rim, a flat lip, or a slightly raised edge. Keep the rim even. An uneven rim can make the whole pot look tilted, even when the base is level.
5. Add feet
Feet lift the pot above the bench and improve airflow below it. They also create a strong visual base.
Use three or four feet for stability. Make each foot the same height. Attach them with scoring and slip, then reinforce the joint with small clay coils.
Large pots may need wider feet. Small feet can crack or break under the weight of a wet tree and heavy soil.
6. Cut drainage and wire holes
Drainage holes are essential. They allow excess water to escape and help prevent roots from sitting in saturated soil.
Add at least one large drainage opening for a small pot. Larger pots may need two or more. Include smaller wire holes near the drainage openings so you can secure the root ball during repotting.
Smooth the edges of every hole. Sharp edges can catch roots, cut wire, or weaken the base.
7. Compress and refine the clay
Use a rib tool to compress the clay surface. Compression helps reduce roughness and may lower the risk of small surface cracks.
Check the corners, base, rim, and feet. Remove excess clay, but do not make the walls too thin.
Set the pot on a flat board and confirm that it does not rock. Fix the base before the clay becomes too hard.

Drying the Pot Without Cracks
Drying is one of the most important parts of how to make bonsai pots. Clay shrinks as water leaves it. If one section dries faster than another, stress can build and cause cracks or warping.
Dry the pot slowly and evenly. Place it on a flat board and cover it loosely with plastic. Turn the pot from time to time so air reaches all sides.
Pay special attention to:
• Feet
• Corners
• Thick rims
• Wall joints
• Areas around drainage holes
These parts often dry at different speeds. A thick foot attached to a thin wall is especially likely to crack.
When the pot reaches the leather-hard stage, inspect every joint. Repair small cracks with soft clay and slip. Avoid adding a large amount of wet clay to a nearly dry pot, as this can create more stress.
The pot is ready for the kiln when it is bone dry. It should feel room temperature, not cool or damp. Never fire clay that still contains moisture.
Bisque Firing a Bonsai Pot
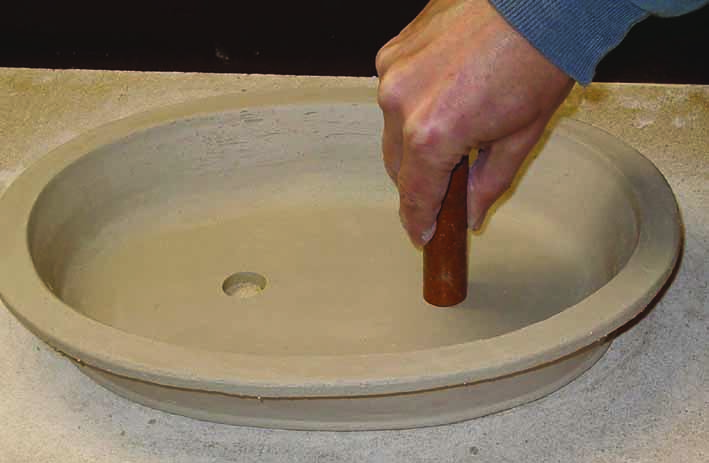
The first firing is called bisque firing. It hardens the clay while leaving it porous enough to accept glaze.
Load the kiln carefully. Do not allow pots to touch each other. Keep them level, and use kiln stilts only when appropriate for the clay and glaze.
Follow the clay manufacturer’s recommended bisque temperature. Many stoneware bodies are bisque fired around cone 06 to cone 04, but the correct range depends on the clay.
A slow firing schedule is safer for thick or large pots. The kiln must remove remaining moisture gradually. Rapid heating can cause cracks or, in rare cases, explosive breakage.
Allow the kiln to cool fully before opening it. Sudden temperature changes can damage ceramic ware and kiln shelves.
Inspect the bisque pot for:
• Cracks
• Warping
• Weak feet
• Blocked drainage holes
• Rough edges
A small hairline crack may grow during glaze firing. Do not use a cracked pot for a valuable bonsai.

Glazing and Finishing Bonsai Pots
Glaze changes the color, texture, and water resistance of a bonsai pot. It also affects how the pot works outdoors.
Choose a glaze rated for the same firing temperature as your clay. Test it on a small tile first. Glaze colors can change greatly after firing, and thick application may run onto the kiln shelf.
Keep glaze away from the bottom of the pot and the feet. This bare area is called the kiln-safe foot. Glaze on the bottom can fuse the pot to the shelf.
You can use several finishes:
• Gloss glaze for a bright, clean look
• Satin glaze for a soft surface
• Matte glaze for a quiet, natural appearance
• Bare clay for a traditional, earthy finish
• Oxide washes for added depth in texture
Avoid glazing the inside of drainage holes. Also check that glaze has not blocked any openings after firing.
Many experienced bonsai growers prefer understated colors. Brown, gray, cream, blue-green, and muted earth tones often support the tree without competing with its foliage or bark.
Firing and Testing the Finished Pot
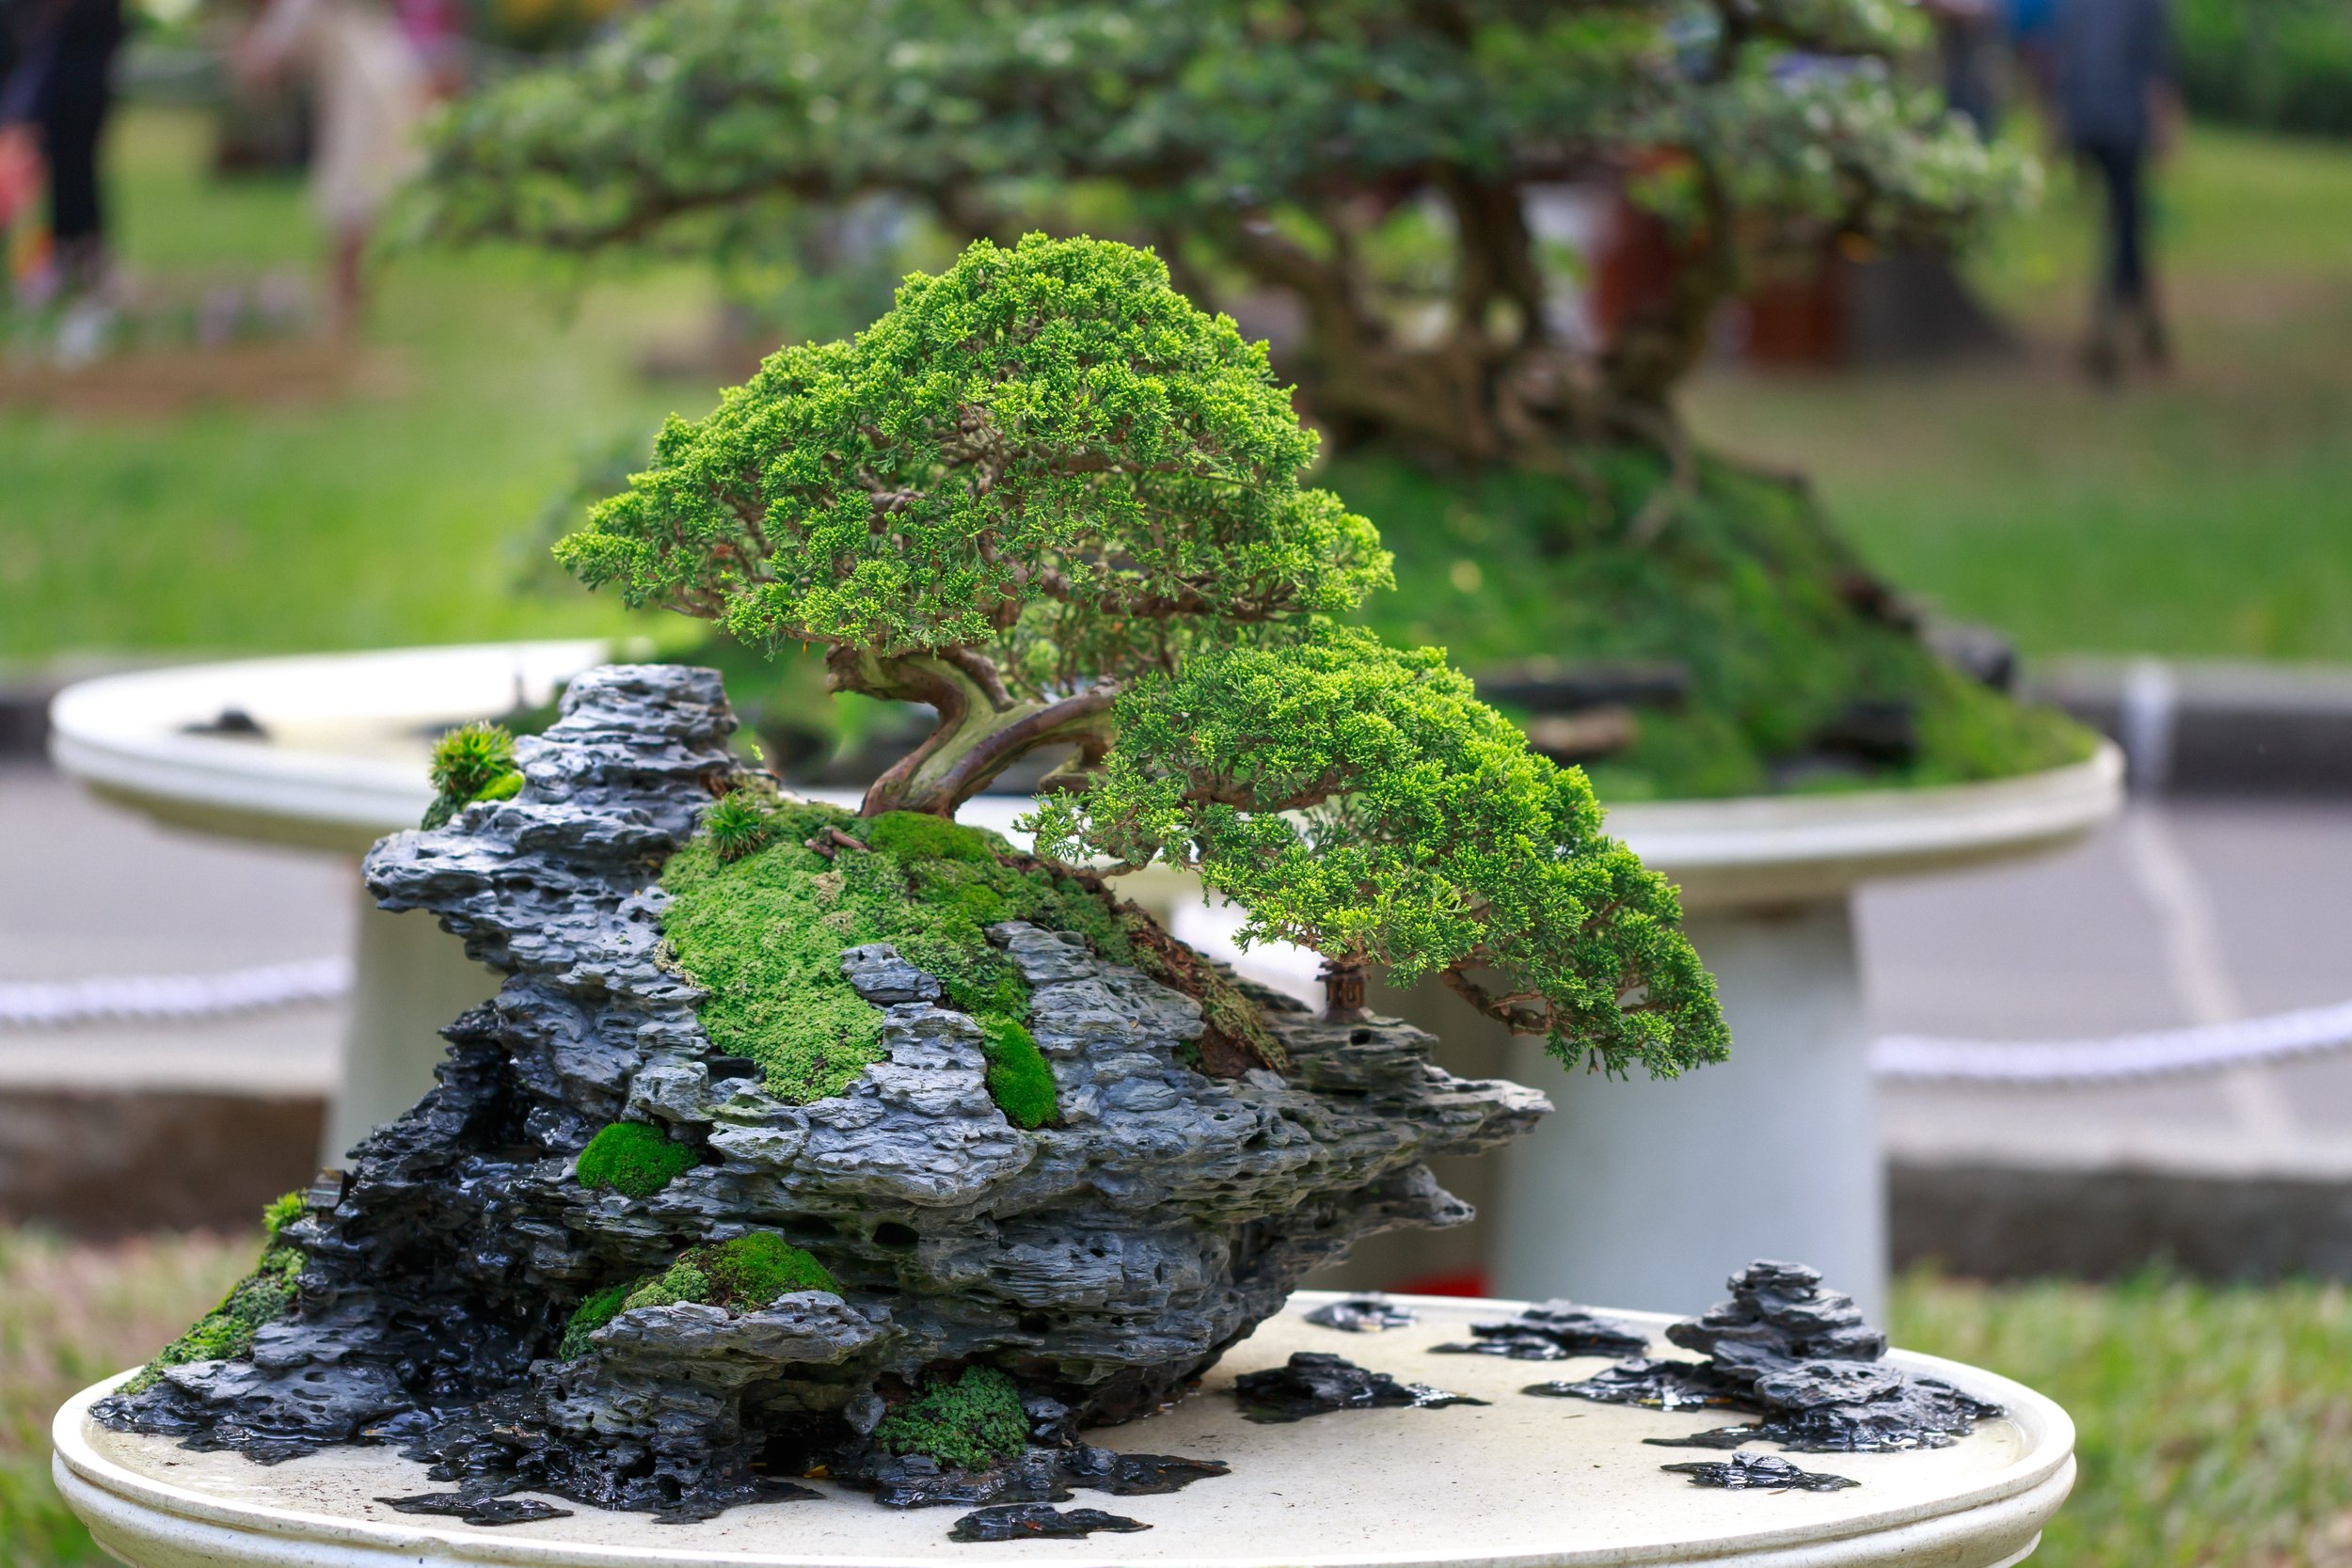
The final firing matures the clay and glaze. Use the firing schedule recommended for both materials. The clay and glaze should reach compatible temperatures.
After the kiln cools, tap the pot gently with a wooden tool. A clear ring can suggest a sound piece, while a dull sound may indicate a crack. This is only a basic check, not a guarantee.
Test the pot before placing a valuable tree inside it. Fill it with water and inspect the base, joints, and feet. Check that water drains freely through every opening.
You can also leave the empty pot outdoors for several days. Watch for moisture retention, flaking, or new cracks.
In cold climates, frost resistance matters. Water absorbed into porous ceramic can freeze and expand. This may break the pot, especially when it has small cracks or weak walls.
A handmade bonsai pot may be strong, but no pot is indestructible. Bring fragile pots into a protected area during severe freezes.

Common Mistakes to Avoid
The most common mistake is making a pot before understanding the tree’s needs. A stylish container is still a poor choice if it holds too much water or cannot support the root ball.
Avoid these errors:
• Making walls too thin
• Leaving out wire holes
• Using too few drainage holes
• Drying the pot too quickly
• Joining clay without scoring and slip
• Adding feet that are too small
• Applying glaze to the bottom
• Firing clay that is not fully dry
• Mixing clay and glaze with different firing ranges
• Making a pot much deeper than the tree needs
Another mistake is ignoring the tree’s climate. A pot that works in a dry region may hold too much moisture in a humid area. Soil mix, watering habits, tree species, and local weather all matter.
If a first pot fails, treat it as useful information. Note where it cracked or warped. The next pot can be stronger because of that lesson.
Improving Drainage and Root Health
A bonsai pot cannot replace good soil and proper watering, but it plays a major role in root health. Water must pass through the soil without leaving the root system constantly saturated.
Use drainage mesh over the holes to stop soil from washing out. Secure the mesh with short pieces of bonsai wire or small clips.
The pot should also allow air movement around the lower surface. Feet help with this, especially when the pot sits on a solid bench or patio.
Do not assume that more holes always solve poor drainage. A compact soil mix, blocked mesh, or pot placed in a tray of standing water can still reduce airflow.
Choose the pot based on the species. Water-loving trees may tolerate a different design from species that prefer fast drainage. Consider the tree’s root health, climate, season, and current stage of development.
Cost, Time, and Beginner-Friendly Options
The cost of making bonsai pots depends on clay, studio access, tools, glaze, and firing fees. A small handmade pot may cost less than a premium commercial pot, but the first few attempts may cost more because of failed pieces.
Expect to spend time on:
• Design and measuring
• Clay preparation
• Building
• Slow drying
• Bisque firing
• Glazing
• Final firing
If you do not own a kiln, contact a local pottery studio, community art center, or ceramic artist. Ask about firing temperature, shelf fees, clay rules, and responsibility for breakage.
Beginners can start with a small rectangular pot. It uses simple panels and is easier to dry evenly than a large oval pot. Make several small practice pieces before building a large container for an old or valuable tree.
You can also practice with air-dry clay, but it is usually not suitable for a permanent outdoor bonsai pot. It may soften, crack, or fail under repeated watering.
How to Make Bonsai Pots More Durable
Durability begins with design. Even walls, strong joins, rounded corners, and sturdy feet all reduce stress.
Use these habits:
• Compress slab surfaces before assembly
• Reinforce inside corners with small coils
• Keep wall thickness consistent
• Round sharp corners slightly
• Dry the pot under loose plastic
• Fire according to the clay maker’s schedule
• Test glaze on a sample tile
• Store fragile pots away from hard freezes
Avoid lifting a large pot by one foot or one corner. Always support it from underneath with both hands.
A strong pot should still be handled with care. Ceramic has good compressive strength but can break from impact, uneven support, or sudden temperature changes.
Frequently Asked Questions About How to Make Bonsai Pots
What type of clay is best for bonsai pots?
A durable stoneware clay is usually the best choice for bonsai pots. Select a clay rated for outdoor use and follow its recommended firing temperature.
How many drainage holes should a bonsai pot have?
A small pot often needs one large drainage hole, while a larger pot may need two or more. The exact number depends on pot size, tree species, soil mix, and local climate.
Can I make a bonsai pot without a kiln?
You can shape a practice pot without a kiln, but most permanent outdoor bonsai pots need kiln-fired clay. Air-dry clay and craft clay may not withstand repeated watering, frost, or outdoor stress.
Should bonsai pots have feet?
Feet are helpful because they lift the pot, improve airflow, and add visual balance. Make them wide and strong enough to support the full weight of the pot, soil, and tree.
How long should a bonsai pot dry before firing?
Drying time varies with clay thickness, humidity, and pot size. The pot must be completely bone dry before firing, with no cool or damp areas remaining.
Can I use regular pottery glaze on a bonsai pot?
You can use pottery glaze only when its firing range matches the clay body and kiln schedule. Test the glaze first, and keep it off the bottom and drainage holes.
Why did my handmade bonsai pot crack?
Cracks often result from uneven drying, thick and thin sections, weak joints, trapped air, or rapid firing. Slow drying, consistent wall thickness, and well-compressed joins can reduce these problems.
Conclusion
Learning how to make bonsai pots combines design, clay work, plant care, and patience. Choose durable stoneware, plan the size around the tree, build strong joints, add effective drainage, and dry the pot slowly. Then use compatible firing and glaze temperatures.
Start with a small, simple pot and treat each attempt as practice. Your first piece may not be perfect, but every crack or warp can teach you how to build a stronger container next time. Try making a basic rectangular bonsai pot, compare it with your tree, and share your results or questions with other bonsai and pottery enthusiasts.

Laura Bennett is a gardening writer at MyGardenLabs who creates beginner-friendly guides focused on solving common plant care and gardening problems.