What Tool Is Used For Transplanting Seedlings: Top Pick
A dibber, hand trowel, or specialized seedling transplanter makes moving young plants quick and safe.
Knowing what tool is used for transplanting seedlings helps you protect delicate roots, make neat planting holes, and reduce transplant shock. In this guide, you will learn which tool works best for each seedling size, how to use it correctly, and which common mistakes can damage young plants.
What Tool Is Used for Transplanting Seedlings?
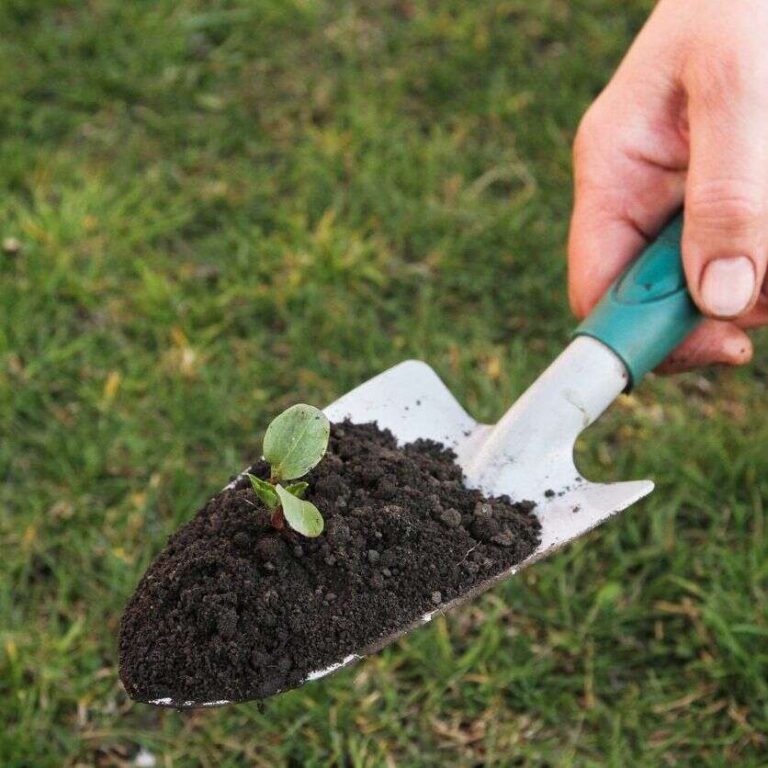
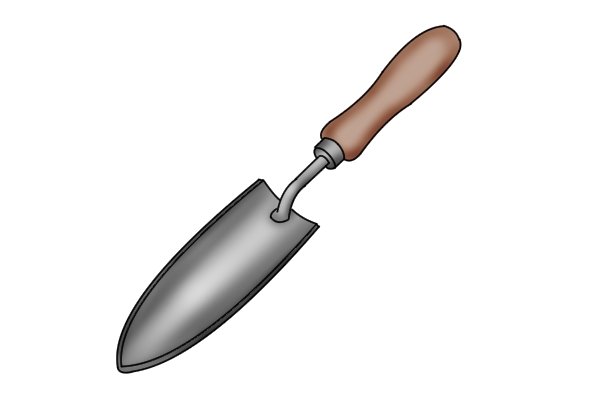
The best tool for transplanting seedlings is usually a small hand trowel. It has a narrow metal blade that can make a planting hole and lift soil without disturbing nearby plants.
A dibber is also useful. This pointed tool makes small holes for seedlings with tiny root balls. Many gardeners use a dibber for lettuce, onions, herbs, and other small plants.
For larger seedlings, a garden trowel or narrow transplanting spade gives better control. The right choice depends on the plant size, soil type, and size of the root ball.
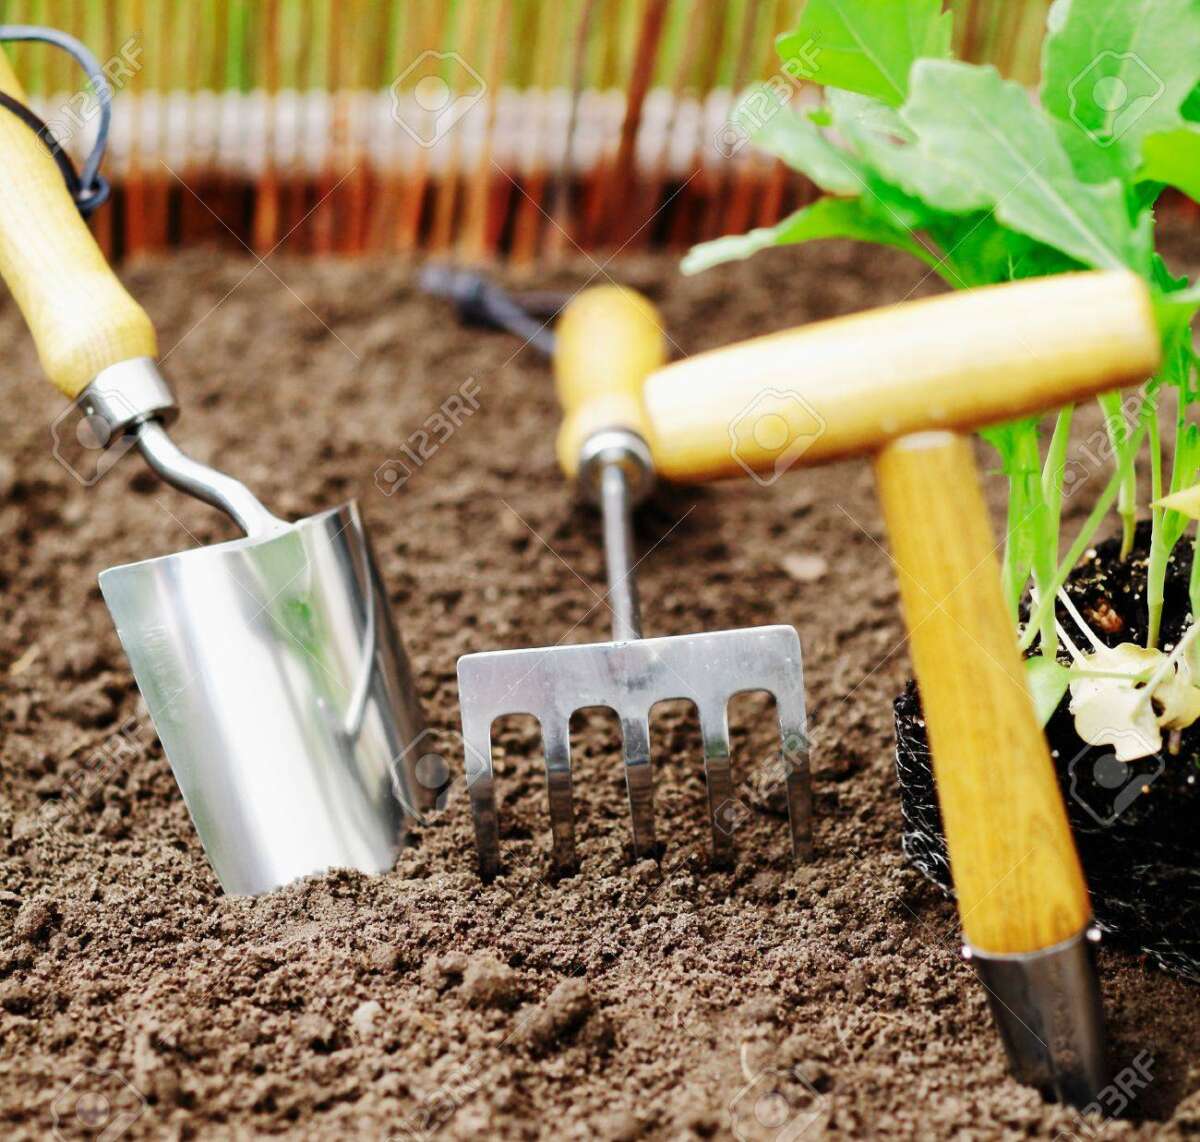
The most useful tools include:
• Hand trowel: Best for most home garden seedlings and small root balls.
• Dibber: Best for making small, deep holes in loose soil.
• Narrow transplanting spade: Useful for deep-rooted seedlings and tight spaces.
• Seedling transplanter: Designed to create a planting hole and place the seedling with less soil disturbance.
• Garden fork: Helpful when lifting seedlings from trays or loosening compact soil.
• Garden gloves: Protect your hands and help you handle stems and soil safely.
The Best Tool for Different Seedling Sizes
Seedlings do not all need the same transplanting tool. A tiny lettuce plant and a large tomato plant may both begin in a seed tray, but their roots and stems need different care.
Small seedlings
Use a dibber or small hand trowel for seedlings with a small root plug. The tool should make a hole wide enough for the roots without leaving a large air gap.
A pencil can work as a simple dibber for very small plants. However, a proper dibber gives better control and is easier to use when planting many seedlings.
Medium seedlings
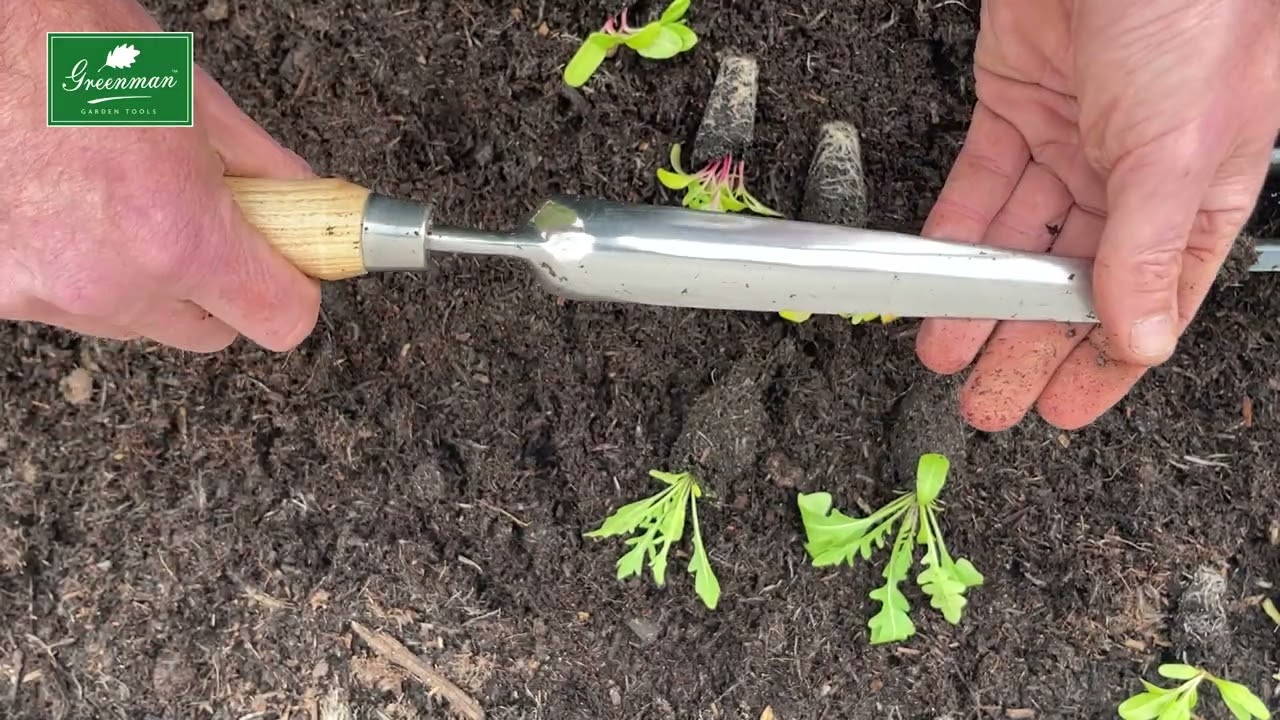
Use a narrow hand trowel for basil, pepper, marigold, and similar plants. Slide the blade into the soil, open a hole, and lower the root ball into place.
A narrow tool helps you avoid crushing the soil around nearby seedlings. This matters in raised beds where plants may grow close together.
Large seedlings
Use a transplanting spade or full-size hand trowel for tomatoes, squash, eggplants, and large flowers. These plants often have larger root systems and need a deeper hole.
For seedlings grown in the ground, use a garden fork to loosen the soil around the roots. Do not pull the plant by its stem. A damaged stem can stop water and nutrients from moving through the plant.
How to Choose a Seedling Transplanter
When choosing what tool is used for transplanting seedlings, focus on control rather than size. A large tool may move more soil, but it can damage small roots and disturb nearby plants.
Look for these features:
• Narrow blade: A slim blade works well in trays, pots, and crowded beds.
• Smooth edges: Sharp, smooth edges cut through soil without tearing roots.
• Strong handle: A firm grip improves control and reduces hand strain.
• Rust-resistant metal: Stainless steel or coated steel lasts longer in damp soil.
• Clear depth markings: Some seedling transplanters show planting depth on the blade.
• Lightweight design: A light tool is easier to use for long rows of seedlings.
A tool with a comfortable handle is not just a luxury. Poor grip can cause you to squeeze too hard, which may lead to blisters or poor control.
In my experience with hand tools, the simplest narrow trowel is often the most useful. Specialty tools can save time, but only when their shape matches the crop and soil.
How to Transplant Seedlings Step by Step
Using what tool is used for transplanting seedlings correctly is just as important as choosing the tool. Good technique keeps roots moist, prevents stem damage, and gives each plant a strong start.
1. Water the seedlings first
Water the seed tray a few hours before transplanting. Moist soil holds together better around the roots.
Avoid transplanting bone-dry seedlings. Dry roots are more likely to break, and the plant may wilt quickly after planting.
2. Prepare the new planting hole
Use a dibber or hand trowel to make a hole slightly wider than the root ball. The hole should be deep enough for the roots to spread without bending sharply.
For tomatoes, you can plant the seedling deeper than it grew in the tray. Tomatoes can form roots along the buried stem. Most other seedlings should be planted at the same depth as before.
3. Lift the seedling carefully
Push the tool under the root ball, not against the stem. If the seedling is in a tray cell, gently squeeze the cell or push from the drainage hole.
Hold the plant by its leaves when possible. Leaves can recover from minor damage, but a crushed stem may kill the seedling.
4. Place the seedling
Set the seedling in the hole. Make sure the roots point down and the stem remains upright.
Do not force tightly tangled roots into a small hole. Loosen only the outer roots with your fingers if needed.
5. Firm the soil
Fill the hole with soil and press it lightly around the root ball. The soil should support the plant but should not become hard and compacted.
6. Water immediately
Water around the base of the seedling after planting. This removes large air pockets and helps the roots contact the surrounding soil.
Do not use a strong spray. A gentle stream or watering wand protects the soil surface and the young plant.
7. Provide short-term protection
Give newly transplanted seedlings shade from harsh afternoon sun for one or two days. Protect them from strong wind if they look weak.
Gradually expose indoor-grown seedlings to outdoor conditions. This process, called hardening off, helps prevent shock.
Why the Right Transplanting Tool Matters
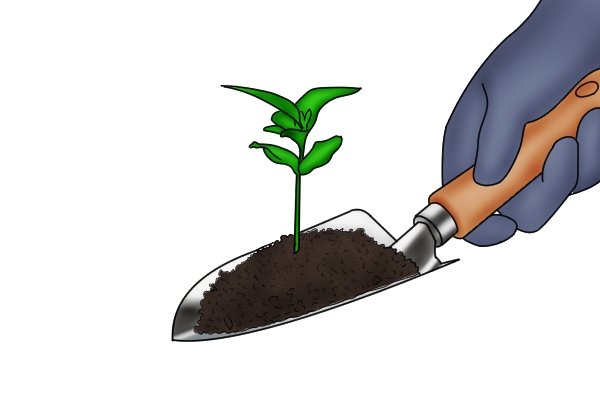
The right tool reduces root damage and makes planting more precise. This can improve survival, especially for plants with fine roots.
A good tool also improves planting depth. A seedling planted too high may dry out. One planted too deep may suffer from poor airflow or stem rot, depending on the crop.