How To Pick A Right Trowel: Choose The Best Tool
The right trowel matches your material, task, hand size, and work style for better control and cleaner results.
Learning how to pick a right trowel can save time, reduce hand strain, and improve every finish, from a brick wall to a tiled floor or garden bed. The best choice is not always the most expensive tool. It depends on the blade shape, size, handle, steel, and the job in front of you.
This guide explains how to pick a right trowel with practical advice, trade-tested details, and simple examples. Whether you are a new DIYer, a gardener, a bricklayer, or a tile setter, you will learn what to look for before you buy.

Why Choosing the Right Trowel Matters
A trowel may look simple, but small design changes can affect your work in a big way. The blade controls how much material you move, while the handle affects comfort and balance. A poor match can leave ridges, waste mortar, or cause wrist pain.
The right tool also helps you work with greater accuracy. A narrow blade can reach tight joints, while a wider blade can spread mortar or soil quickly. Using the wrong shape is like using a dinner knife to spread peanut butter across a whole slice of bread. It may work, but it will not work well.
Choosing the right trowel can help you:
• Spread mortar, adhesive, or soil evenly
• Create clean edges and joints
• Work faster with less wasted material
• Reduce pressure on your wrist and fingers
• Reach corners and narrow spaces
• Improve the final look of your project
In my experience, many beginners focus only on price. They often buy one general-purpose trowel and expect it to handle every task. That usually leads to poor control and early tool damage.
First Identify the Type of Work
The first step in how to pick a right trowel is to identify the material and task. A trowel made for gardening is not built for brick mortar. A tile trowel has notches for spreading adhesive, while a pointing trowel has a slim blade for filling joints.
Ask yourself three simple questions:
- What material will I move?
- How much material must I spread?
- Do I need coverage, detail, or a smooth finish?
Your answers will point you toward the correct trowel type.
Masonry trowels
Masonry trowels spread mortar, cement, and other building mixes. They are common in bricklaying, block work, stone work, and repairs.
Common masonry styles include:
• Brick trowel: A broad, pointed blade for lifting and spreading mortar
• Philadelphia brick trowel: A sharper point for controlled brick and block work
• London brick trowel: A more rounded shape that suits general masonry tasks
• Pointing trowel: A narrow blade for filling and smoothing mortar joints
• Finishing trowel: A flat blade for smoothing concrete, plaster, or cement
Tile trowels
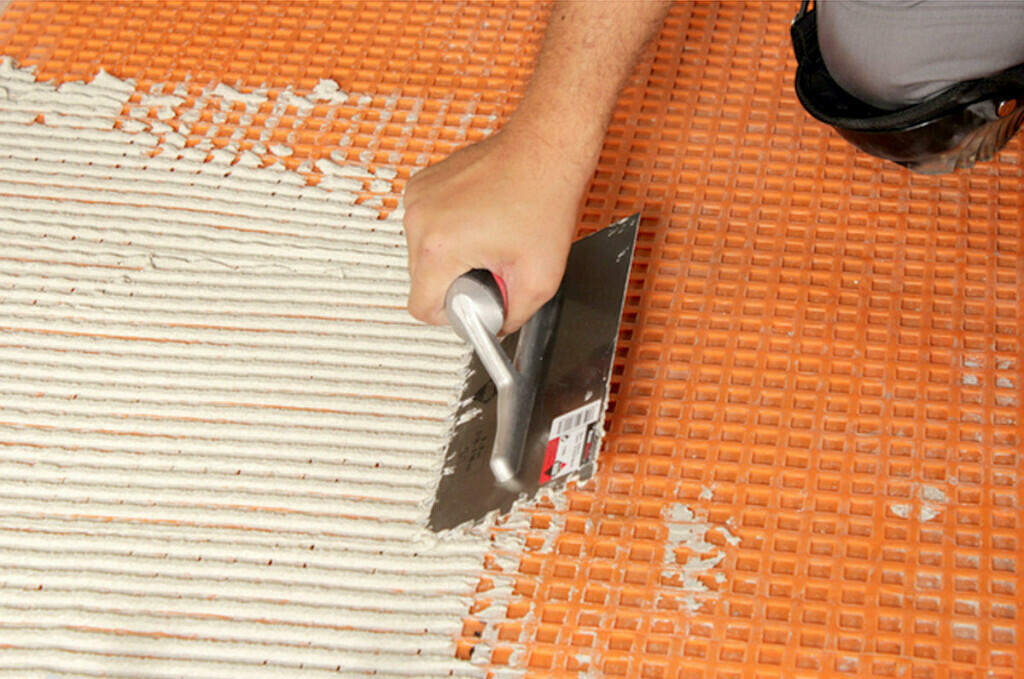
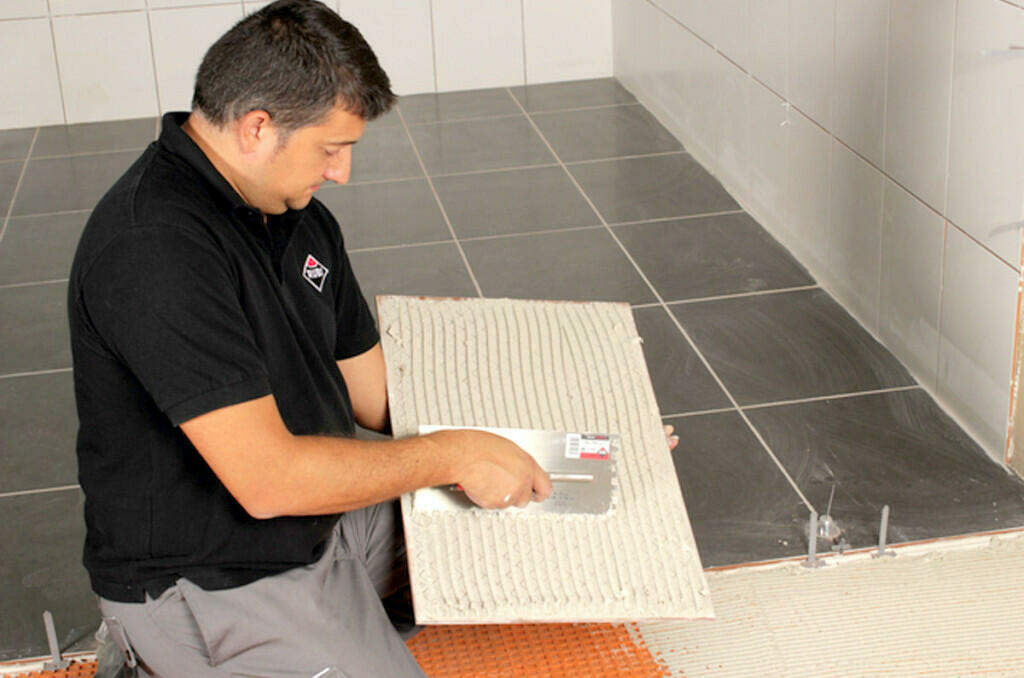
Tile trowels spread thinset mortar, tile adhesive, and similar products. Their notched edges create grooves in the adhesive. These grooves help control the amount of adhesive and support proper tile coverage.
The notch size depends on the tile size, tile type, substrate, and adhesive. Always follow the adhesive maker’s instructions. Large tiles often need a larger notch, but bigger is not automatically better.
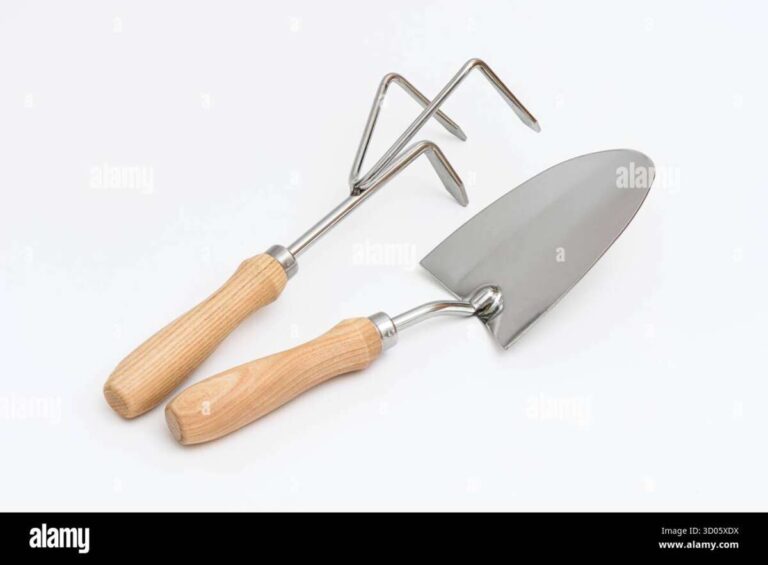
Garden trowels
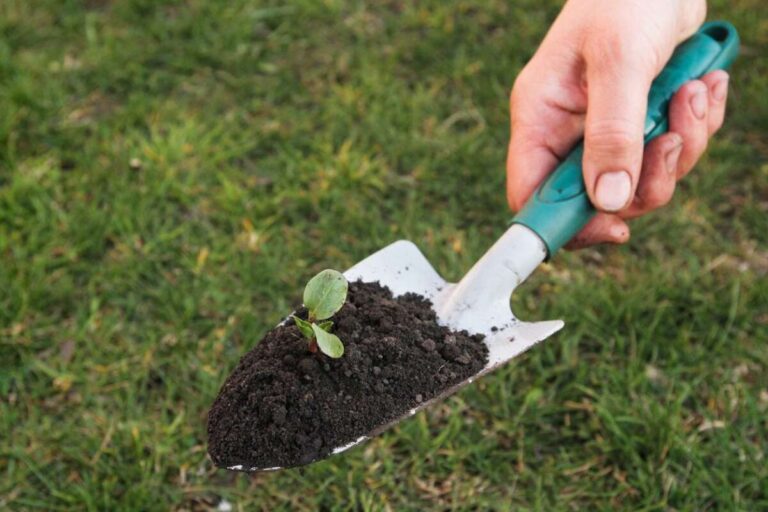
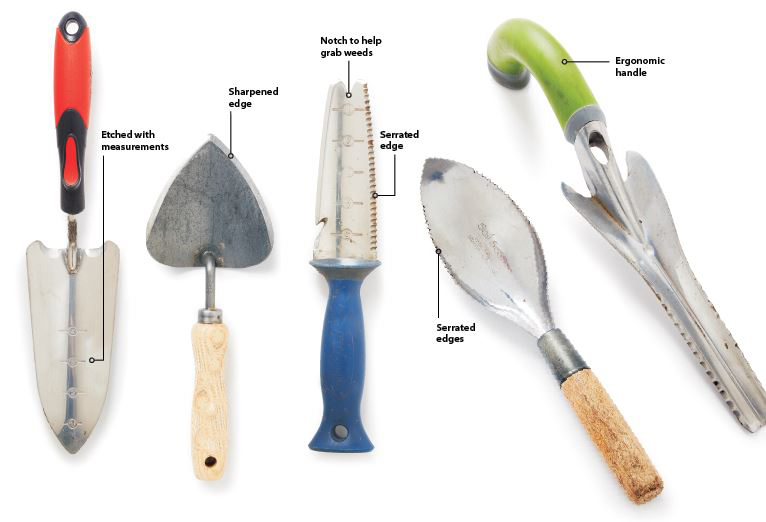
Garden trowels are small hand tools for digging, planting, mixing soil, and moving compost. They usually have a pointed or rounded blade.
Common garden trowel shapes include:
• Pointed blade: Good for firm soil and narrow planting holes
• Rounded blade: Useful for loose soil and scooping
• Narrow blade: Best for bulbs, seedlings, and tight spaces
• Wide blade: Good for moving more soil or potting mix
Plastering and finishing trowels
These trowels have broad, flat blades. They help spread and smooth plaster, drywall compound, concrete, and similar materials.
A flexible blade can create a smoother finish. A stiffer blade offers more control when flattening rough areas or working with thick material.
Choose the Correct Blade Shape
Blade shape is one of the most important parts of how to pick a right trowel. The shape affects reach, control, coverage, and the type of finish you can create.
Pointed blades
Pointed blades work well in corners and narrow spaces. A pointed masonry trowel can place mortar between bricks with good control.
They are also useful for garden work. A pointed garden trowel can break through compact soil and make narrow holes for bulbs or small plants.
Square and rectangular blades
Square blades carry more material and spread it across a larger area. They are common in plastering, concrete finishing, and tile work.
A wide rectangular blade is useful when speed matters. However, it may feel awkward in a small area or around edges.
Rounded blades
Rounded blades scoop soil and loose material with ease. They are often comfortable for garden beds and potting work.
They are less suitable when you need sharp corners or clean mortar joints. A rounded edge may leave an uneven line in detailed work.
Narrow blades
Narrow blades offer precision. They are useful for pointing mortar, planting small flowers, removing weeds, and working between existing tiles or bricks.
The trade-off is speed. A narrow trowel moves less material with each pass.
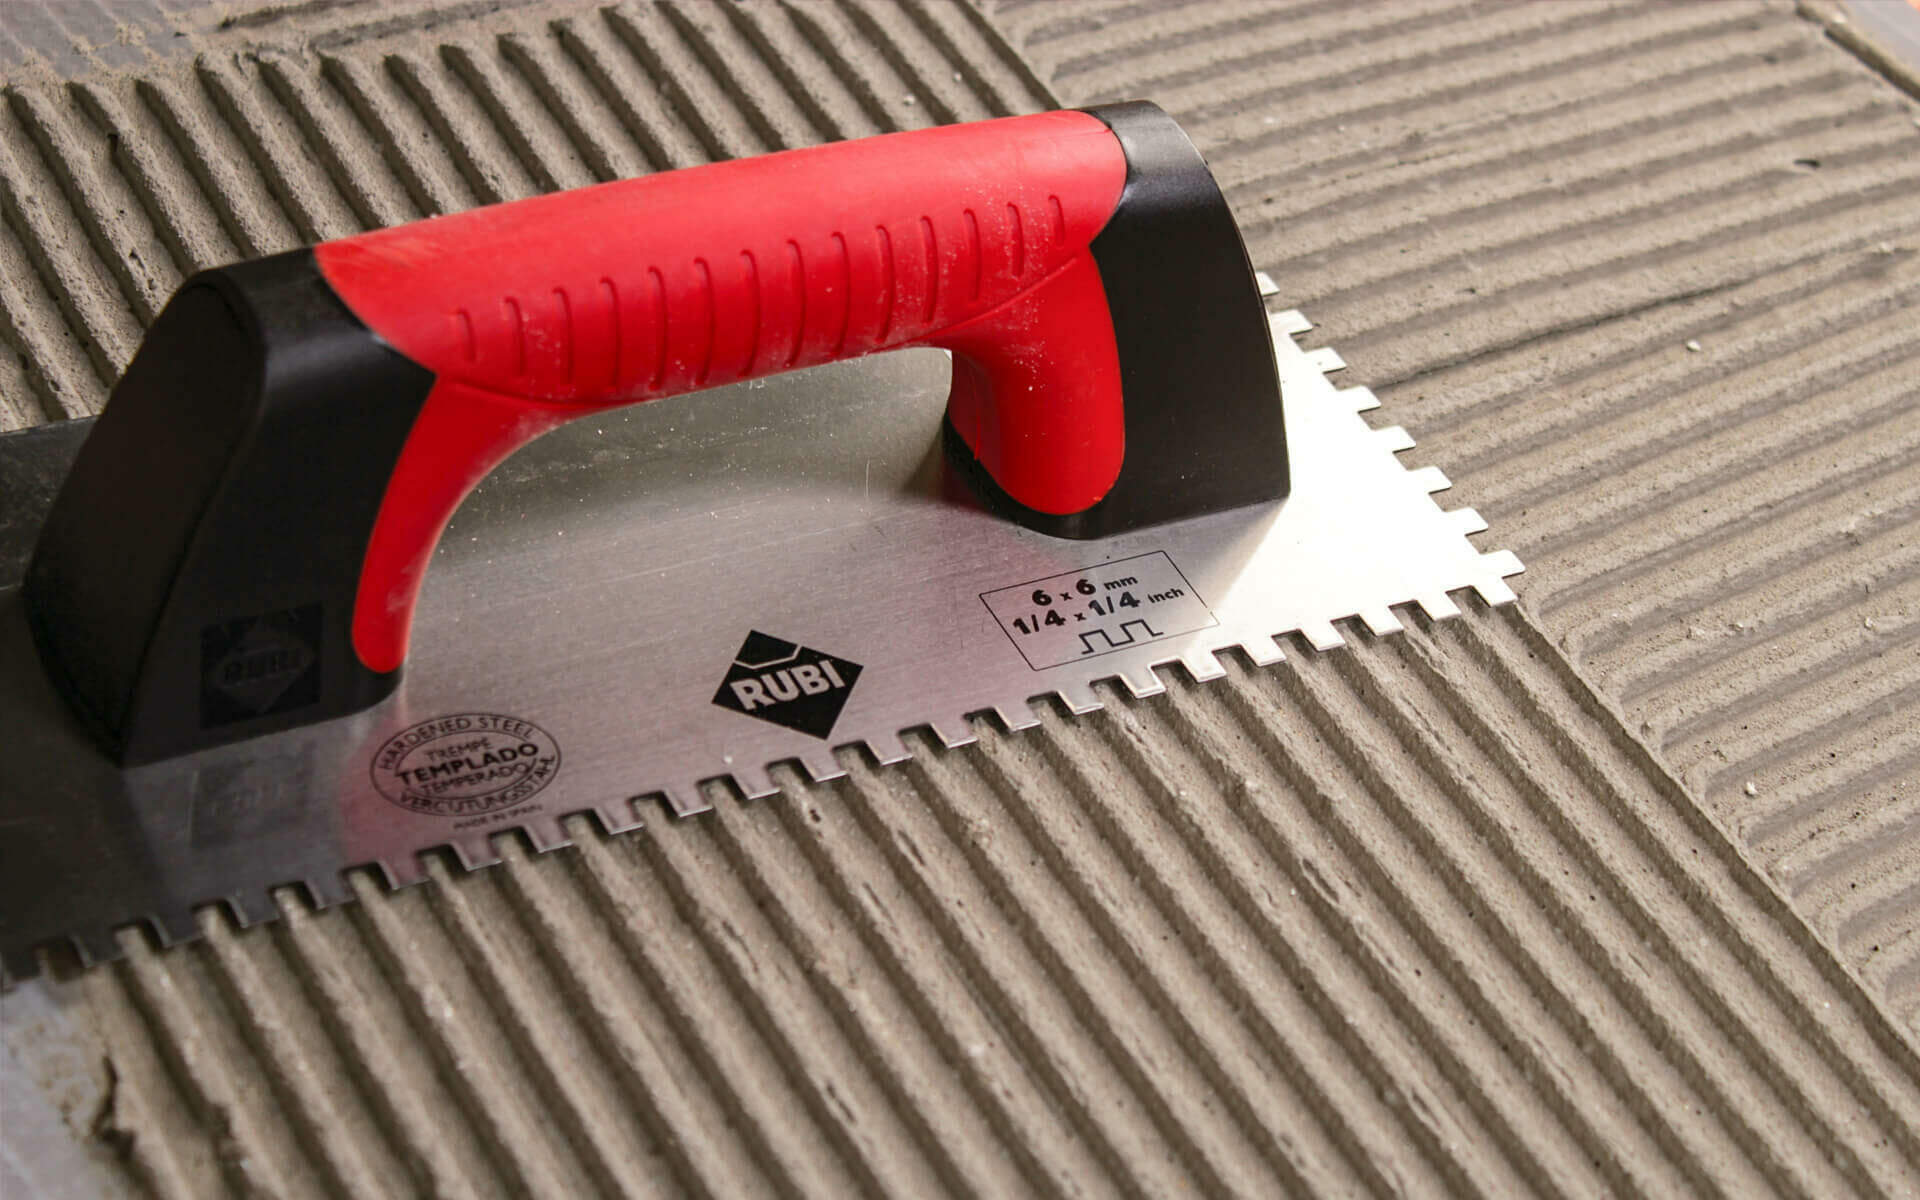
Notched blades
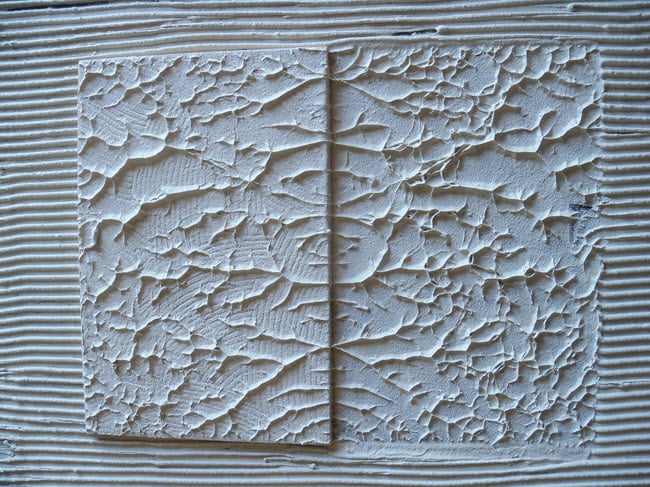
Notched blades are essential for many tile installations. The teeth create uniform ridges in the adhesive.
Notch shape matters too:
• Square notches are common for many floor and wall tiles
• V notches can suit smaller tiles and lighter adhesive layers
• U notches can help spread adhesive while reducing sharp ridges
A notched trowel does not replace good technique. You still need to hold the tool at a steady angle and press firmly enough to create even lines.
Match the Trowel Size to the Job
Size is another key part of how to pick a right trowel. A larger blade covers more area, but it also holds more weight. A smaller blade gives better control but may slow large jobs.
Use this basic guide:
• Small trowel: Detail work, small repairs, seedlings, and tight spaces
• Medium trowel: General DIY tasks and most small home repairs
• Large trowel: Broad surfaces, plaster, concrete, and large tile
• Long narrow trowel: Mortar joints, corners, and precise placement
• Wide flat trowel: Smoothing and finishing large surfaces
For tile work, the tile size is a major factor. Small mosaic tiles often need a small notch. Large-format tiles usually need a larger notch and careful adhesive coverage.
Do not choose a trowel based only on blade size. Consider the material weight and the time you will hold the tool. A tool that feels fine for five minutes may feel heavy after an hour.
One mistake I see often is using a very large trowel for a small repair. It seems faster, but it can make the work messy. The blade may push material outside the repair area and make cleanup harder.

Inspect the Blade Material and Build
A trowel’s blade must suit the pressure, moisture, and material involved. Good construction improves control and extends tool life.
Stainless steel blades
Stainless steel resists rust and is easy to clean. It is a strong choice for wet mortar, tile adhesive, plaster, and garden work.
High-quality stainless steel may cost more, but it often stays cleaner and lasts longer. Keep in mind that stainless steel is not impossible to stain or damage. Dried cement, salts, and harsh chemicals can still affect it.
Carbon steel blades
Carbon steel can be tough and flexible. Many professional masonry and finishing tools use it.
The main weakness is rust. Dry the blade after use and store it in a dry place. A light coat of tool oil can help protect carbon steel during storage.
Blade thickness
A thin blade can flex and create a smooth finish. A thick blade can handle force and heavy material.
For detailed finishing, controlled flex may be helpful. For digging, prying, or moving stiff mortar, a stronger blade is safer and more reliable.
Never use a trowel as a pry bar unless the maker clearly designs it for that purpose. Bending the blade can ruin its balance and create a sharp, unsafe edge.
Forged and pressed blades
A forged blade is shaped under force and is often strong at the connection point. A pressed blade is cut and formed from sheet metal.
Both types can work well. Look at the full construction rather than relying on one label. A well-made pressed blade may outperform a poorly made forged one.
Evaluate the Handle and Grip
The handle is central to how to pick a right trowel because it affects comfort, control, and fatigue. Even a strong blade can feel wrong if the grip does not fit your hand.
Look for these features:
• A comfortable shape that fits your palm
• A secure connection between handle and blade
• A grip that does not become slippery when wet
• A balanced feel when you hold the tool
• Enough space for your fingers without crowding
• A smooth surface without sharp seams or rough edges
Wood handles feel warm and traditional. They can be comfortable, but they need care and may absorb moisture.
Rubber and soft-grip handles offer good comfort and slip resistance. They are often helpful for long jobs, though some soft materials can wear or split over time.
Plastic handles are light and easy to clean. Their quality varies widely. A cheap handle may feel hollow or crack under force.
When you test a trowel, hold it as if you are working. Move your wrist up and down. Pretend to spread mortar or scoop soil. If your wrist bends sharply or your fingers feel cramped, try another model.
A balanced trowel should not feel blade-heavy. Poor balance makes you grip harder, and that can cause hand fatigue. Ergonomics matter even for short home projects.

Check Balance, Flex, and Control
A good trowel should feel like an extension of your hand. It should not pull your wrist forward or twist when you press the blade into material.
To check balance:
- Hold the trowel near the center of the grip.
- Let the blade rest in your palm.
- Move it through a spreading motion.
- Notice whether the blade stays steady.
- Check if the handle presses into one part of your hand.
Blade flex also affects performance. A flexible finishing trowel can smooth plaster or concrete. A stiff pointing trowel gives precise control in mortar joints.
For tile work, the blade should stay firm enough to maintain a steady notch pattern. If the blade bends too much, the adhesive layer may become uneven.
There is no single perfect level of flex. The best choice depends on the job. Think of the blade as a ruler: a flexible ruler helps with curves, while a stiff ruler helps create straight lines.
Consider the Material You Will Use
Different materials place different demands on a trowel. Thinset, mortar, soil, plaster, and concrete do not behave the same way.
Mortar
Mortar can be heavy and sticky. Choose a strong masonry trowel with a comfortable handle and a blade that can carry a useful amount without flexing too much.
Tile adhesive and thinset
Tile adhesive needs an even layer. Choose a notched tile trowel that matches the tile and adhesive instructions.
The goal is good coverage without creating excessive squeeze-out. Too little adhesive can leave weak spots. Too much can make tiles slide and create a messy surface.
Soil and compost
Soil varies from loose potting mix to hard clay. A garden trowel with a pointed, strong blade is useful for firm ground. A wider rounded blade is better for scooping loose mix.
Plaster and joint compound
These materials need smooth spreading and clean feathering. A broad, flat trowel with controlled flex can help create an even surface.
Concrete
Concrete is heavy and abrasive. Use a proper concrete finishing tool for broad surfaces. A small hand trowel may help with edges and repairs, but it is not a replacement for the correct finishing equipment on large slabs.

Think About Your Hand Size and Work Time
Your hand size affects comfort more than many people expect. A handle that feels perfect to one person may feel too thick or too thin to another.
If you have small hands, avoid bulky grips that force your fingers apart. If you have large hands, look for enough grip length and a shape that does not press into your palm.
Work time also matters. For a ten-minute repair, basic comfort may be enough. For a full day of masonry, tile, or plaster work, handle design and balance become much more important.
If you feel numbness, sharp wrist pain, or tingling, stop and reassess your technique and tool. A trowel should create normal muscle fatigue, not pain. Repeated strain can become a larger problem over time.
Use both hands when moving heavy material if the task allows it. Take short breaks and change position. Good tools help, but they cannot replace safe work habits.
Understand Trowel Quality and Price
The most expensive trowel is not always the best trowel for your needs. Still, very cheap tools can have weak welds, rough handles, poor balance, or blades that bend too easily.
When comparing tools, inspect:
• The blade-to-handle connection
• The straightness of the blade
• The smoothness of the edges
• The quality of the grip
• The stiffness or flex of the steel
• The overall balance
• The maker’s warranty, when available
For occasional gardening, a mid-range trowel may offer excellent value. For daily trade work, spending more on a durable professional tool can reduce replacement costs.
The right trowel should match your use, not your ego. Buying a professional tool for a one-time small repair may not be necessary. Buying a weak tool for daily work often costs more in the long run.
Use This Simple Buying Checklist
If you are still unsure how to pick a right trowel, use this checklist before buying:
- Name the exact task.
- Identify the material.
- Choose the correct blade shape.
- Select a size that suits the work area.
- Test the handle in your hand.
- Check the balance.
- Inspect the blade for bends or rough edges.
- Confirm that the blade is strong enough.
- Consider rust resistance and cleaning needs.
- Compare quality, warranty, and price.
- Choose a specialized trowel if the job requires one.
- Avoid using one tool for every task.
For a basic home toolkit, start with a medium garden trowel, a general masonry trowel, a narrow pointing trowel, and a tile trowel if you install tile. Add specialized tools as your projects grow.
This approach prevents clutter and helps you buy tools with a clear purpose.
Common Mistakes to Avoid
Knowing how to pick a right trowel also means knowing what not to do. Small mistakes can reduce quality and shorten the tool’s life.
Buying only by price
A low price can be tempting, but a weak blade or poor handle may make the job harder. Compare construction and comfort, not just the number on the tag.
Choosing the wrong blade shape
A garden trowel will not spread tile adhesive properly. A wide finishing trowel will not give you the control of a pointing trowel.
Ignoring hand comfort
Pain is not a sign of good workmanship. If the grip feels wrong in the store, it will probably feel worse after repeated use.
Using a trowel as a scraper or pry bar
This can bend the blade, loosen the handle, or create a dangerous edge. Use a scraper or pry tool for those tasks.
Leaving material on the blade
Dried mortar and adhesive can damage the blade and affect future work. Clean the tool soon after use.
Choosing the wrong tile notch
A notch that is too small may give poor coverage. A notch that is too large may create excess adhesive and movement. Follow the product instructions and check coverage during installation.
Clean and Maintain Your Trowel
Even the right trowel will fail early if you neglect it. Cleaning takes only a few minutes and protects both the blade and the handle.
Follow these care steps:
• Remove wet material before it dries
• Rinse the blade with clean water when suitable
• Use a stiff brush for stuck residue
• Dry metal parts before storage
• Apply light oil to carbon steel
• Store the tool away from rain and damp floors
• Do not leave it buried in soil or a bucket of water
• Inspect the handle and connection from time to time
Avoid harsh cleaning methods that can damage coatings or grips. If cement has hardened on the blade, use a suitable scraper carefully. Do not strike the handle against hard surfaces to remove buildup.
A clean blade spreads material more evenly. It also makes the tool easier to inspect for cracks, bends, and rust.
Improve Your Trowel Technique
Even the right trowel cannot fix poor technique. Good control comes from a relaxed grip, steady pressure, and the correct working angle.
For spreading adhesive, hold the notched edge at a consistent angle. Spread in one direction when the product instructions recommend it. Press each tile into place with the required movement to improve contact.
For mortar, load only as much as you can control. Place the material with a smooth motion instead of stabbing or scraping at the joint.
For gardening, let the blade do the cutting. Do not force your wrist against hard soil with a poor angle. Loosen compact ground first if needed.
A helpful lesson from hands-on work is that speed comes from rhythm, not force. Smooth movements usually create better results than fast, rough ones.
When to Replace a Trowel
Replace a trowel when the blade is badly bent, cracked, deeply rusted, or loose at the handle. A small cosmetic mark is not usually a problem, but structural damage can affect safety and results.
A tile trowel may need replacement when the notches become uneven or worn. Uneven teeth can create an inconsistent adhesive layer.
A garden trowel may still work with light surface scratches. However, a sharp crack or loose connection can cause injury.
Do not keep using a tool simply because you have owned it for years. Judge it by its condition and performance. If it no longer spreads, digs, or finishes as intended, replacement is sensible.
Frequently Asked Questions About How to Pick a Right Trowel
What is the best all-purpose trowel?
A medium garden trowel is useful for common planting and potting tasks, while a general masonry trowel suits small mortar repairs. There is no single all-purpose trowel for every material, so choose based on your most common work.
How do I choose a tile trowel notch size?
Choose the notch size recommended by the adhesive and tile makers. Tile size, tile backing, surface flatness, and adhesive type all affect the correct choice.
Is stainless steel better than carbon steel for a trowel?
Stainless steel offers strong rust resistance and easy cleaning. Carbon steel can be very durable, but it needs drying and care to prevent rust.
Should a trowel blade be flexible?
The ideal flex depends on the task. Flexible blades can help with smoothing and finishing, while stiff blades provide control for digging, pointing, and moving heavy mortar.
How can I tell if a trowel is well balanced?
Hold the trowel in your normal working grip and move it through a spreading motion. A well-balanced tool should feel steady without pulling your wrist forward or forcing you to grip tightly.
Can I use a garden trowel for mixing mortar?
You can use one for a very small amount in an emergency, but it is not ideal. Mortar can damage a garden trowel and may bend or loosen its handle.
How often should I clean a trowel?
Clean it after every use, especially after working with mortar, cement, thinset, or adhesive. Removing material before it dries is easier and helps protect the blade.
Conclusion
The best way to learn how to pick a right trowel is to match the tool to the task, material, blade shape, size, handle, and level of use. Check the balance, choose durable construction, and never ignore hand comfort.
A specialized trowel usually gives better results than one cheap tool forced to handle every job. Start with the tools that match your current projects, care for them after each use, and add more as your skills grow.
Use this guide the next time you shop, compare the details in your hand, and choose with purpose. Explore more tool guides, share your experience, or leave a comment about the trowel that works best for you.

Laura Bennett is a gardening writer at MyGardenLabs who creates beginner-friendly guides focused on solving common plant care and gardening problems.