How To Use A Handheld Transplanter: Easy Planting Guide
A handheld transplanter makes planting seedlings faster, cleaner, and easier on roots when used with steady pressure.
Learning how to use a handheld transplanter can help you set young plants at the right depth with less digging and soil disturbance. I have used these tools in vegetable beds, raised beds, and small garden rows, and the best results always come from matching the tool to the seedling, checking soil moisture, and avoiding rushed movements. This guide explains each step, common mistakes, care tips, and practical ways to improve transplant survival.
What Is a Handheld Transplanter?
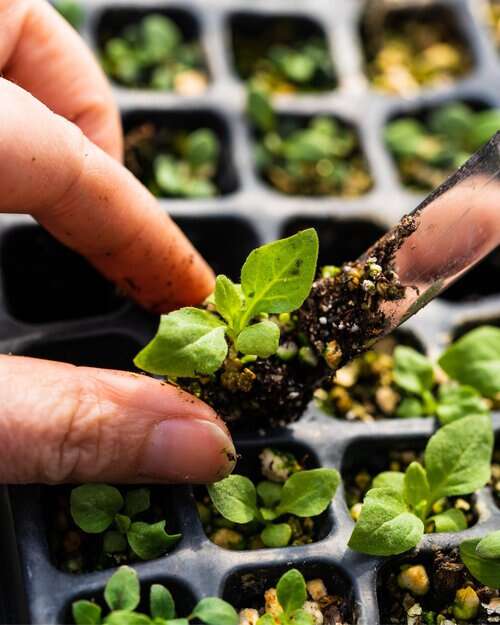
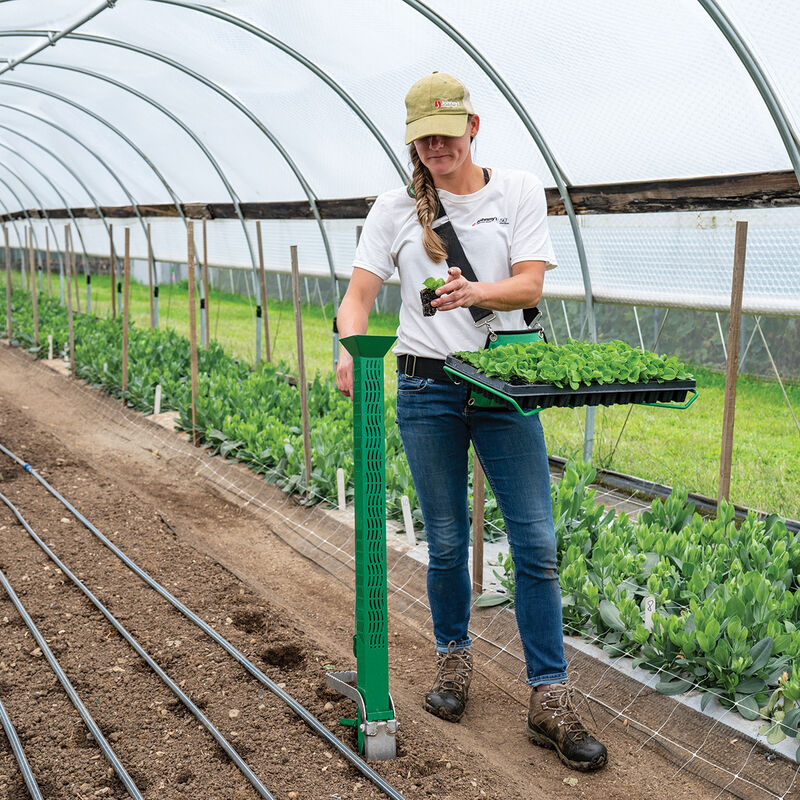
A handheld transplanter is a small garden tool made for moving seedlings into the soil. Most models have a narrow metal blade, a pointed planting tip, or a cone-shaped chamber. Some versions make a hole, while others open the soil and help place the plant at a set depth.
Unlike a full-size bulb planter, a handheld transplanter gives you more control in tight spaces. It works well for lettuce, herbs, flowers, onions, peppers, and other small garden plants.
The tool does not replace good planting habits. It simply makes the planting hole more consistent. Think of it as a small spoon for the soil: it creates space for the root ball without forcing you to dig a large hole.
Common types include:
• Narrow-blade transplanters for small seedlings and compact soil
• Dibber-style planters for plugs, onions, and very small starts
• Cone-style planters that create a neat hole with one push
• Long-handled handheld planters that reduce bending
• Adjustable planters with depth markers for repeated planting
Benefits of Using a Handheld Transplanter
A handheld transplanter can make routine planting faster and more accurate. It is especially useful when you need to plant many seedlings in a straight row.
The main benefits include:
• Faster planting: You can make holes without using a full garden trowel each time.
• Better depth control: Many tools have measurement marks or a consistent blade length.
• Less soil disruption: The narrow tip disturbs less soil than a large shovel.
• Lower hand strain: The tool does most of the cutting and opening work.
• Cleaner planting rows: Repeated holes are easier to space evenly.
• Better root protection: A properly sized hole reduces pressure on the root ball.
A handheld transplanter also helps when planting in dense beds. You can place a new seedling between mature plants without damaging many nearby roots.
Still, the tool has limits. It may not work well in hard clay, rocky soil, or very dry ground. In those conditions, loosen the soil first with a fork or cultivator.
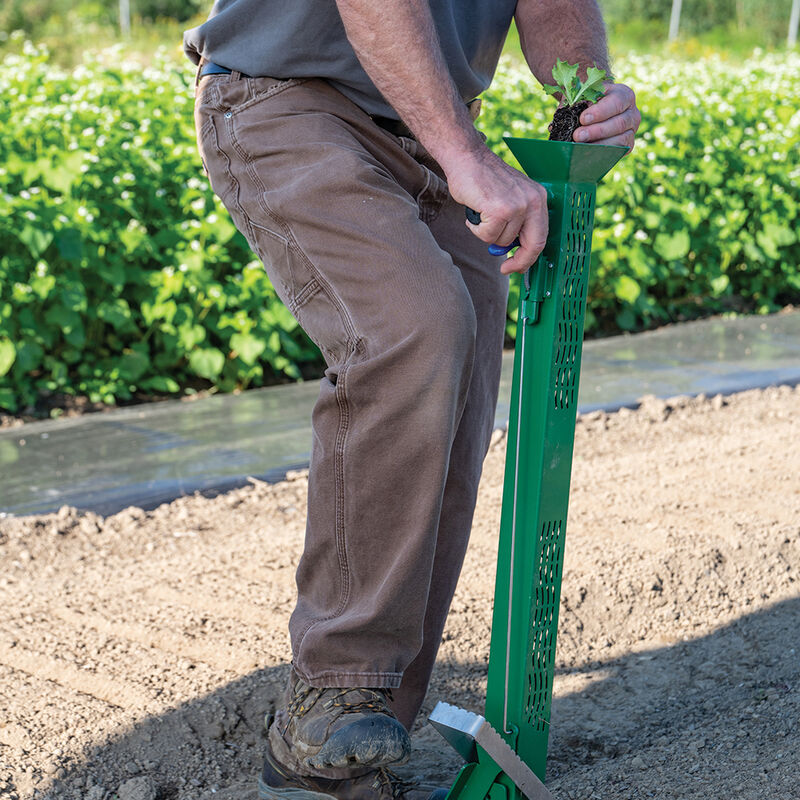
Choose the Right Handheld Transplanter
The best tool depends on your soil, plant size, and planting style. A small blade works well for tiny plugs, while a wider opening suits plants with larger root balls.
Look for these features:
Blade or Tip Shape
A sharp, narrow tip enters the soil with less force. A wider blade creates a larger hole for plants with more roots.
Avoid a tip that is thin but weak. It may bend when you work in firm soil.
Depth Markings
Depth marks help you place each seedling at a similar level. This matters for crops such as tomatoes, peppers, lettuce, and brassicas.
The markings do not replace judgment. The soil line on the seedling often gives the most useful guide.
Handle Design
A comfortable handle reduces pressure on your palm and wrist. Smooth wood, coated metal, and molded grips can all work well.
Choose a handle that feels secure when your hands are wet or dirty. A loose grip can cause the tool to slip and injure your hand.
Material and Build Quality
Stainless steel resists rust and cleans easily. Carbon steel can be strong but needs drying and occasional oiling.
Before buying, check that the blade joins the handle firmly. A strong tool should not flex much when you press it into the soil.

Prepare the Soil Before Planting
Good soil preparation is one of the most important parts of how to use a handheld transplanter. Even the best tool will struggle in compacted ground.
Water the bed a few hours before planting if the soil is dry. Aim for soil that feels moist but does not form a sticky ball in your hand.
Clear away:
• Large stones
• Thick roots
• Weeds
• Sticks
• Hard crusts on the soil surface
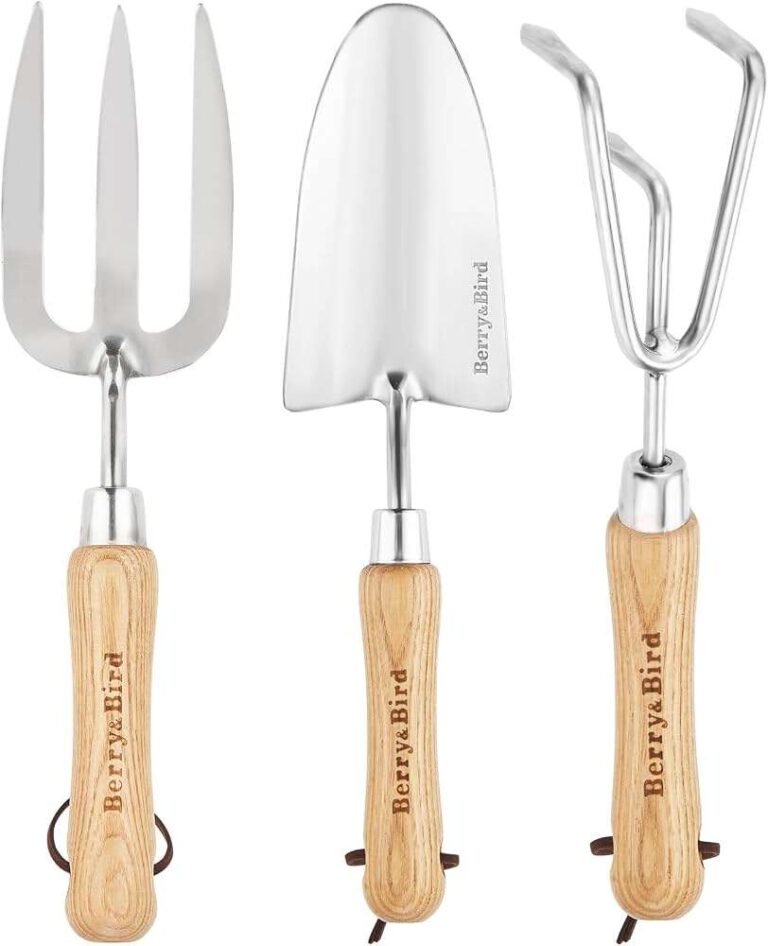
Break up compacted soil to the depth of the seedling root ball. You do not need to turn the whole bed over. A few passes with a hand fork can create enough loose soil.
Add compost only when the soil needs more organic matter. Fresh manure can damage young roots, so use mature compost or a properly labeled soil amendment.
I once tried to plant seedlings in a bed that looked soft on top but was hard below. The transplanter stopped halfway, and the seedlings sat too high. Loosening the bed first would have saved time and prevented uneven planting.

How to Use a Handheld Transplanter Step by Step
The basic process is simple, but small details affect root growth and plant health. Follow these steps for most vegetable and flower seedlings.
1. Check the Seedling
Water the seedling before planting if the root ball feels dry. A moist root ball holds together better and suffers less shock.