How To Dig Holes For Bulbs: Easy Planting Guide
To dig holes for bulbs, loosen soil, set each bulb at the right depth, and cover gently.
Learning how to dig holes for bulbs is simple, but small details can decide whether spring flowers thrive or rot. The right depth, spacing, soil, and planting direction help bulbs grow strong roots before they send up leaves. This guide explains the process in clear steps, based on standard horticulture advice and lessons learned from planting bulbs in beds, borders, and containers.
Choose the Right Time and Place
Most spring-flowering bulbs are planted in fall. Tulips, daffodils, crocuses, hyacinths, and alliums need time in cool soil before spring growth begins. In many parts of the United States, plant them after the soil cools but before the ground freezes.
Summer-flowering bulbs often need a different schedule. Dahlias, gladiolus, caladiums, and cannas are usually planted in spring after the danger of frost has passed.
Choose a site with the right light and drainage. Most flowering bulbs need at least six hours of sun each day, though some woodland bulbs prefer part shade.
Avoid areas where water sits after rain. A bulb in soggy soil is like a sponge left in a bucket. It may rot before it can grow.
Before learning how to dig holes for bulbs, check these site conditions:
• Sunlight: Match the site to the bulb’s needs.
• Drainage: Choose soil that drains within a few hours after heavy rain.
• Soil texture: Loamy soil is ideal, but many bulbs grow well in amended clay or sandy soil.
• Root competition: Keep bulbs away from large tree roots when possible.
• Safety: Call 811 before digging if underground utility lines may be present.

Gather the Right Tools
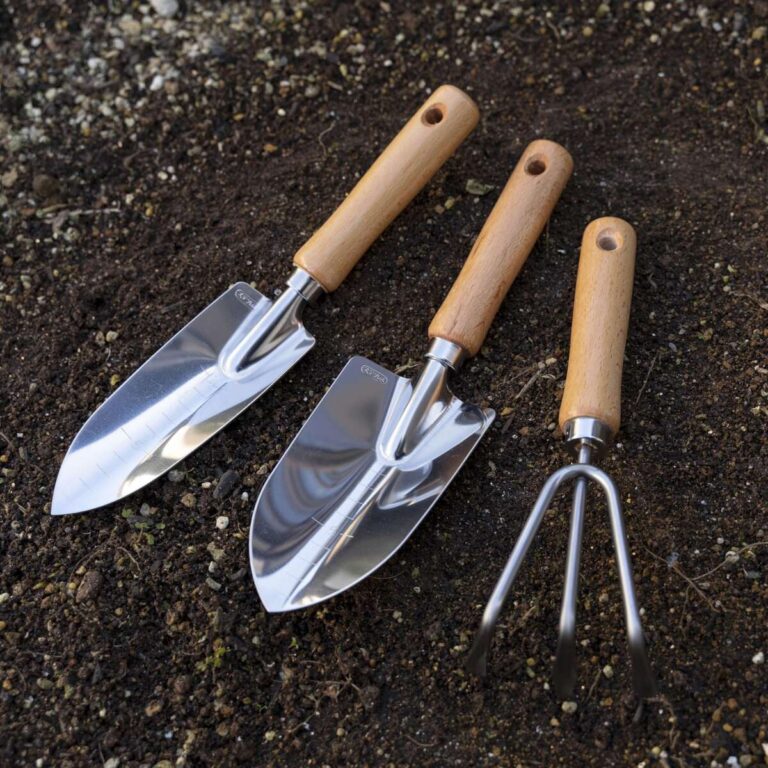
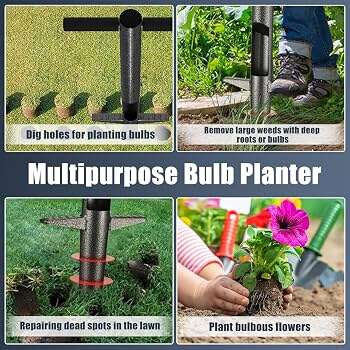
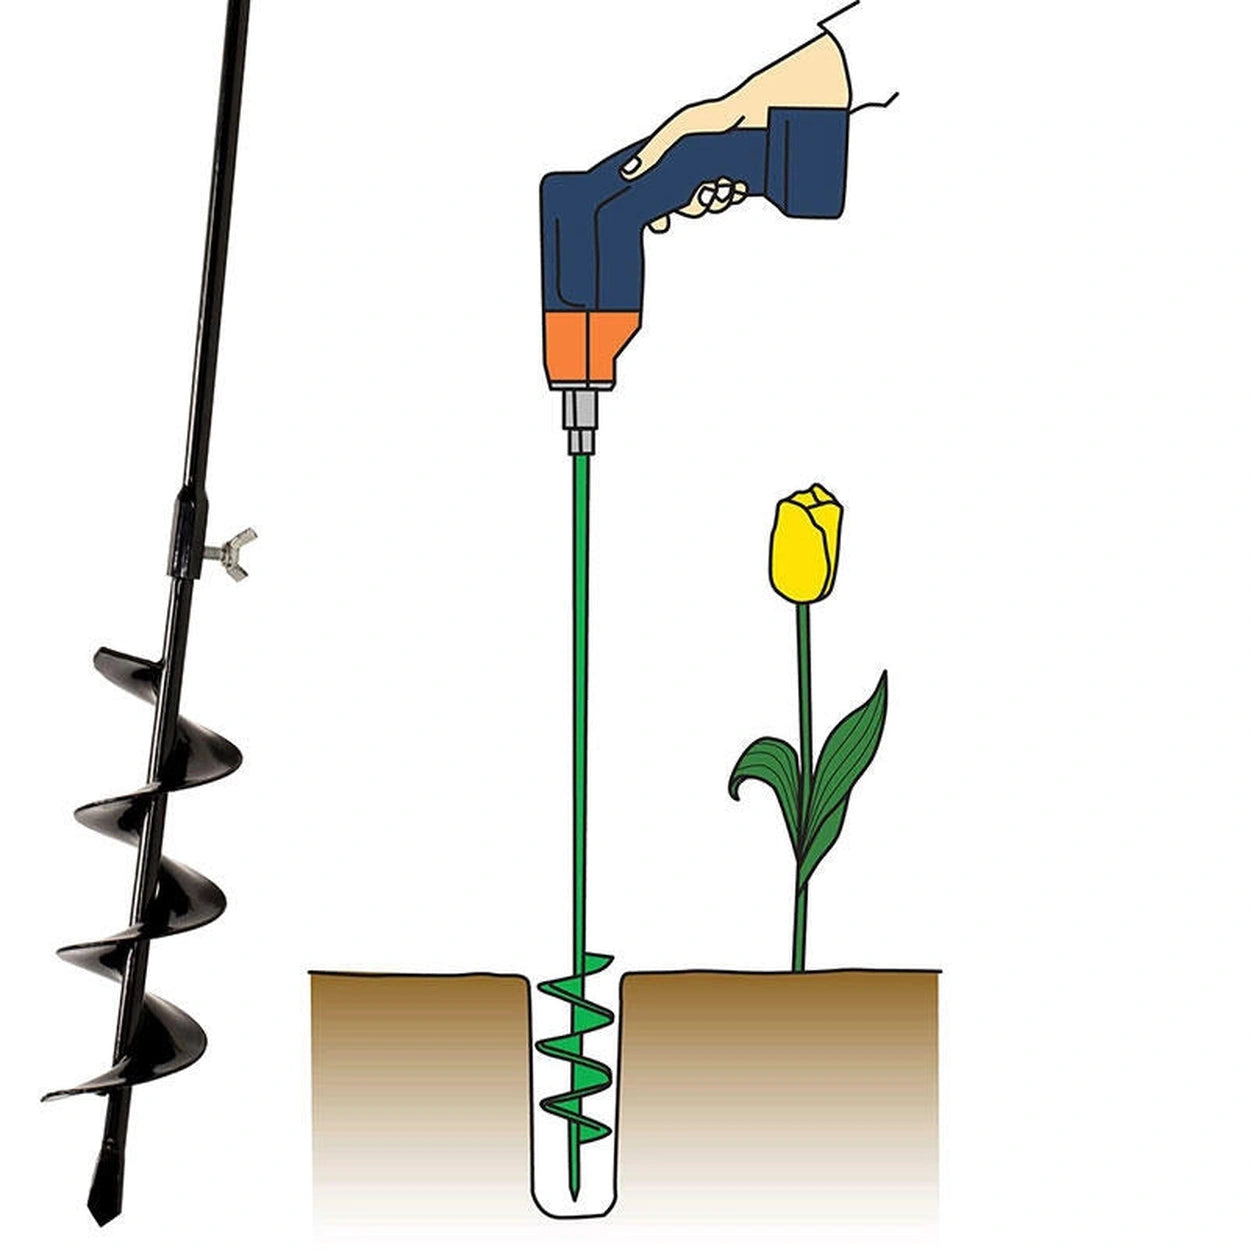
You do not need expensive equipment for bulb planting. A hand trowel works well for a few bulbs, while a bulb planter can save time in soft, prepared soil.
Useful tools include:
• Hand trowel: Best for small groups and tight spaces.
• Bulb planter: Makes neat, round holes in loose soil.
• Garden spade: Useful for large beds or mass planting.
• Measuring stick: Helps you keep depth consistent.
• Garden gloves: Protect your hands from rough soil and sharp tools.
• Compost: Adds organic matter to poor soil.
• Watering can or hose: Helps settle soil around the bulbs.
Keep tools clean. Soil can carry plant diseases, especially when you move from one garden bed to another. A quick rinse and scrub after use is a simple habit that protects future plantings.
One lesson I have learned is that a narrow trowel often works better than a wide shovel. It lets you make a clean hole without disturbing nearby bulbs or roots.

Understand Bulb Planting Depth
Depth is the most important part of how to dig holes for bulbs. A hole that is too shallow may expose the bulb to temperature changes, drying, or animals. A hole that is too deep can delay growth and make it hard for the shoot to reach the surface.
A common rule is to plant a bulb at a depth equal to two to three times its height. Measure from the soil surface to the base of the bulb, not to the top.
For example:
• A 2-inch-tall daffodil bulb usually goes about 4 to 6 inches deep.
• A 1-inch crocus bulb may go about 2 to 3 inches deep.
• A 3-inch tulip bulb may need about 6 to 9 inches of depth.
Always check the label when one is available. Some bulbs have special needs. Fritillaria, lilies, and certain native bulbs may require different depths.
Heavy clay soil calls for a slightly shallower planting depth. Bulbs planted too deeply in dense clay may struggle to push through. In loose, sandy soil, planting toward the deeper end of the recommended range can help protect bulbs from drying out.

Prepare the Soil Before Digging
Good soil preparation makes how to dig holes for bulbs easier and improves root growth. Start by removing weeds, stones, and thick roots from the planting area.
Loosen the soil to a depth of about 8 to 12 inches. This does more than create space for the bulb. It improves drainage and gives new roots room to spread.
If the soil is hard clay, mix in finished compost. Do not fill each hole with a large amount of rich compost alone. A sudden change in soil texture can hold too much water around the bulb.
Use these soil tips:
• Add compost to the whole planting area, not just one hole.
• Avoid fresh manure, which can damage roots and encourage disease.
• Do not add gravel beneath each bulb. Gravel does not improve drainage when the surrounding soil stays wet.
• Test soil pH if plants often fail in the same bed.
Most bulbs tolerate slightly acidic to neutral soil. A basic soil test can show whether lime or another amendment is needed. Avoid guessing, since too much fertilizer or lime can create new problems.

How to Dig Holes for Bulbs Step by Step
The best method depends on the number of bulbs. For a few bulbs, individual holes work well. For a large display, a planting trench or broad bed is faster and often looks more natural.
Follow these steps for individual bulbs:
-
Measure the recommended planting depth.
-
Dig a hole with a flat or slightly rounded base.
-
Make the hole wide enough for the bulb and its roots.
-
Place the bulb with the pointed end facing up.
-
Keep the flat root plate facing down.
-
Cover the bulb with loose soil.
-
Press the soil lightly to remove large air pockets.
-
Water the area unless the soil is already wet.
Do not push a bulb into hard ground. This can damage the root plate, which is the area where roots emerge. If the soil resists your trowel, loosen a wider area first.
When planting many bulbs, dig a shallow trench to the correct depth. Set the bulbs in place, cover them, and water the entire row. This method is easier on your wrists and creates a more even planting depth.

Place Bulbs in the Correct Direction
Most bulbs have an obvious pointed top. The point should face upward because it contains the growing shoot.
The root plate is usually flatter and may show old roots. It belongs at the bottom. If you plant a bulb upside down, it may still grow, but the shoot must curve around before reaching the surface. That uses extra energy and may lead to weaker growth.