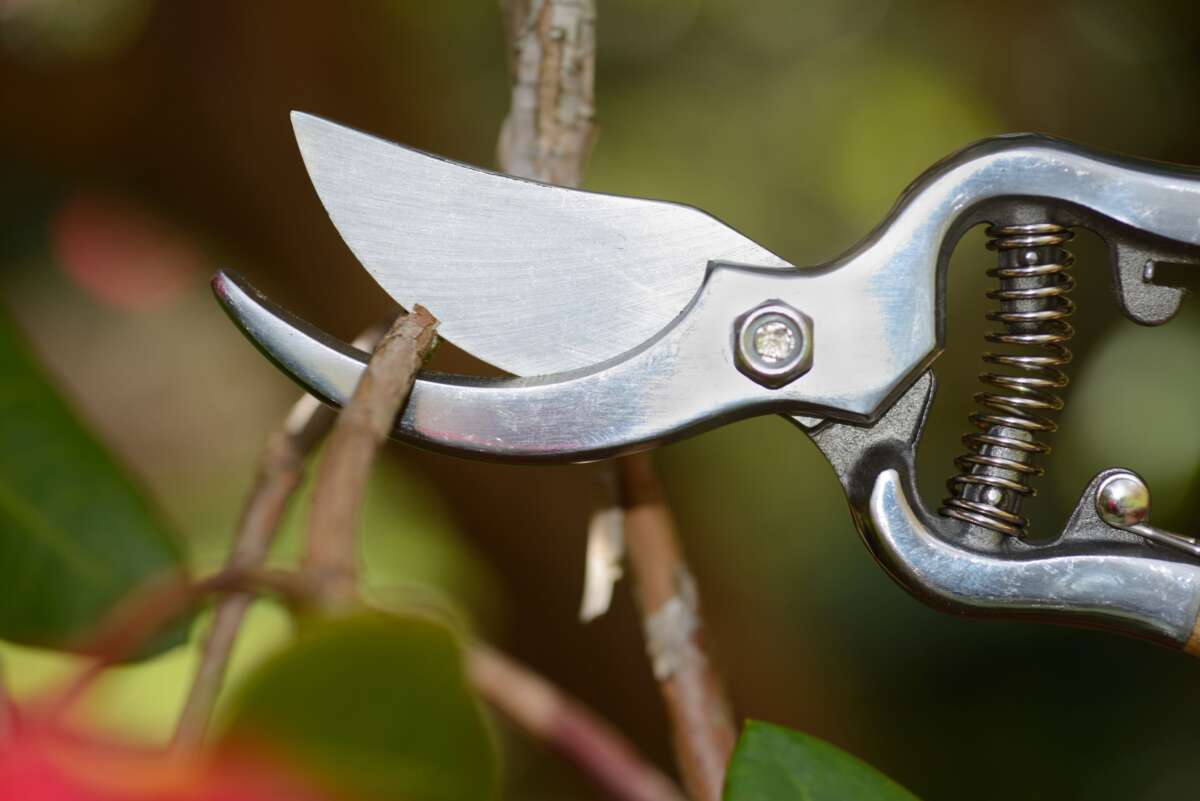
How Do You Sharpen Pruning Shears: Easy Guide
Sharpen pruning shears with a fine file, match the bevel, and remove the burr for a clean cut.
Learning how do you sharpen pruning shears is a simple skill that can save time, protect your plants, and extend the life of your tools. With the right angle, a steady hand, and a few minutes of care, even dull bypass pruners can feel sharp and smooth again.
Why Sharp Pruning Shears Matter
Sharp pruning shears do more than make gardening easier. They create clean cuts that help branches heal faster and reduce crushed plant tissue. A dull blade can tear bark, slip from the branch, or force you to use too much hand pressure.
Clean cuts are especially important when pruning roses, fruit trees, shrubs, and young branches. A sharp blade leaves a smaller wound, while a dull blade may leave ragged edges that invite moisture, pests, and disease.
Knowing how do you sharpen pruning shears also helps you avoid buying new tools too soon. Many quality pruners can last for years when you clean, sharpen, oil, and store them correctly.
What You Need Before Sharpening
You do not need a large workshop to sharpen pruning shears. A few basic tools are enough for most home gardeners.
Gather these items:
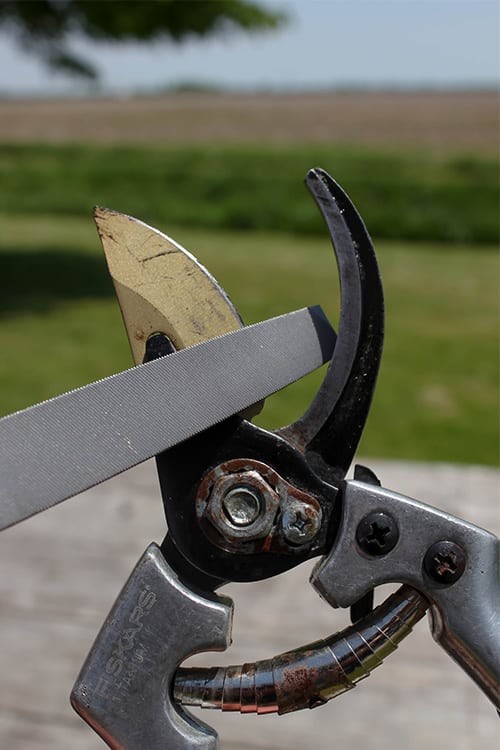
• A fine mill file or sharpening stone
• A small wire brush or old toothbrush
• Clean water and mild dish soap
• A clean cloth or rag
• Safety glasses
• Work gloves
• Light machine oil or tool oil
• A screwdriver or wrench, if the shears can be taken apart
A diamond file works well because it removes metal in a controlled way. A whetstone can also work, but it may be harder to use on the curved edge of bypass pruning shears.
Avoid using a rough grinding wheel unless you have experience. A power grinder can remove too much metal and create heat. Excess heat may damage the blade’s temper, which can make the edge soft and short-lived.
Inspect and Clean the Pruning Shears
Before you learn how do you sharpen pruning shears, inspect the tool closely. Look for sap, rust, dirt, loose screws, bent parts, and chips along the cutting edge.
Open the handles and check how the blades meet. Bypass pruners should pass one blade beside the other, much like scissors. If the blades cross in the wrong place, sharpening alone will not solve the problem.
Clean the shears with warm water and mild soap. Use a brush to remove dried sap from the blade, hinge, and spring. Dry every part well to prevent new rust.
For stubborn sap, place a small amount of rubbing alcohol on a cloth and wipe the blade. Do not soak wooden handles or leave steel parts wet. A clean blade makes sharpening more precise and helps you see damage clearly.
If the shears are very dirty, remove the center bolt and separate the blades when the design allows it. Take a quick photo first so you know how the parts fit back together.
Find the Correct Bevel Angle
The bevel is the sloped side of the blade that forms the cutting edge. Most bypass pruning shears have one beveled cutting blade and one flatter counter blade.
The exact angle varies by design, but many pruning shear blades work well at about 20 to 30 degrees. The most important rule is to match the angle already present on the blade.
Do not sharpen both sides of a bypass blade in the same way. Sharpen the beveled side. The flat side usually needs only a few light strokes to remove the small metal burr created during sharpening.
Think of the bevel as a ramp. Your file should follow that ramp instead of cutting a new path. If you change the angle too much, the blade may become weak, uneven, or difficult to align.

How Do You Sharpen Pruning Shears With a File?
A fine file is one of the safest and easiest tools for home gardeners. It gives you good control and works well on curved pruning blades.
Follow these steps:
-
Close the shears or lock the handles if the tool has a safety lock.
-
Hold the shears firmly with the cutting blade facing upward.
-
Place the file on the existing beveled edge.
-
Push the file along the blade from the hinge toward the tip.
-
Use smooth strokes in one direction rather than sawing back and forth.
-
Keep the same angle during every stroke.
-
Check the edge after five or six passes.
-
Stop when the edge looks even and feels sharp.
Use light pressure. A common mistake is pressing hard because the blade looks dull. The file should remove a small amount of metal, not reshape the entire blade.
On most garden pruners, 10 to 20 controlled strokes are enough. Very dull or damaged blades may need more time. Wipe the edge often so you can see your progress.
When people ask how do you sharpen pruning shears, they often expect a fast grinding method. In practice, slow hand sharpening usually gives better control and reduces the chance of ruining the blade.
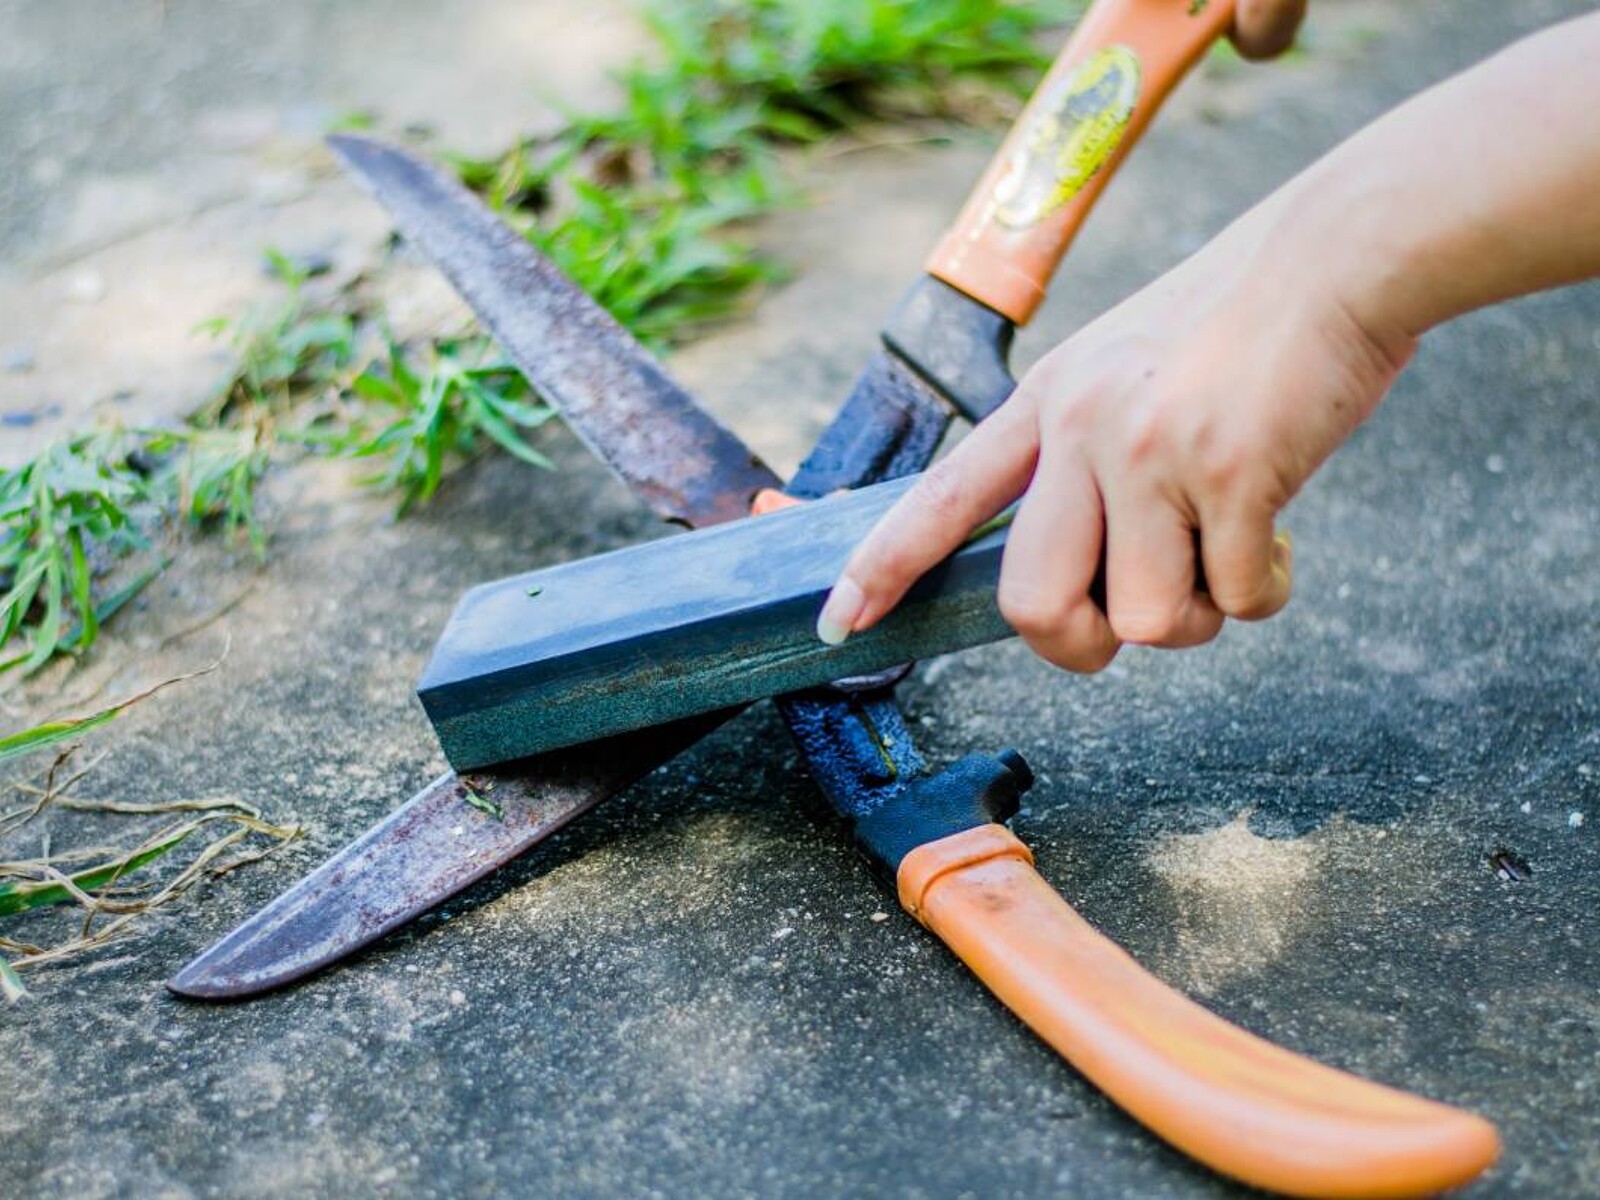
How Do You Sharpen Pruning Shears With a Sharpening Stone?
A sharpening stone can produce a very smooth edge. It is useful when you want a refined finish or when the blade has a narrow, clear bevel.
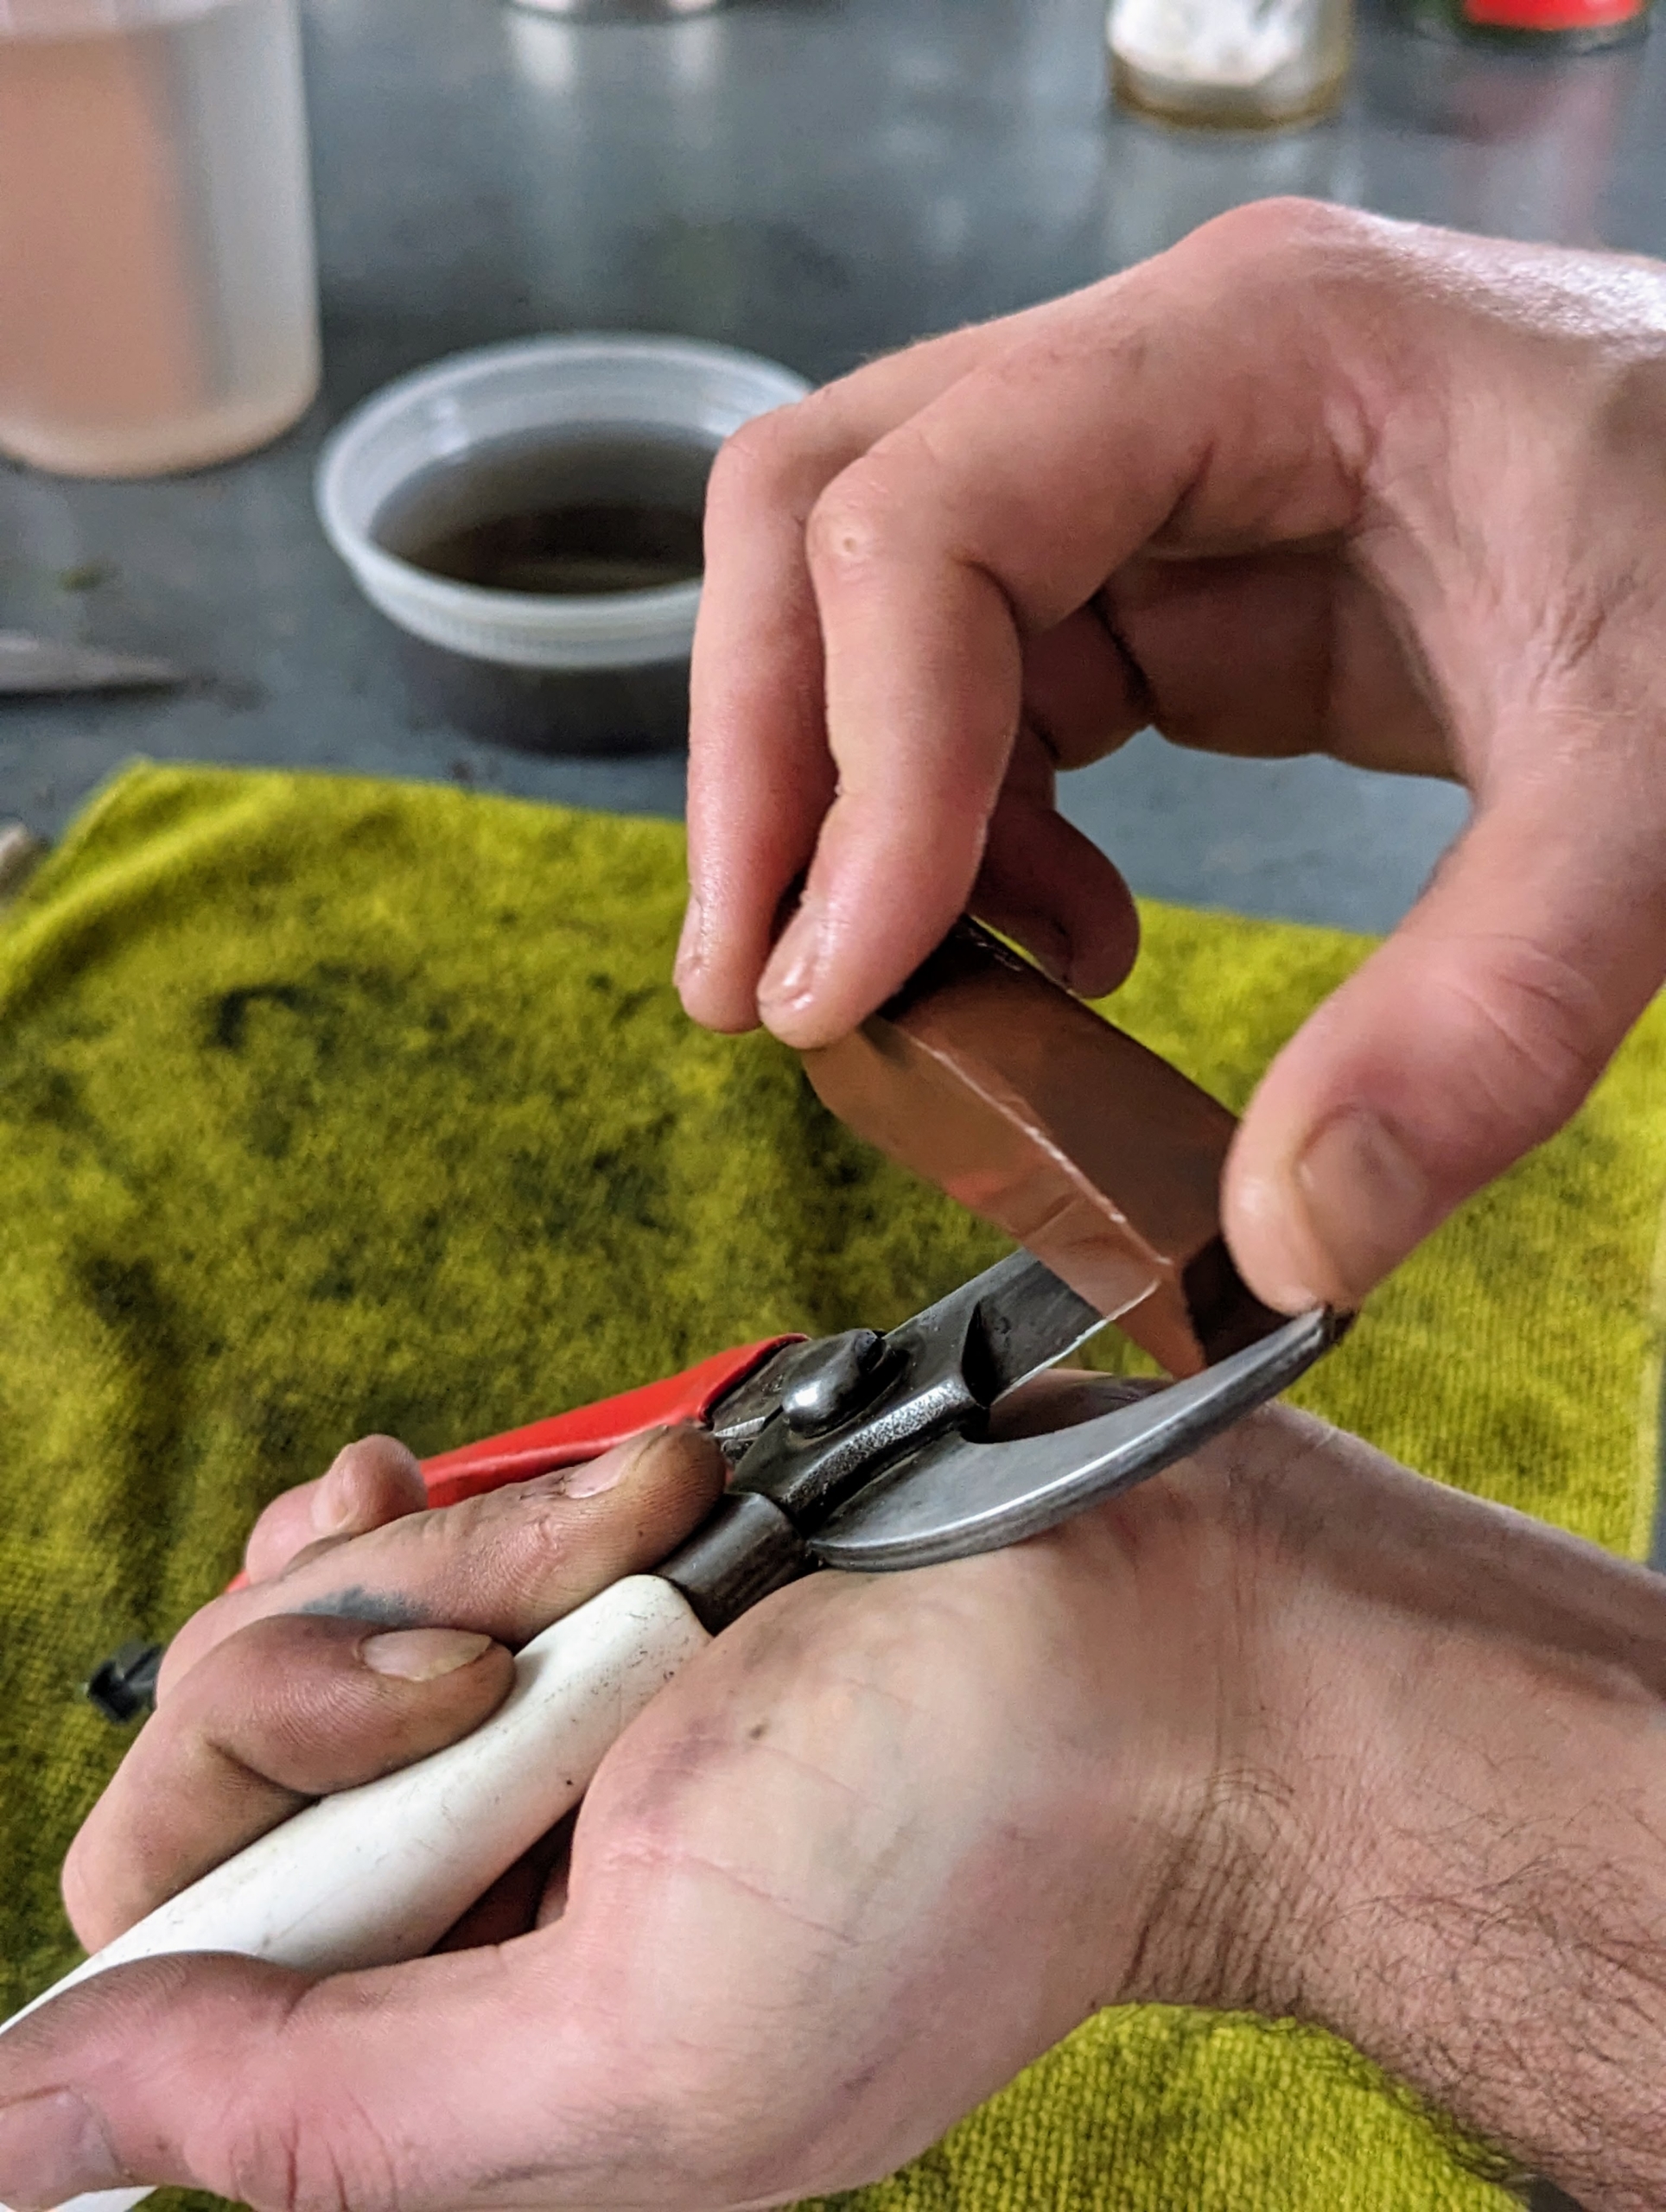
Choose a fine or medium grit stone. Apply a small amount of water or honing oil, depending on the stone’s instructions. Hold the stone against the bevel and move it from the hinge toward the tip.
Follow the blade’s curve as closely as possible. Keep the stone flat against the bevel. Several gentle passes are better than a few hard ones.
After sharpening the beveled side, turn the blade over. Place the flat side against the stone and make one or two very light passes. This removes the burr without creating a second bevel.
If you are new to sharpening, a file may feel easier because it is less slippery. A stone takes practice, but it can leave a fine, clean edge when used with patience.

Remove the Burr From the Blade
A burr is a thin strip of metal that forms along the opposite side of the edge during sharpening. You may feel it by lightly sliding a fingertip across the flat side, but never run your finger along the cutting edge.
To remove the burr, place the flat side of the blade against a fine stone or fine file. Use one or two gentle strokes. Do not grind heavily, because the goal is only to remove loose metal.
Open and close the shears several times. The blades should move smoothly without catching. If the tool feels rough, inspect the edge and hinge again.
A small burr is normal. A large burr may mean that you used too much pressure or changed the sharpening angle. This is one of the most useful details to remember when learning how do you sharpen pruning shears.

Test the Sharpness Safely
Do not test pruning shears on your finger. Instead, use a thin green twig from a suitable plant or a small piece of paper as a basic test.
Good pruning shears should cut a small branch with steady pressure. The cut should be smooth, with little crushing or tearing. Paper can show whether the edge catches and slices, but it does not fully imitate cutting live wood.
Test the shears at several points along the blade. Some blades sharpen unevenly, leaving a sharp center and a dull tip.
If the shears crush the twig, check these areas:
• The cutting edge may still be dull.