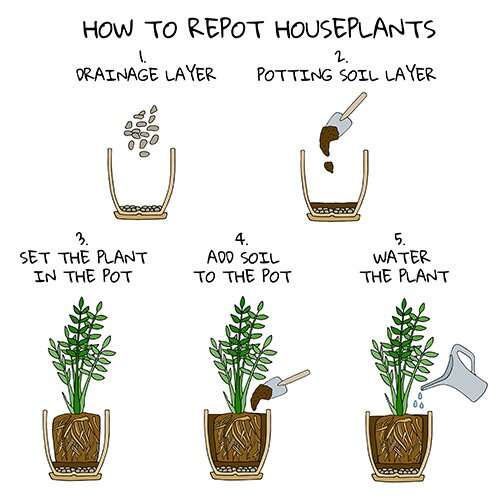
How To Plant Seeds The Right Way: Beginner-To-Pro Tips
Sow fresh, viable seeds at proper depth in moist, loose soil with steady warmth.
If you want unstoppable germination and healthy seedlings, you need more than hope and a packet of seeds. You need a simple, proven system. I’ve spent years testing, failing, and refining how to plant seeds the right way, from tiny herbs to stubborn peppers. In this guide, I’ll show you how to plant seeds the right way with clear steps, pro tips, and practical fixes, so you can grow with confidence and get results you can see.
Plan Your Seed Success: Timing, Varieties, and Viability
Start with timing. Seeds want the right season and soil temperature. Cool crops like lettuce sprout in cool soil. Warm crops like tomatoes need warmth to pop. Most horticulture guides suggest checking your last frost date and counting back from transplant or harvest time.
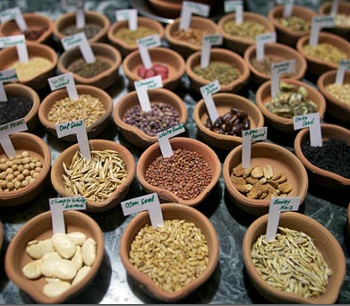
Buy fresh seeds from trusted sellers, or test older seeds. Do a quick germination test with 10 seeds on a damp paper towel. Track how many sprout. If the rate is low, sow more heavily. This prep step is the ground floor of how to plant seeds the right way.
Key planning steps:
- Check frost dates and soil temperatures for your area.
- Choose varieties suited to your climate and light.
- Run a paper towel germination test on old seed lots.

Gather the Right Tools and Materials
You do not need fancy gear, but the right basics save time and stress. A seed tray with drainage, quality seed starting mix, and a fine mister go a long way. For indoor starts, a simple LED grow light and a heat mat can change your results overnight.
I learned the hard way that poor tools slow you down. Thin plastic trays flex and spill. Cheap mixes hold too much water. Upgrade what matters. This is part of how to plant seeds the right way at any scale.
Essentials I trust:
- Seed trays or small pots with drainage and matching humidity domes.
- Sterile seed starting mix, not heavy garden soil.
- Spray bottle, watering can with a rose, and plant labels.
:max_bytes(150000):strip_icc()/GettyImages-1360433152-2aa5923ba2824d10be0fec3a0fac53fe.jpg)
Prepare Soil or Mix for Seed Starting
Use a light, sterile seed starting mix. It should hold moisture but drain well. Pre-moisten it so it feels like a wrung-out sponge. If you squeeze it, only a drop or two should come out.
Fill your trays and level the surface. Tap to settle but do not pack it tight. Compacted mix blocks roots and air. Good prep like this is central to how to plant seeds the right way because it protects tender roots and supports steady growth.
Mix prep checklist:
- Pre-moisten until evenly damp, never soggy.
- Fill cells to the rim, then level gently.
- Label trays before you sow to avoid mix-ups.
Understand Planting Depth, Spacing, and Orientation
Depth matters. A simple rule works across many crops: plant seeds two to three times their width. Very fine seeds often do best on the surface with a light dusting of mix. Beans and peas go deeper for stability and moisture.
Spacing helps airflow and reduces damping-off disease. If you sow thickly, plan to thin. Orientation can matter too. Some seeds, like certain peas, sprout faster if the eye faces down. Fine-tuning these details is a hallmark of how to plant seeds the right way.
Depth and spacing tips:
- Tiny seeds: surface-sow and press in for contact.
- Medium seeds: cover lightly, keep even moisture.
- Large seeds: plant deeper, firm soil lightly over them.
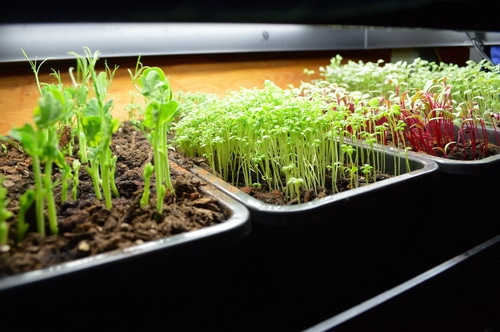
Indoor Seed Starting Step-by-Step
Indoor starts let you control light and heat. This is very helpful for slow or heat-loving crops. Place trays on a heat mat at night if your home is cool. Keep the surface evenly moist with a mister until germination.
Set lights 2–4 inches above seedlings and run them 14–16 hours a day. Raise lights as plants grow. A steady routine like this is how to plant seeds the right way when you want strong, stocky starts that handle transplanting well.
Try this simple workflow:
- Fill and label trays, then sow at the right depth.
- Mist, cover with a dome, and place on gentle bottom heat.
- Remove the dome after sprouting and add a fan for airflow.
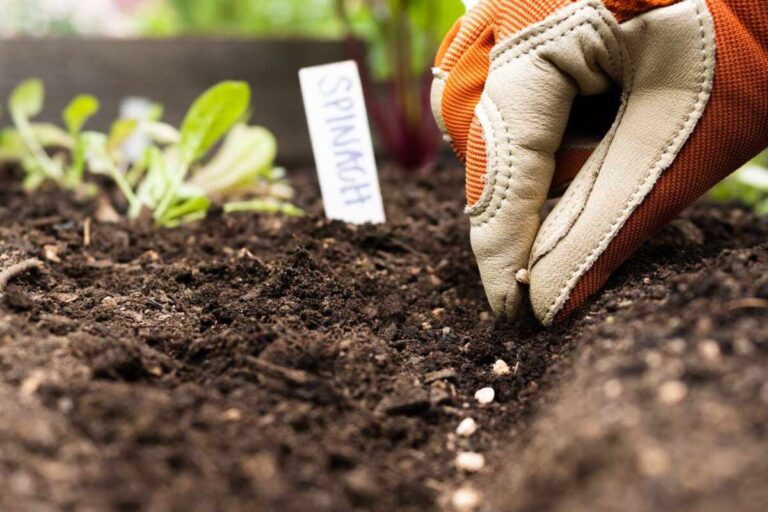
Direct Sowing Outdoors Step-by-Step
Direct sow when soil is ready. It should be warm enough for your crop and loose to at least six inches. Rake smooth and water the bed a day before sowing so moisture is even. Mark rows with a string line for clean spacing.
Plant and firm the soil so seeds make contact. Water with a soft rose so you do not wash them out. Mulch with a thin layer of straw once seedlings are up. For many crops, this is how to plant seeds the right way to get deep, resilient root systems.
Outdoor sowing basics:
- Pre-water the bed and let it settle.
- Sow in straight rows for easy thinning and weeding.
- Protect with row cover against pests and wind.
Watering, Light, and Temperature Management
Water is a balance. Seeds need steady moisture, not floods. Aim for damp, not wet. Bottom watering keeps the surface from crusting. Let trays take up water, then drain the excess.
Light shapes seedlings. Without strong light, they stretch and flop. Keep lights close and bright. Warmth drives germination, but cool nights can build strength. Dialing in this balance is core to how to plant seeds the right way and avoid weak, leggy plants.
Control cues:
- Use a finger test; if the top half inch is dry, water.
- Keep lights close and move them as seedlings grow.
- Track temps with a simple probe thermometer.
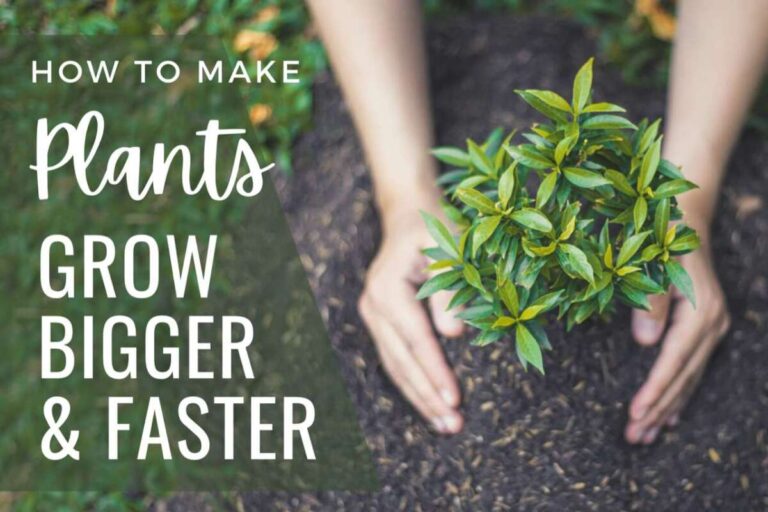
After Germination: Thinning, Feeding, and Transplanting
Once true leaves appear, thin to the strongest seedling per cell or spacing. It feels harsh, but it stops crowding and disease. I resisted thinning early on, and my crowded starts failed. Thinning is kind and smart.
Feed gently with a diluted, balanced fertilizer after the first true leaves. Transplant once roots hold the media and the plant looks stout. Harden off for a week before moving outside. These steps show how to plant seeds the right way from sprout to strong transplant.
Post-sprout actions:
- Thin with clean scissors to reduce root shock.
- Feed at quarter to half strength, then watch growth.
- Harden off with gradual outdoor time, wind, and sun.

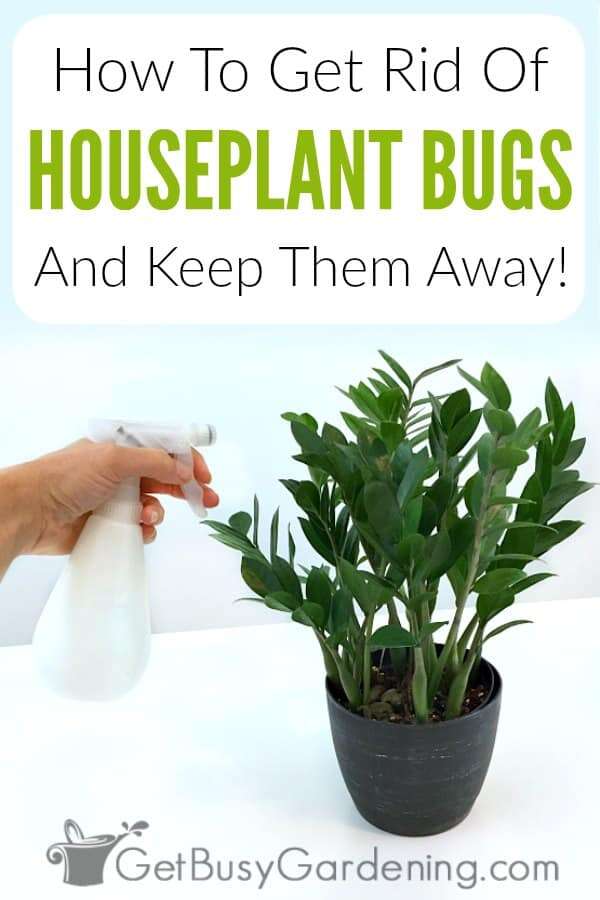
Common Mistakes and How to Fix Them
Overwatering is the top issue I see. It invites damping-off and root rot. Fix it by improving airflow, watering less often, and using bottom watering. Another common slip is planting too deep. If sprouts struggle, sow shallower next time.
Old or poorly stored seeds can break your heart. Test them first. Weak light causes leggy growth. Drop the light closer and add a fan. Learning from these mistakes is part of how to plant seeds the right way and improve each season.
Quick fixes:
- Add a small fan to cut disease pressure.
- Check seed dates and storage rules.
- Adjust depth and light height for sturdier stems.
A Simple Week-by-Week Checklist
A checklist keeps you on track. It also makes it easy to repeat success. Make notes on dates, temps, and results. Next time, you start miles ahead.
Use this simple plan as you master how to plant seeds the right way. Repeat it for each crop, then edit based on your climate and space. Small tweaks pay off fast.
Four-week starter plan:
- Week 1: Sow, label, cover, add gentle heat, and mist.
- Week 2: Sprout care, remove domes, start strong light and airflow.
- Week 3: Thin, begin light feeding, and adjust lights and water.
- Week 4: Pot up if needed, start hardening off on mild days.
Frequently Asked Questions of how to plant seeds the right way
How deep should I plant seeds?
A good rule is two to three times the seed’s width. Very fine seeds can be pressed on the surface with a dusting of mix.
How often should I water new seeds?
Keep the top layer evenly damp, not soaked. Mist or bottom water and let excess drain.
Do I need grow lights for indoor starts?
If you lack a very bright, sunny window, yes. LED grow lights prevent leggy growth and produce strong stems.
When should I thin seedlings?
Thin after the first true leaves appear. Keep the strongest one per cell or spacing to prevent crowding.
How do I know if my seeds are still good?
Run a paper towel germination test with 10 seeds. If fewer than half sprout, sow thicker or buy fresh seed.
What temperature is best for germination?
Most warm-season crops like 70–80°F at the seed level. Cool-season crops often sprout well at 50–65°F.
Can I use garden soil in seed trays?
It is often too heavy and may carry disease. Use a sterile, fine seed starting mix for best results.
Conclusion
Planting seeds is simple when you follow a clear plan. Test viability, set the right depth, keep steady moisture, and give strong light. Track what works, fix what does not, and your success will snowball season after season.
Now it is your turn. Pick one crop and practice how to plant seeds the right way this week. Share your results, subscribe for more hands-on tips, and let me know what you want to grow next.

Laura Bennett is a gardening writer at MyGardenLabs who creates beginner-friendly guides focused on solving common plant care and gardening problems.