How To Cultivate With A Garden Spade: Easy Soil Tips
To cultivate with a garden spade, loosen soil, remove weeds, mix compost, and shape planting beds with care.
Learning how to cultivate with a garden spade can transform hard, tired soil into a healthy growing space. A spade is more than a digging tool. Used well, it helps improve soil structure, prepare beds, control weeds, and create the right conditions for roots. This guide explains how to cultivate with a garden spade safely, effectively, and without damaging the living soil beneath your feet.
What Does It Mean to Cultivate With a Garden Spade?
To cultivate with a garden spade means using the blade to loosen, turn, lift, mix, and shape soil. It is useful when preparing new beds, improving compacted ground, blending compost, or removing deep-rooted weeds.
A spade has a flat or slightly curved blade and a long handle. Its design makes it better for cutting into soil and lifting earth than for fine surface work. A hand cultivator or garden hoe may be better for shallow work between plants.
The goal is not to turn the soil as deeply or as often as possible. Healthy soil contains air spaces, roots, worms, fungi, and helpful microbes. Good cultivation improves the soil while disturbing these living systems as little as possible.
When learning how to cultivate with a garden spade, think of the tool as a careful partner. It should open the soil, not destroy it.

Choose the Right Time to Cultivate
Soil moisture is one of the most important factors in successful cultivation. Soil that is too wet becomes sticky and easily compacted. Soil that is too dry becomes hard and difficult to cut.
Use this simple test:
- Pick up a handful of soil from the depth you plan to cultivate.
- Squeeze it gently in your hand.
- If it forms a wet, shiny lump, wait a few days.
- If it falls apart like dust, add water and wait.
- If it forms a loose ball that breaks apart with a light touch, it is ready.
Spring and fall are common times to cultivate. In spring, wait until the ground has drained after snow or rain. In fall, cultivate after removing old annual plants, but avoid turning wet clay soil.
Do not cultivate when soil is frozen, flooded, or covered with standing water. Working in those conditions can create dense layers that restrict roots for much of the growing season.
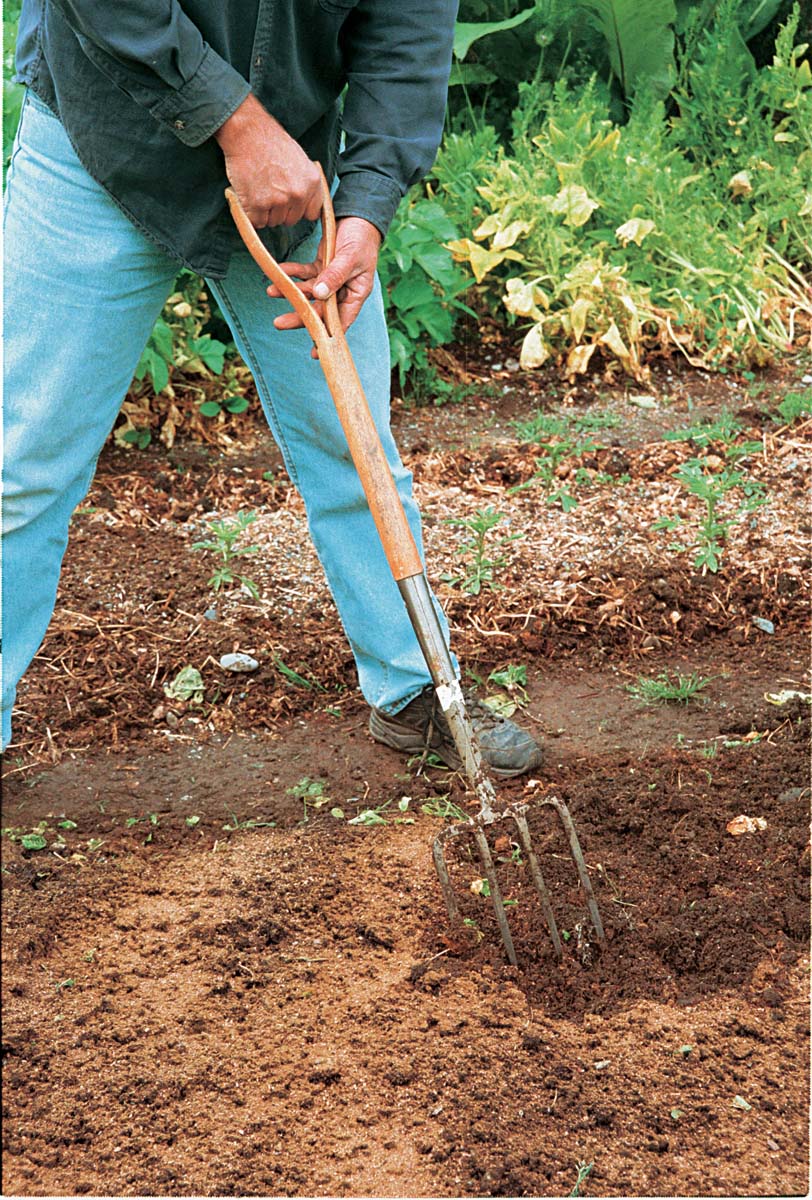
Prepare the Garden Spade and Work Area
Before you begin, inspect your spade. A strong tool makes the job safer and reduces strain on your back, shoulders, and wrists.
Check the following parts:
- Blade: Make sure it is not badly bent, cracked, or loose.
- Handle: Look for splinters, cracks, or movement near the socket.
- Grip: Ensure the top handle feels secure in your hands.
- Footrest: Confirm that the blade has a firm step edge if you plan to use your foot.
- Cleanliness: Remove old soil and plant debris from the blade.
A sharp blade cuts roots and soil more easily. You can sharpen the edge with a hand file, but keep it moderately sharp rather than razor sharp. A garden spade is meant to cut soil, not wood.
Wear sturdy shoes with closed toes. Gloves protect your hands from blisters and thorny weeds. If the soil may contain sharp objects, use a tool rather than digging with your hands.
Mark irrigation lines, buried cables, and shallow roots before digging. In the United States, contact 811 before digging where underground utility lines may be present.

How to Cultivate With a Garden Spade Step by Step
The most useful method depends on your soil and your goal. The steps below work well for preparing an open garden bed or improving a small planting area.
1. Clear the Surface
Remove large weeds, sticks, stones, plant labels, and old crop stems. Pull weeds before they produce seeds whenever possible.
For weeds with deep roots, loosen the soil around the crown first. Lift the entire root system instead of cutting off the top. Small pieces of some perennial weeds can regrow.
Do not place diseased plant material in ordinary compost. Bag it or dispose of it according to local guidance.
2. Mark the Area
Outline the bed with a string, hose, or garden line. A clear edge helps you work evenly and prevents accidental damage to nearby plants.
Keep beds narrow enough to reach the center without stepping on the soil. Many gardeners use beds about 3 to 4 feet wide, though the best width depends on your reach and layout.
3. Stand in a Balanced Position
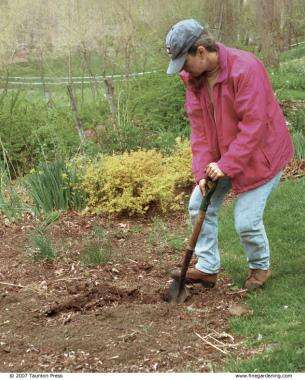
Place your feet about shoulder width apart. Keep one foot slightly ahead of the other and hold the handle with both hands.
Bend your knees and keep your back as straight as possible. Let your legs and body weight help press the blade into the soil. Avoid twisting while lifting a full spade.
4. Cut Into the Soil
Place the blade at the edge of the area. Push it straight down to a comfortable depth, often 6 to 8 inches for general bed preparation.
Use the ball of your foot rather than your toes. Do not jump on the spade. A controlled step protects your foot and reduces the chance of slipping.
For shallow cultivation around existing plants, use only 2 to 4 inches of depth. Deep digging can cut plant roots.
5. Lift and Break the Soil
Pull the handle toward your body while keeping your back upright. Lift only a manageable slice of soil.
Turn the soil gently or place it beside the hole. Break large clumps with the edge of the blade or your hands. Avoid pounding wet clods, because they may dry into hard chunks.
6. Overlap Each Spadeful
Move forward by about half a blade width. Overlapping each cut prevents hard strips from remaining between digging spots.
Work in straight rows. This method is slower than random digging but produces a more even bed and reduces missed areas.
7. Add Organic Matter
Spread finished compost over the surface before or after loosening the soil. A layer of about 1 to 2 inches is often enough for an established garden bed, though soil tests and local recommendations should guide exact amounts.
Mix the compost into the upper soil with light spade work. Do not bury large amounts of fresh manure or unfinished compost near plant roots. These materials can harm plants, tie up nitrogen, or introduce weed seeds and pathogens.
8. Level the Bed
Use the back of the spade or a garden rake to smooth the surface. Shape the soil so water can soak in without pooling.
Leave the bed slightly loose, but do not make it powdery. A crumbly texture with small pores gives roots access to air and water.
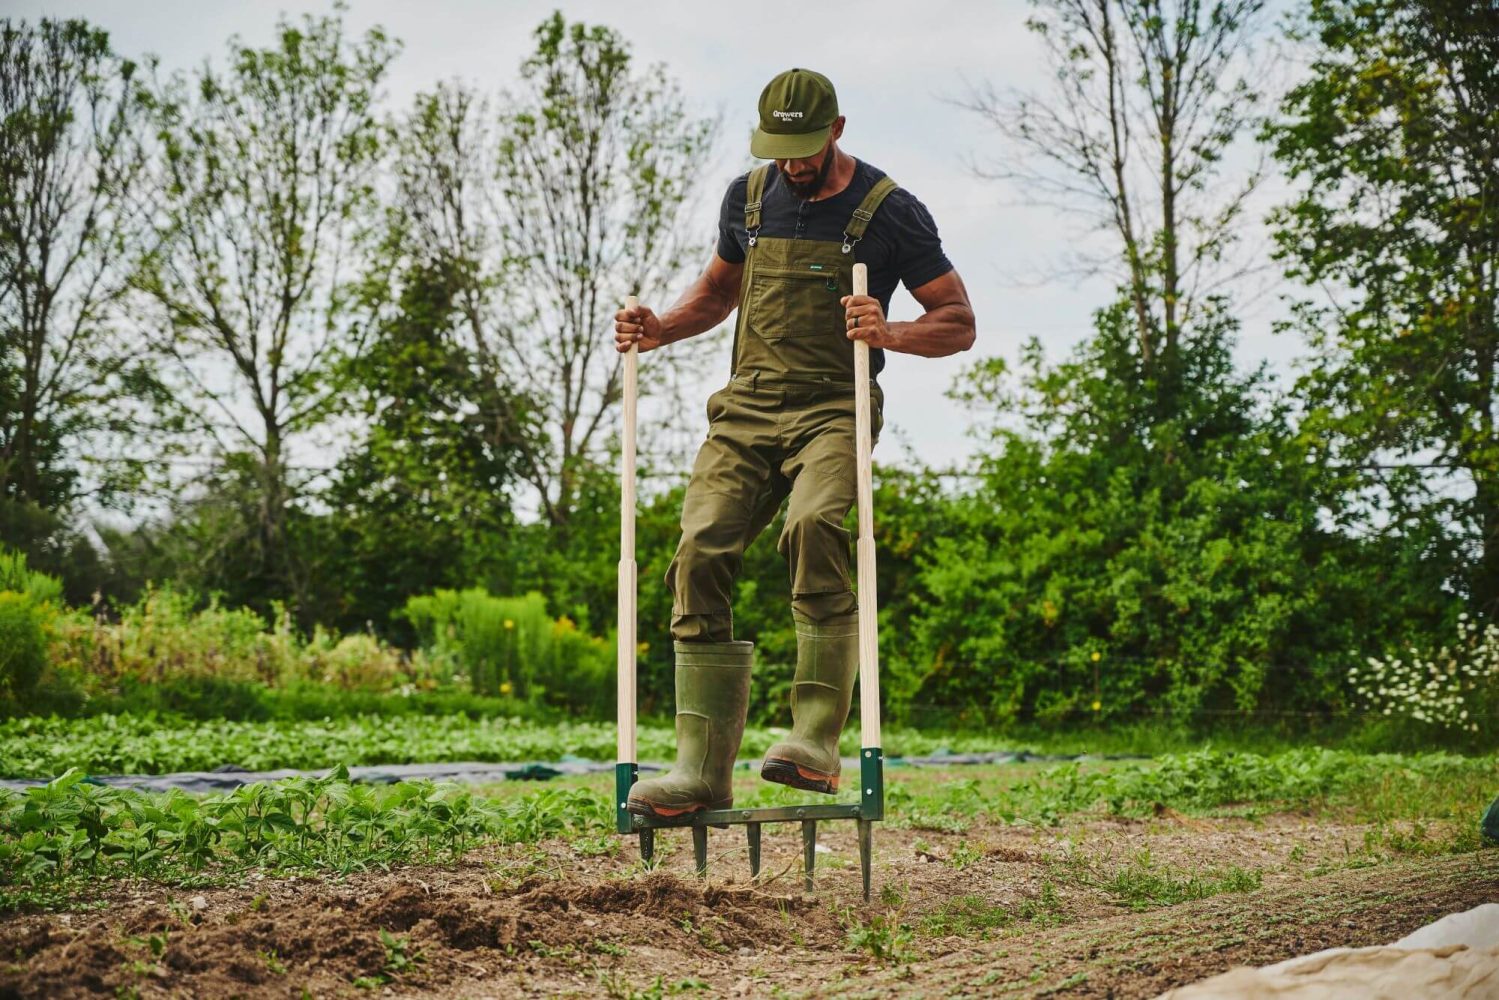
Different Ways to Cultivate With a Garden Spade
There is no single method for every garden. The right approach depends on soil type, plant needs, and whether the bed is new or already established.
Single Digging
Single digging loosens one spade depth of soil across the bed. It is useful for compacted ground, new beds, and areas that have not been cultivated for years.
Use single digging carefully in clay soil. If the clay is wet, the spade may smear the sides of each hole and create a dense layer.
Double Digging
Double digging loosens soil to two spade depths. The first trench is removed, and the next layer is loosened before the topsoil is returned.
This method can improve very compacted soil, but it requires significant effort. It may also disturb soil organisms and mix layers that are best left separate. Use it only when there is a clear need, such as severe compaction in a new bed.
Trenching
Trenching creates narrow channels for crops, compost, or irrigation. It can help plant potatoes, asparagus crowns, or deep-rooted crops.
Keep trenches shallow when planting seeds. Seed packets usually provide the correct depth, and many vegetable seeds fail when buried too deeply.
Spot Cultivation
Spot cultivation focuses only on a small planting hole or problem area. It is useful for shrubs, flowers, and individual vegetable plants.
Loosen a space two to three times wider than the root ball. Avoid making the hole much deeper than the root system, because the plant may settle too low after watering.
Surface Cultivation
Surface cultivation disturbs only the top inch or two of soil. It can break a thin crust after rain and remove young weeds.
Use a hand cultivator, hoe, or the corner of a spade for this work. Deep spade cultivation near growing plants may damage feeder roots.

How to Cultivate Different Soil Types
Clay Soil
Clay soil holds water and nutrients well, but it can become hard when dry and sticky when wet. Cultivate it when it is slightly moist.
Add organic matter over time rather than trying to change the entire soil in one day. Compost, leaf mold, and plant residues can improve aggregation. Avoid adding large amounts of sand to clay, since poor ratios can create a dense, concrete-like mix.
Sandy Soil
Sandy soil drains quickly and warms early in spring. It may need more organic matter to hold water and nutrients.
Use shallow, steady cultivation. Deep digging can increase drying. Compost and mulch are often more helpful than frequent turning.
Loam Soil
Loam is usually easy to cultivate because it balances sand, silt, clay, air, and water. Even good loam can suffer from compaction if people walk on beds.
Keep traffic to paths and add organic matter based on soil test results. Do not assume that more compost is always better.
Rocky or Stony Soil
Remove large stones that interfere with roots or tools. Small stones do not always need removal and may help drainage in some soils.
Use the spade to loosen around large rocks rather than forcing the blade through them. A digging bar may be safer for very large stones.
Heavy Compacted Soil
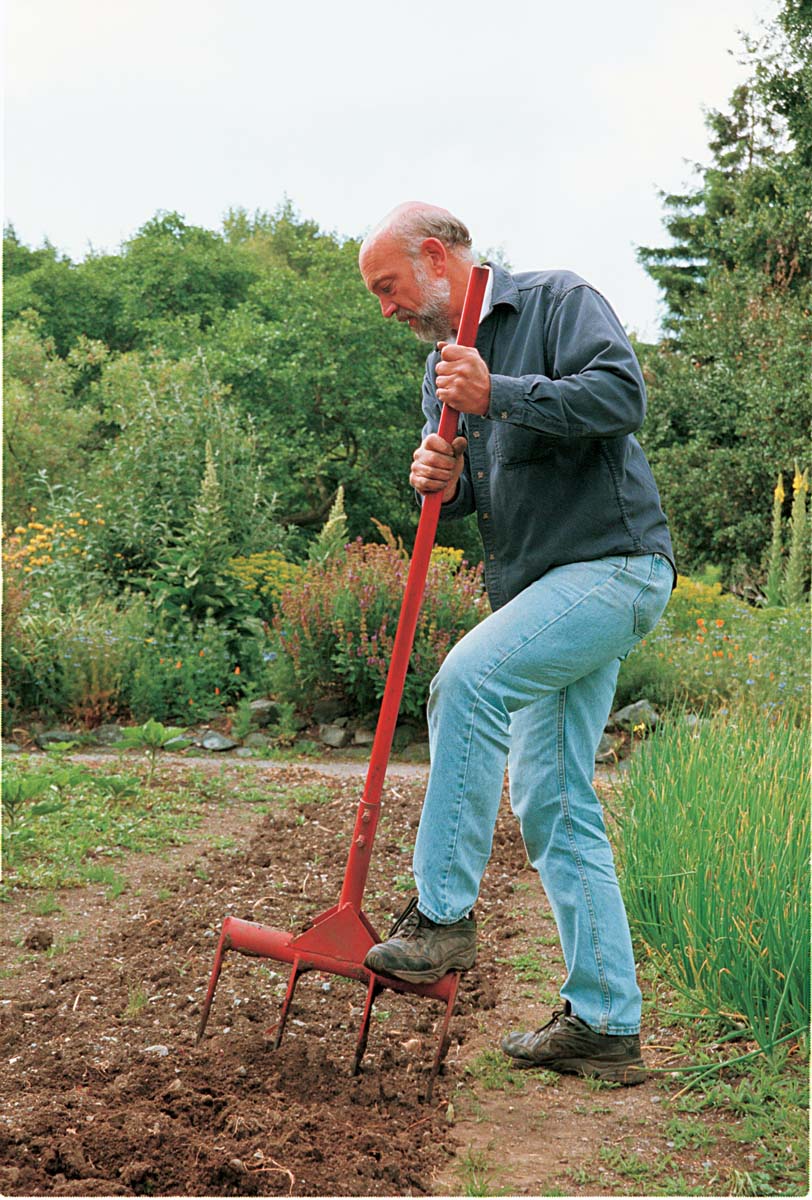
Begin with a small test area. If the ground is severely compacted, use a broadfork or garden fork to open it before using a spade.